Mike's Woodworking Projects


WWGA Cabinets
Year built: 2020
Plan: WWGA DVD
WWGA (Woodworkers Guild Of America) sent me a DVD called "Essential of Wookworking" which is a great tutorial of making a cabinet. If you master the techniques of this project, you have a lot of versatility in making cabinets, bookcases, entertainment centers and other similar projects.
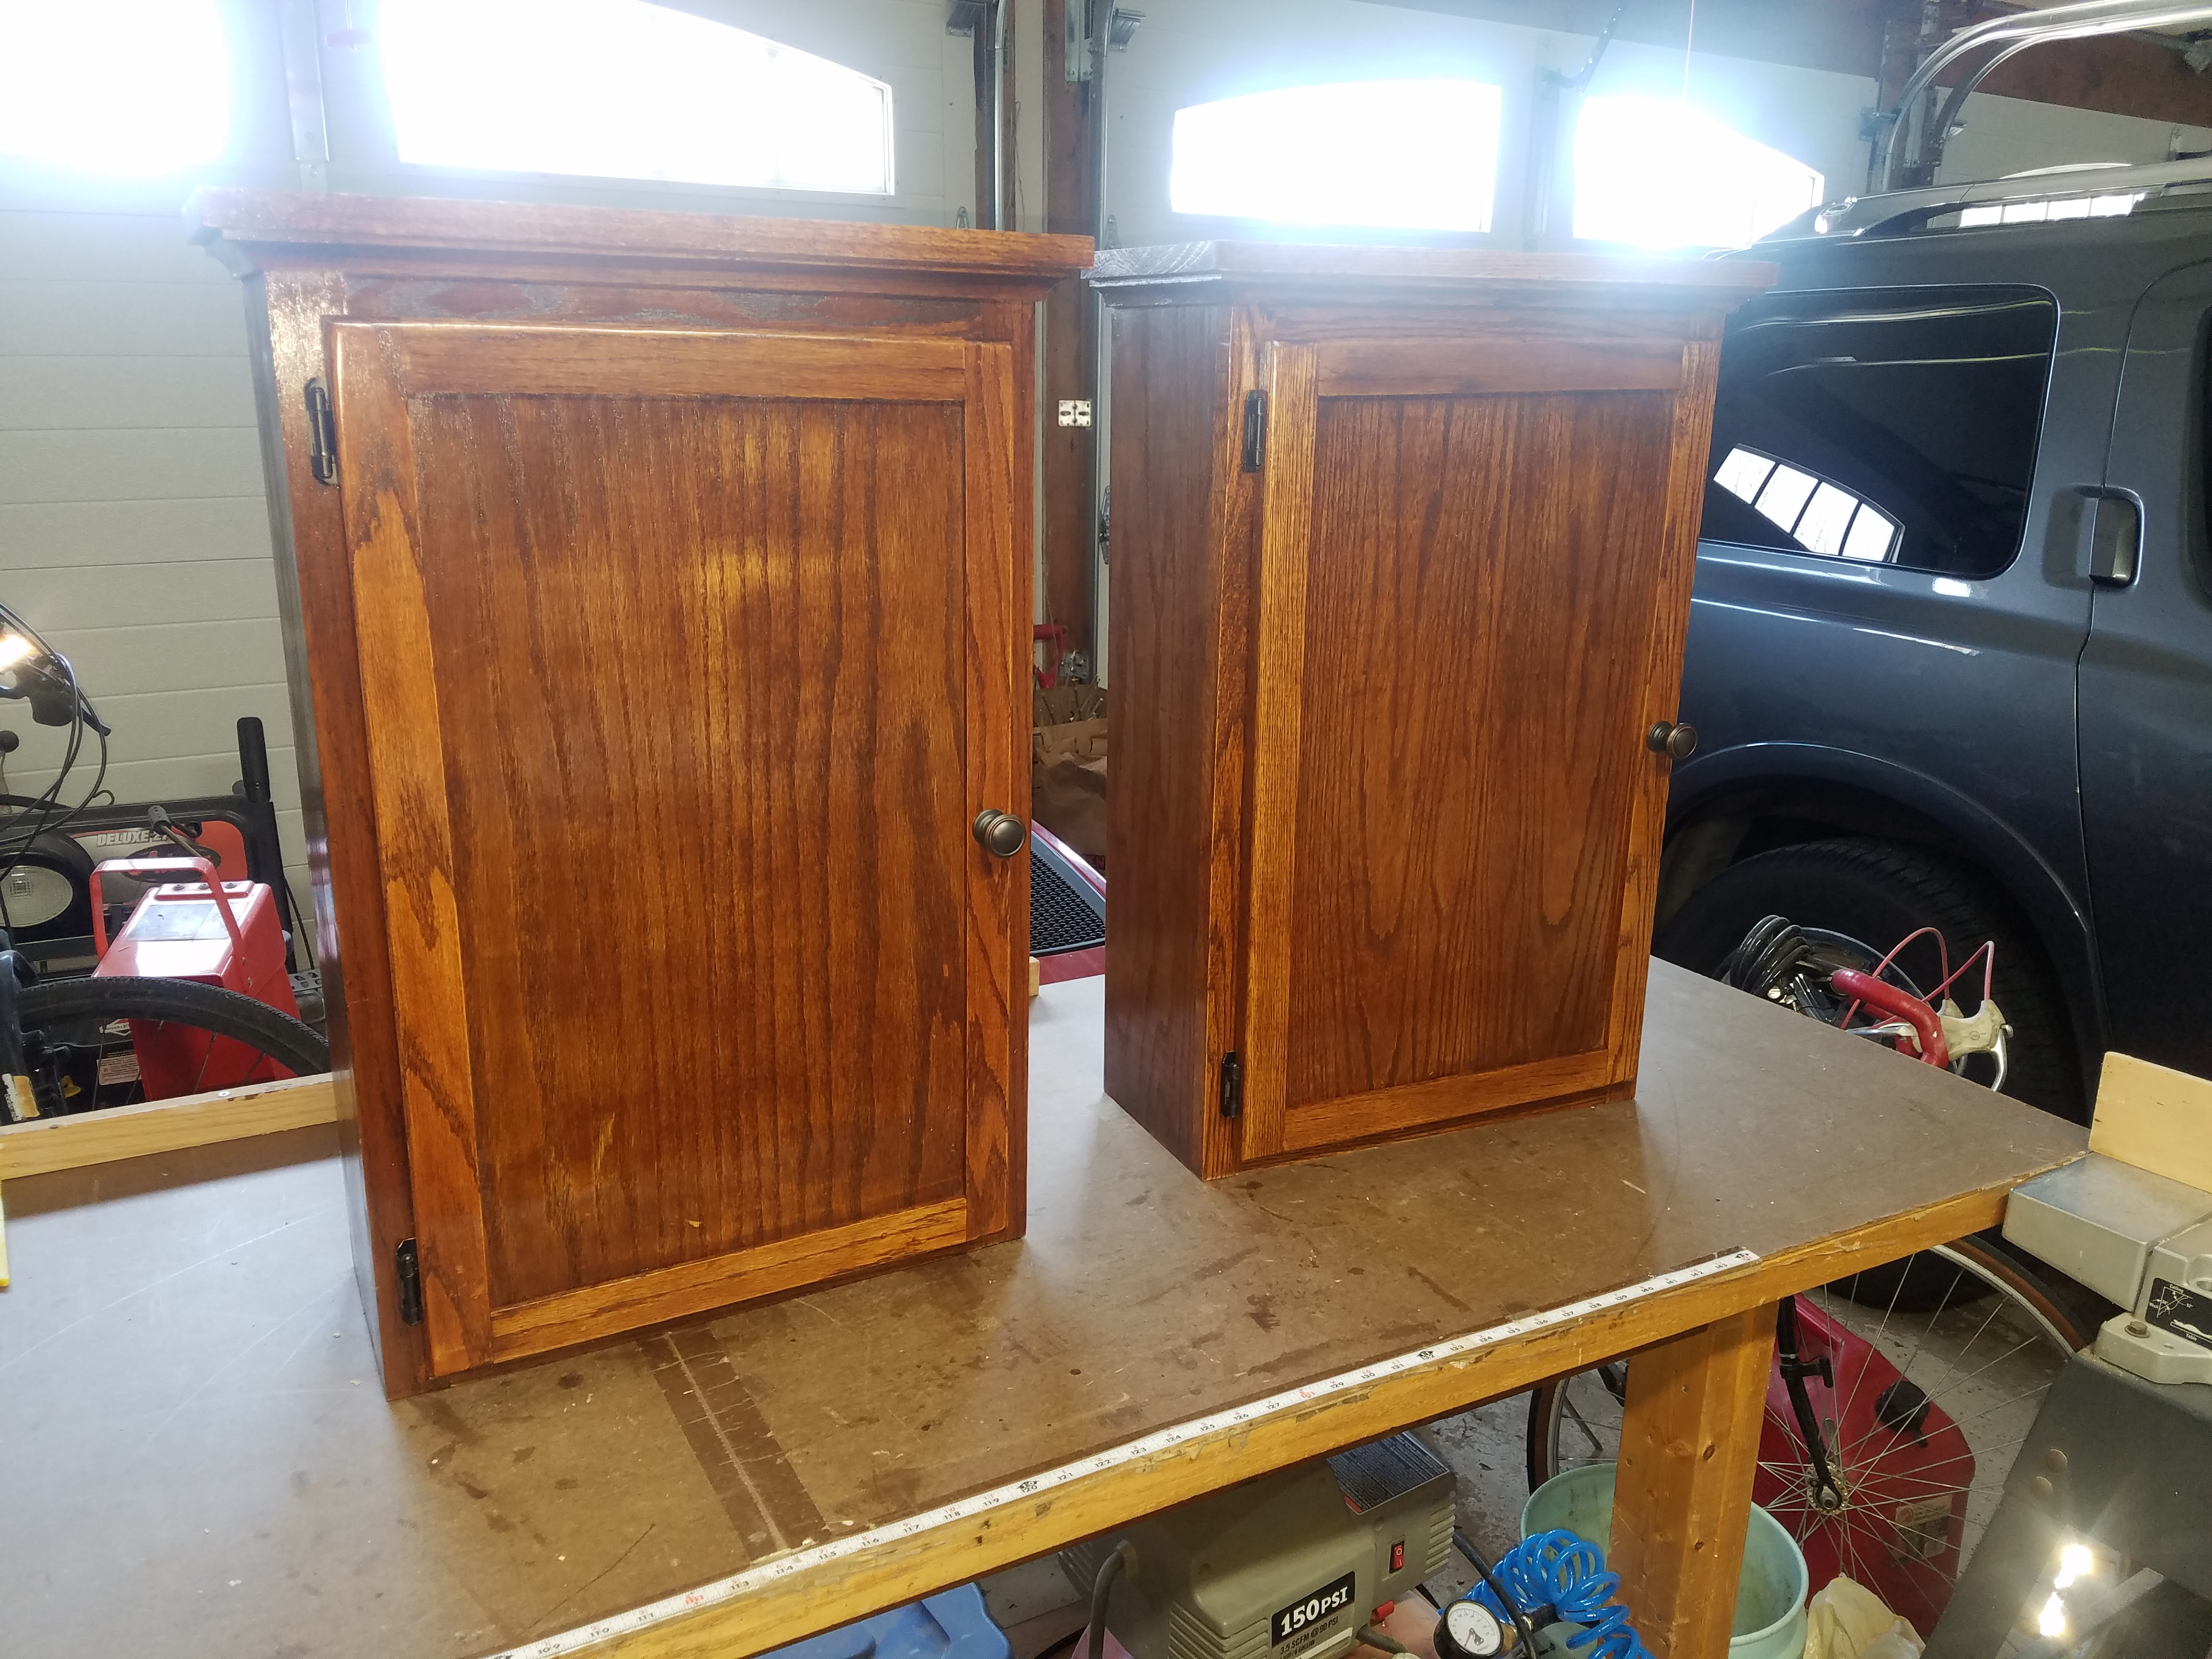
So, I decided to make the small cabinet that is made in the DVD. Even with the precise guidance of the DVD I made a couple of mistakes in construction and frustrated, I put the project aside for a few months.
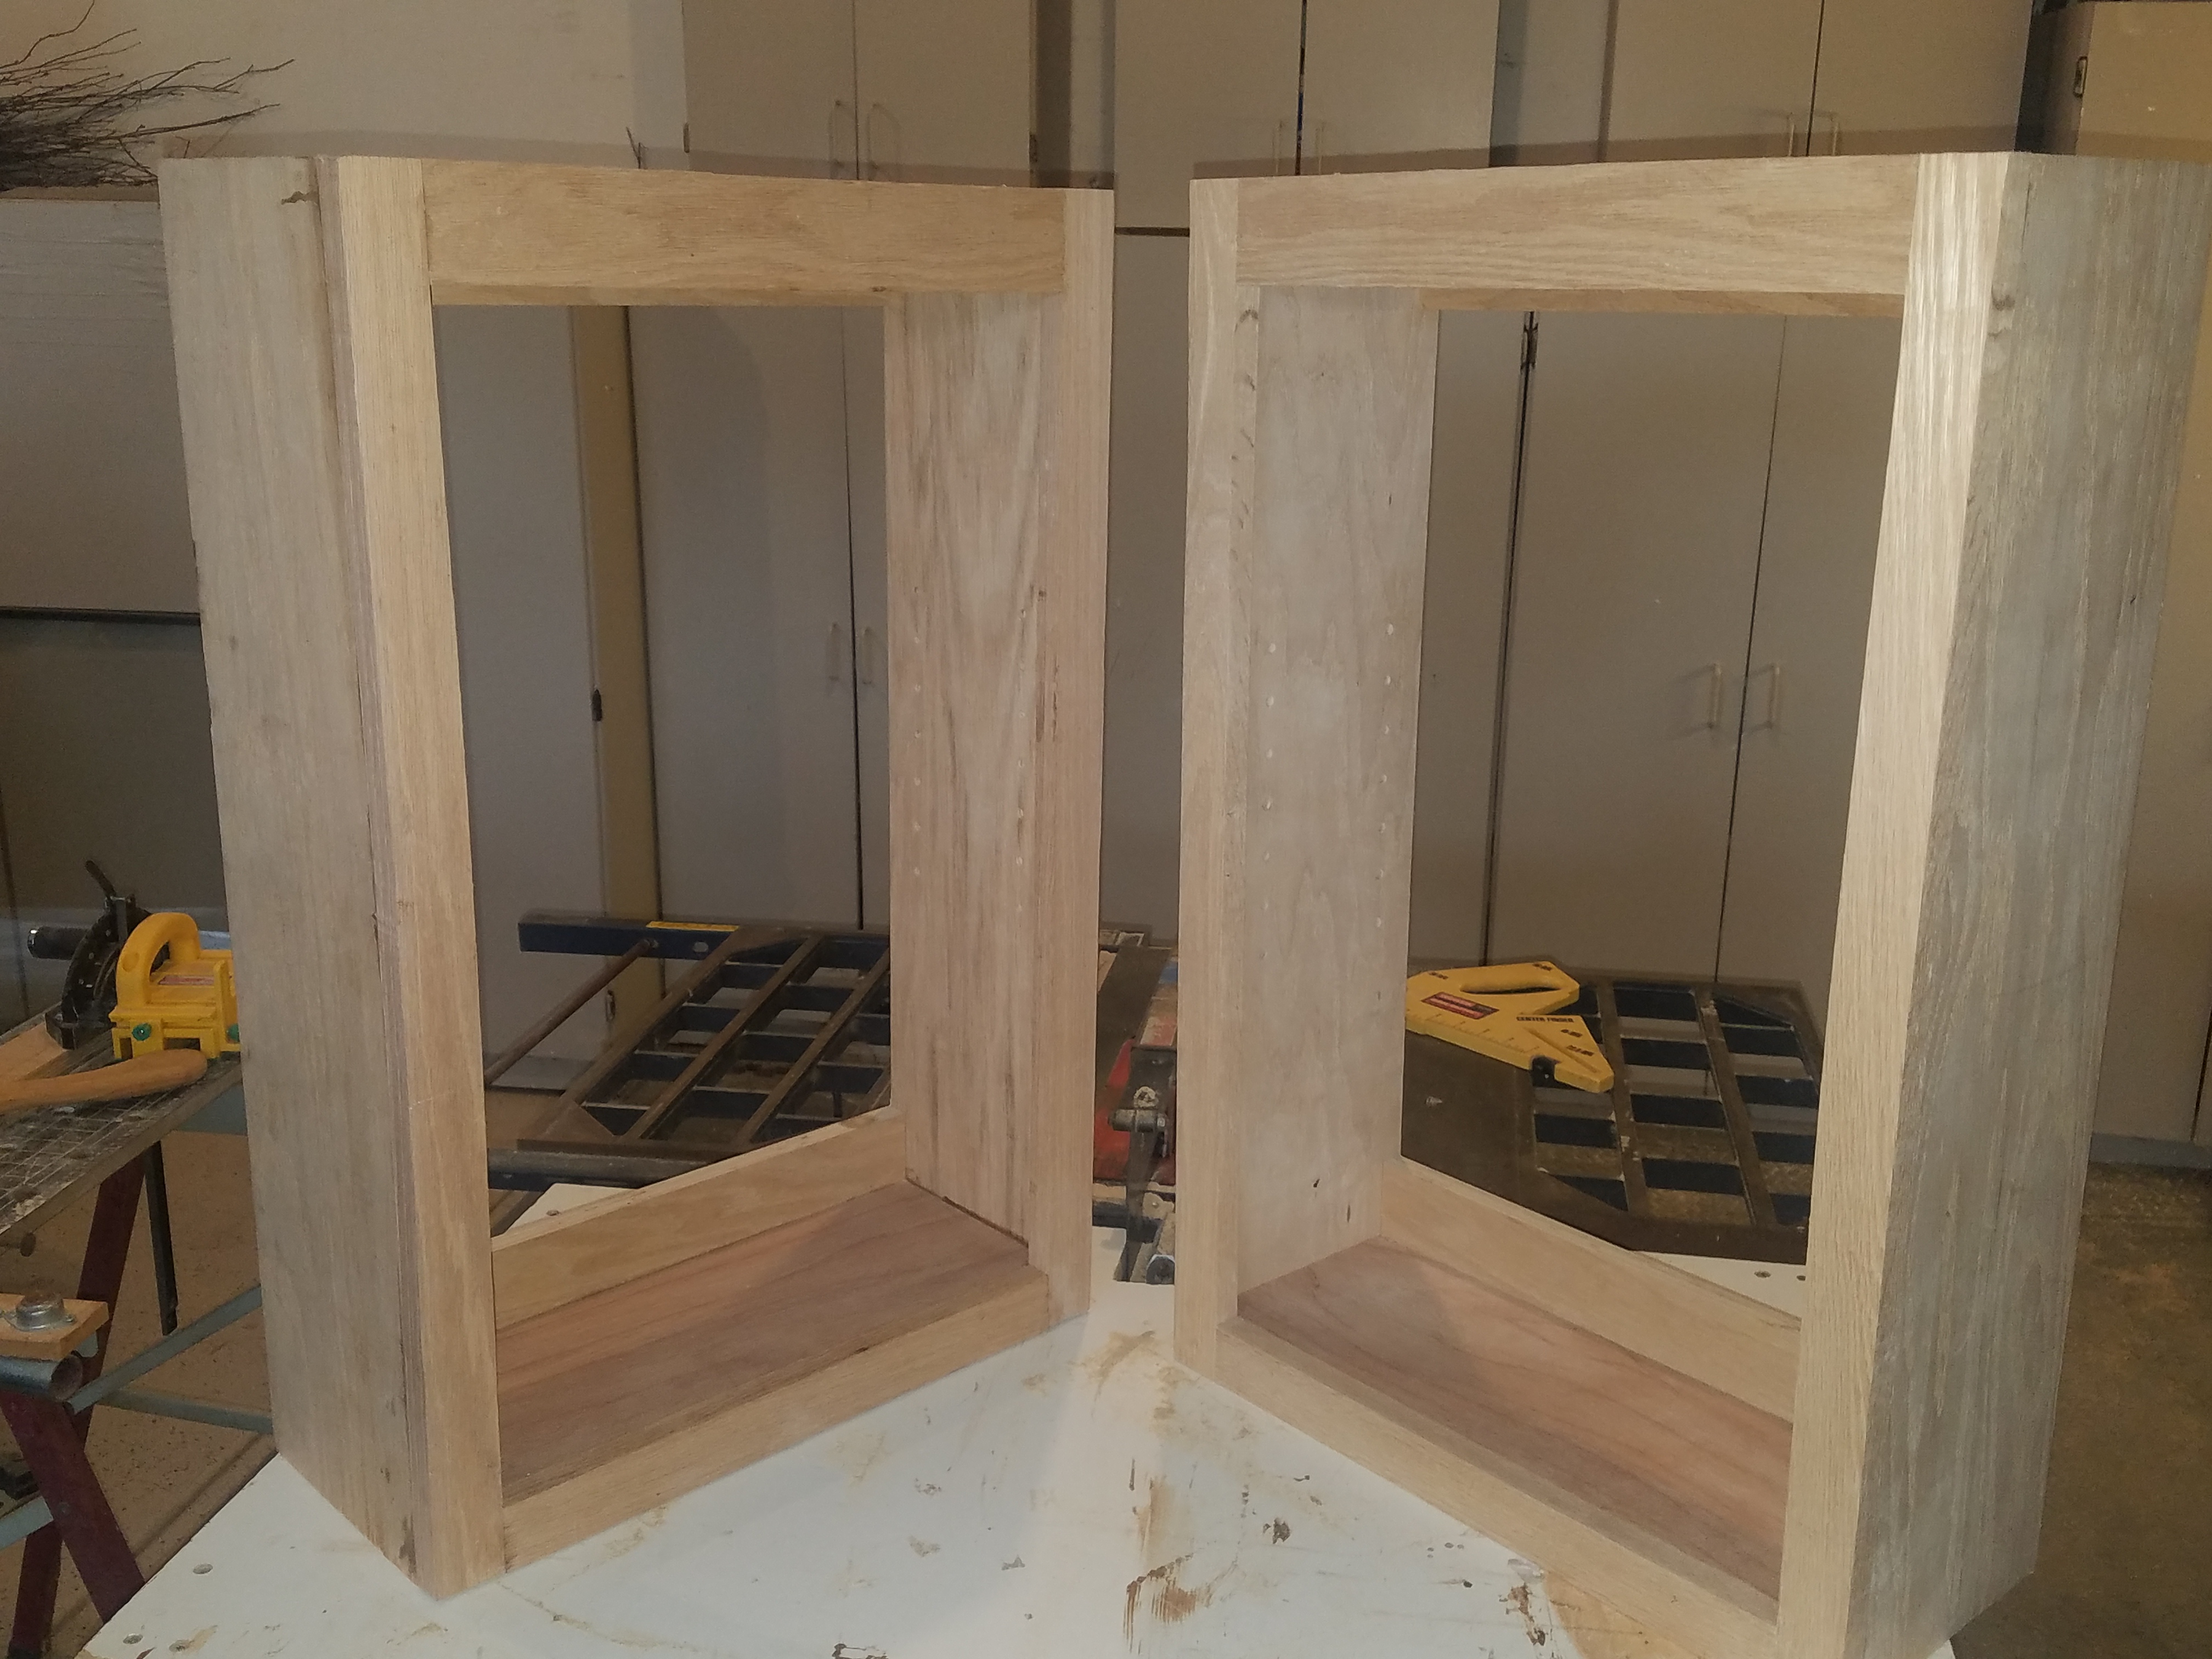
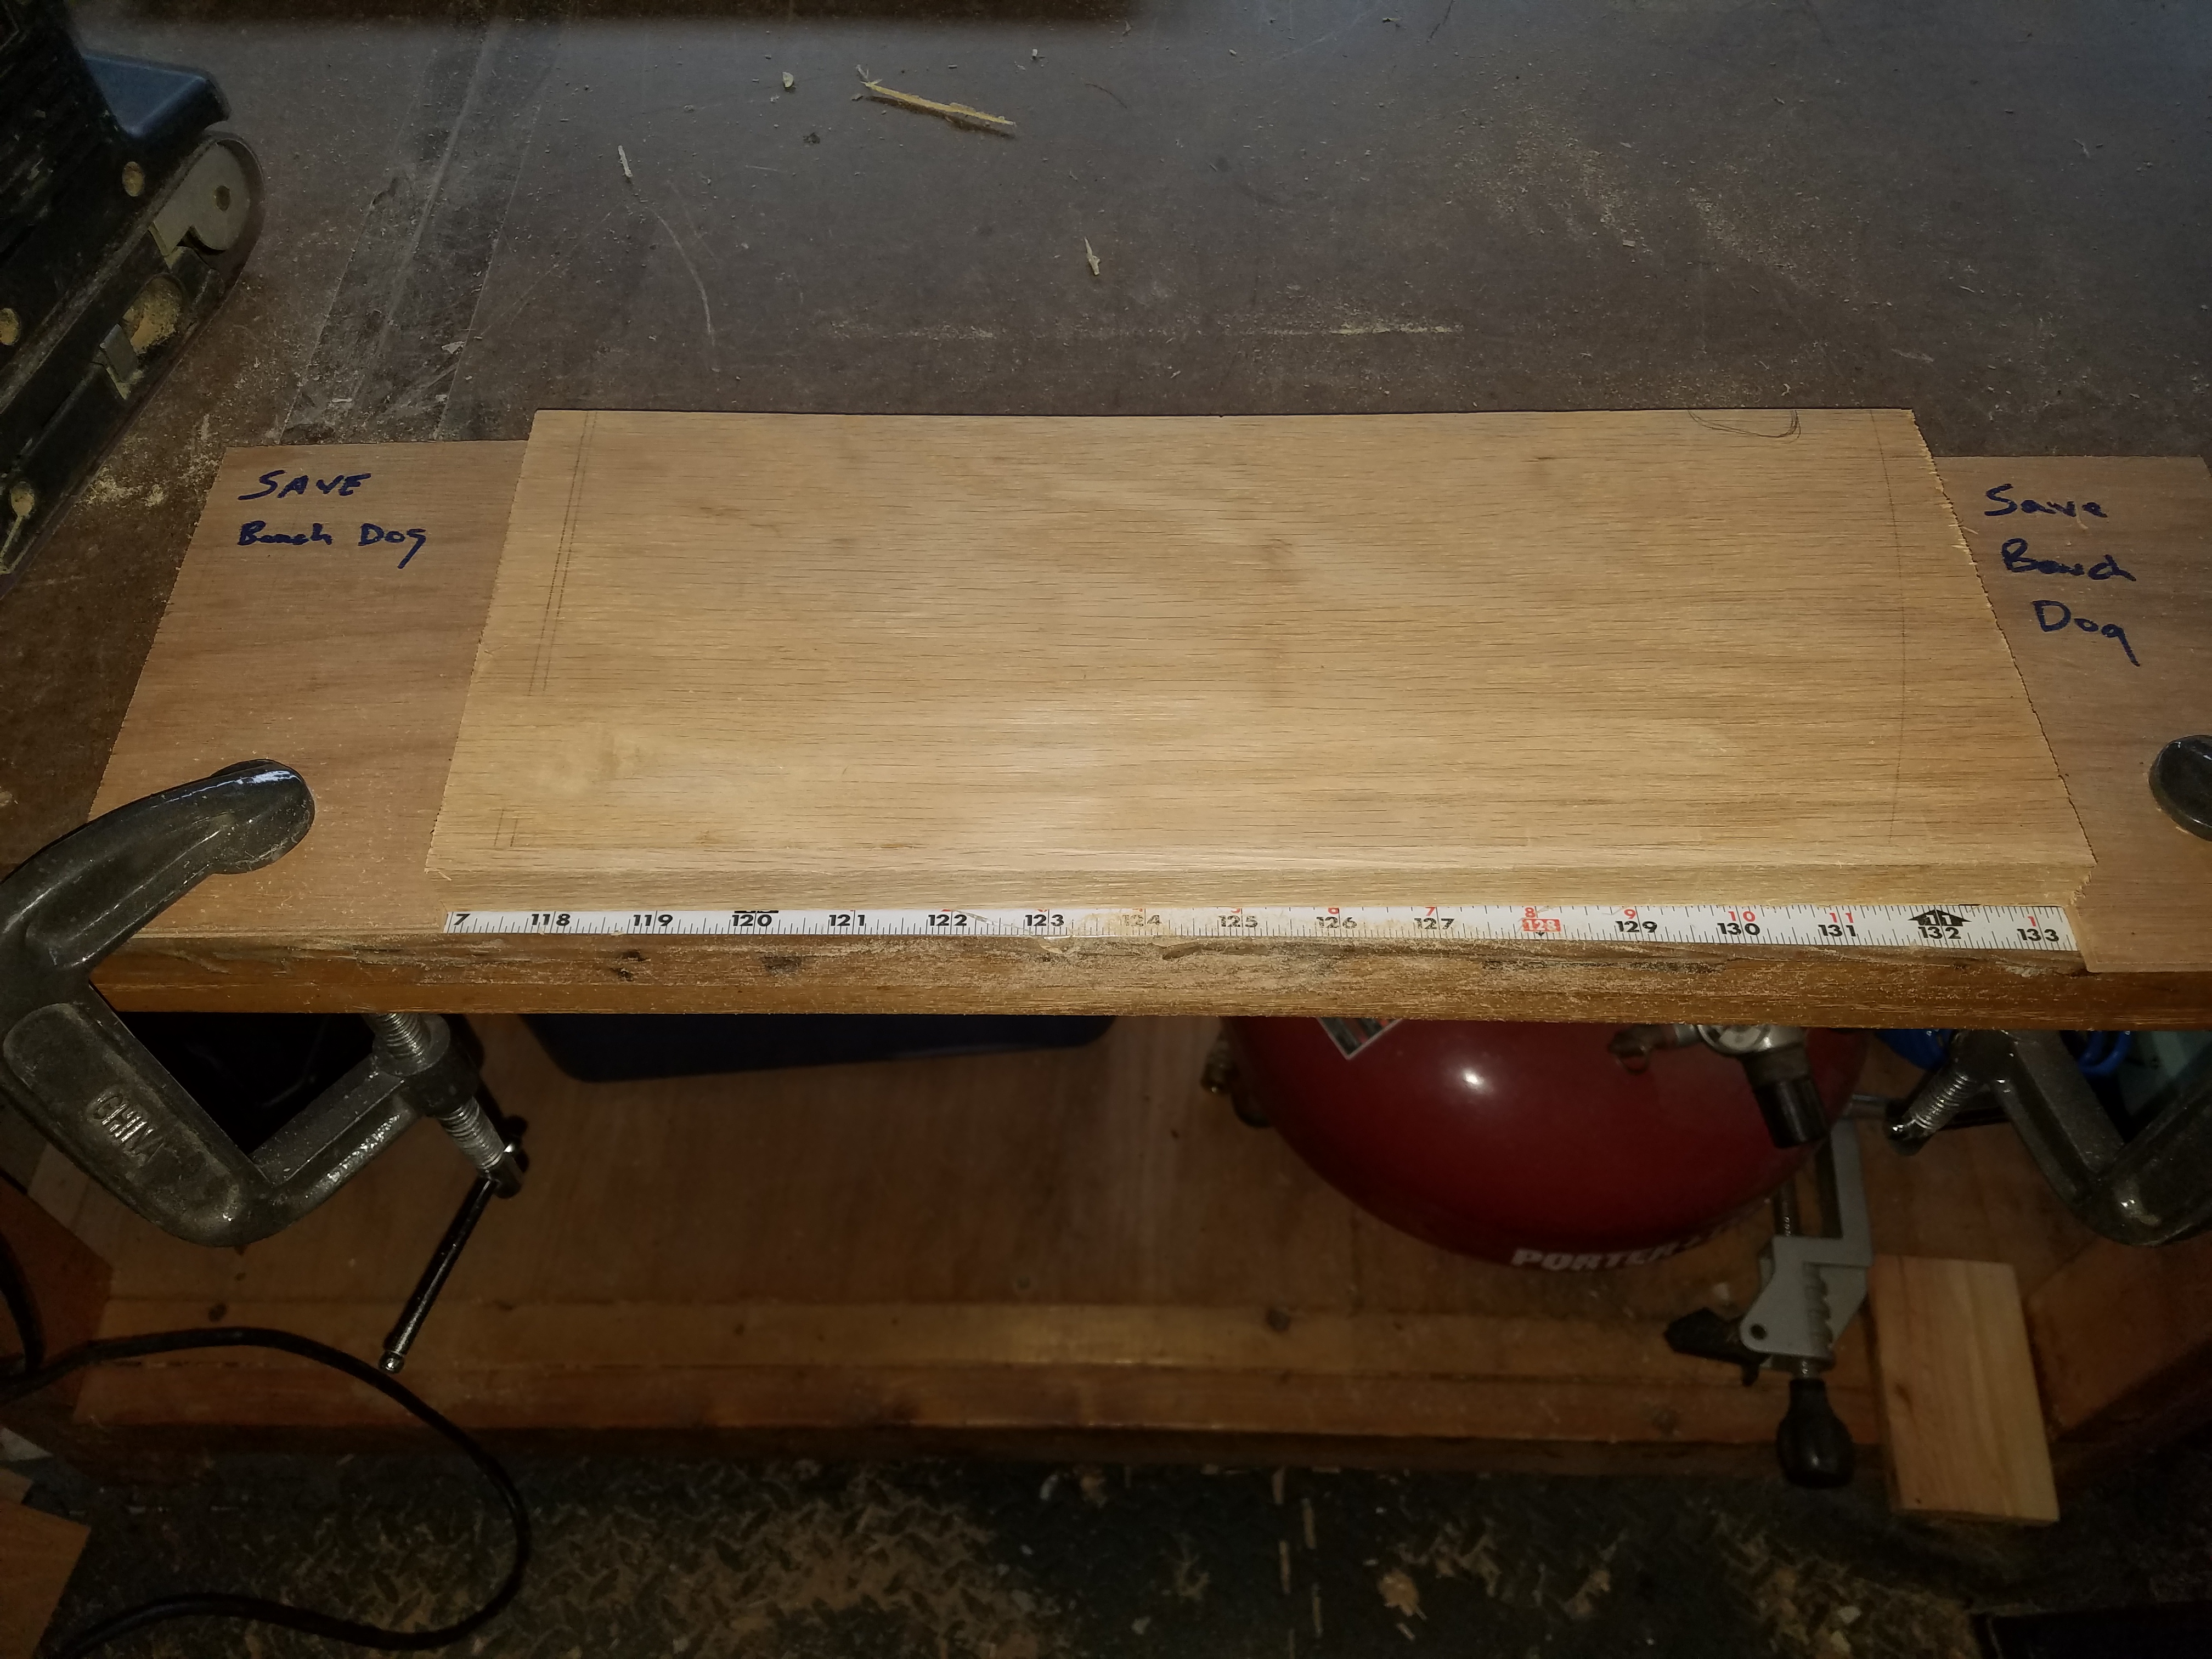
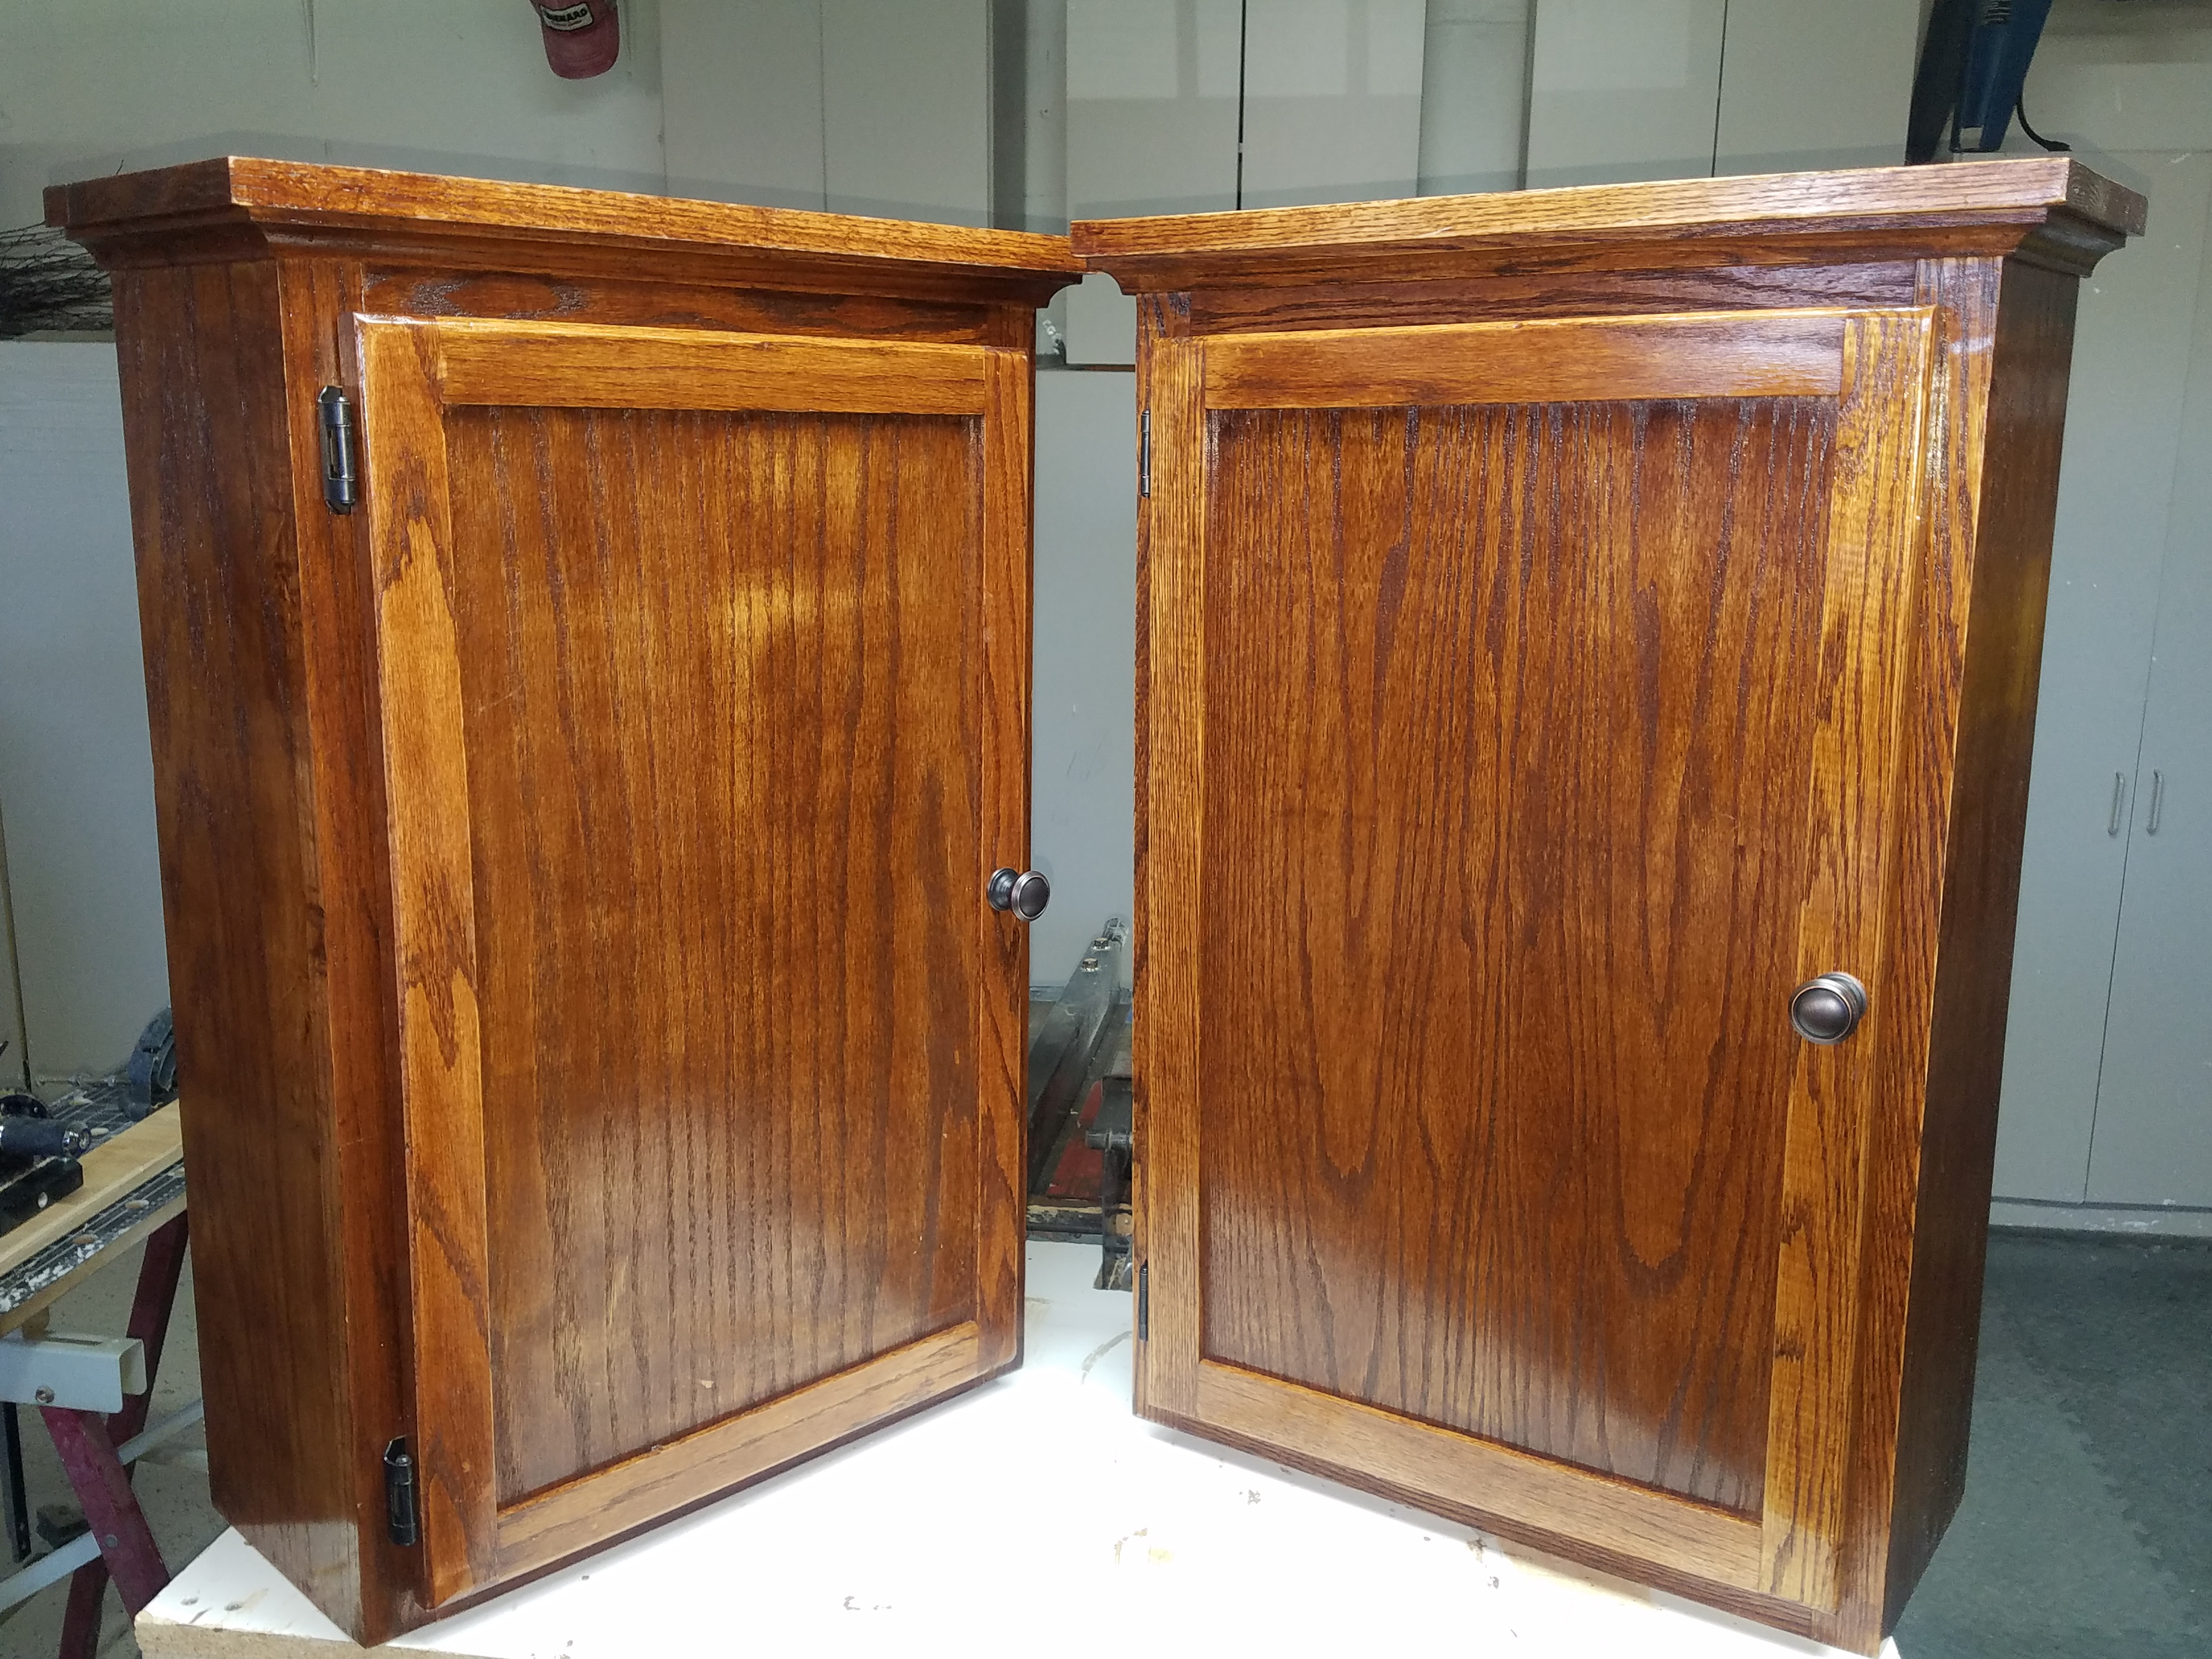
Then, in early 2020 I decided to get back to the project and again, using almost all materials on hand, I started over on a 2nd cabinet. I, of course, learned from my first mistakes and corrected my techniques. Then, in looking at the first project, I realized one of the mistakes is totally hidden by the the solid top made for the project, and the other is actually pretty minor. So, again with spare material I proceeded with making two cabinets.
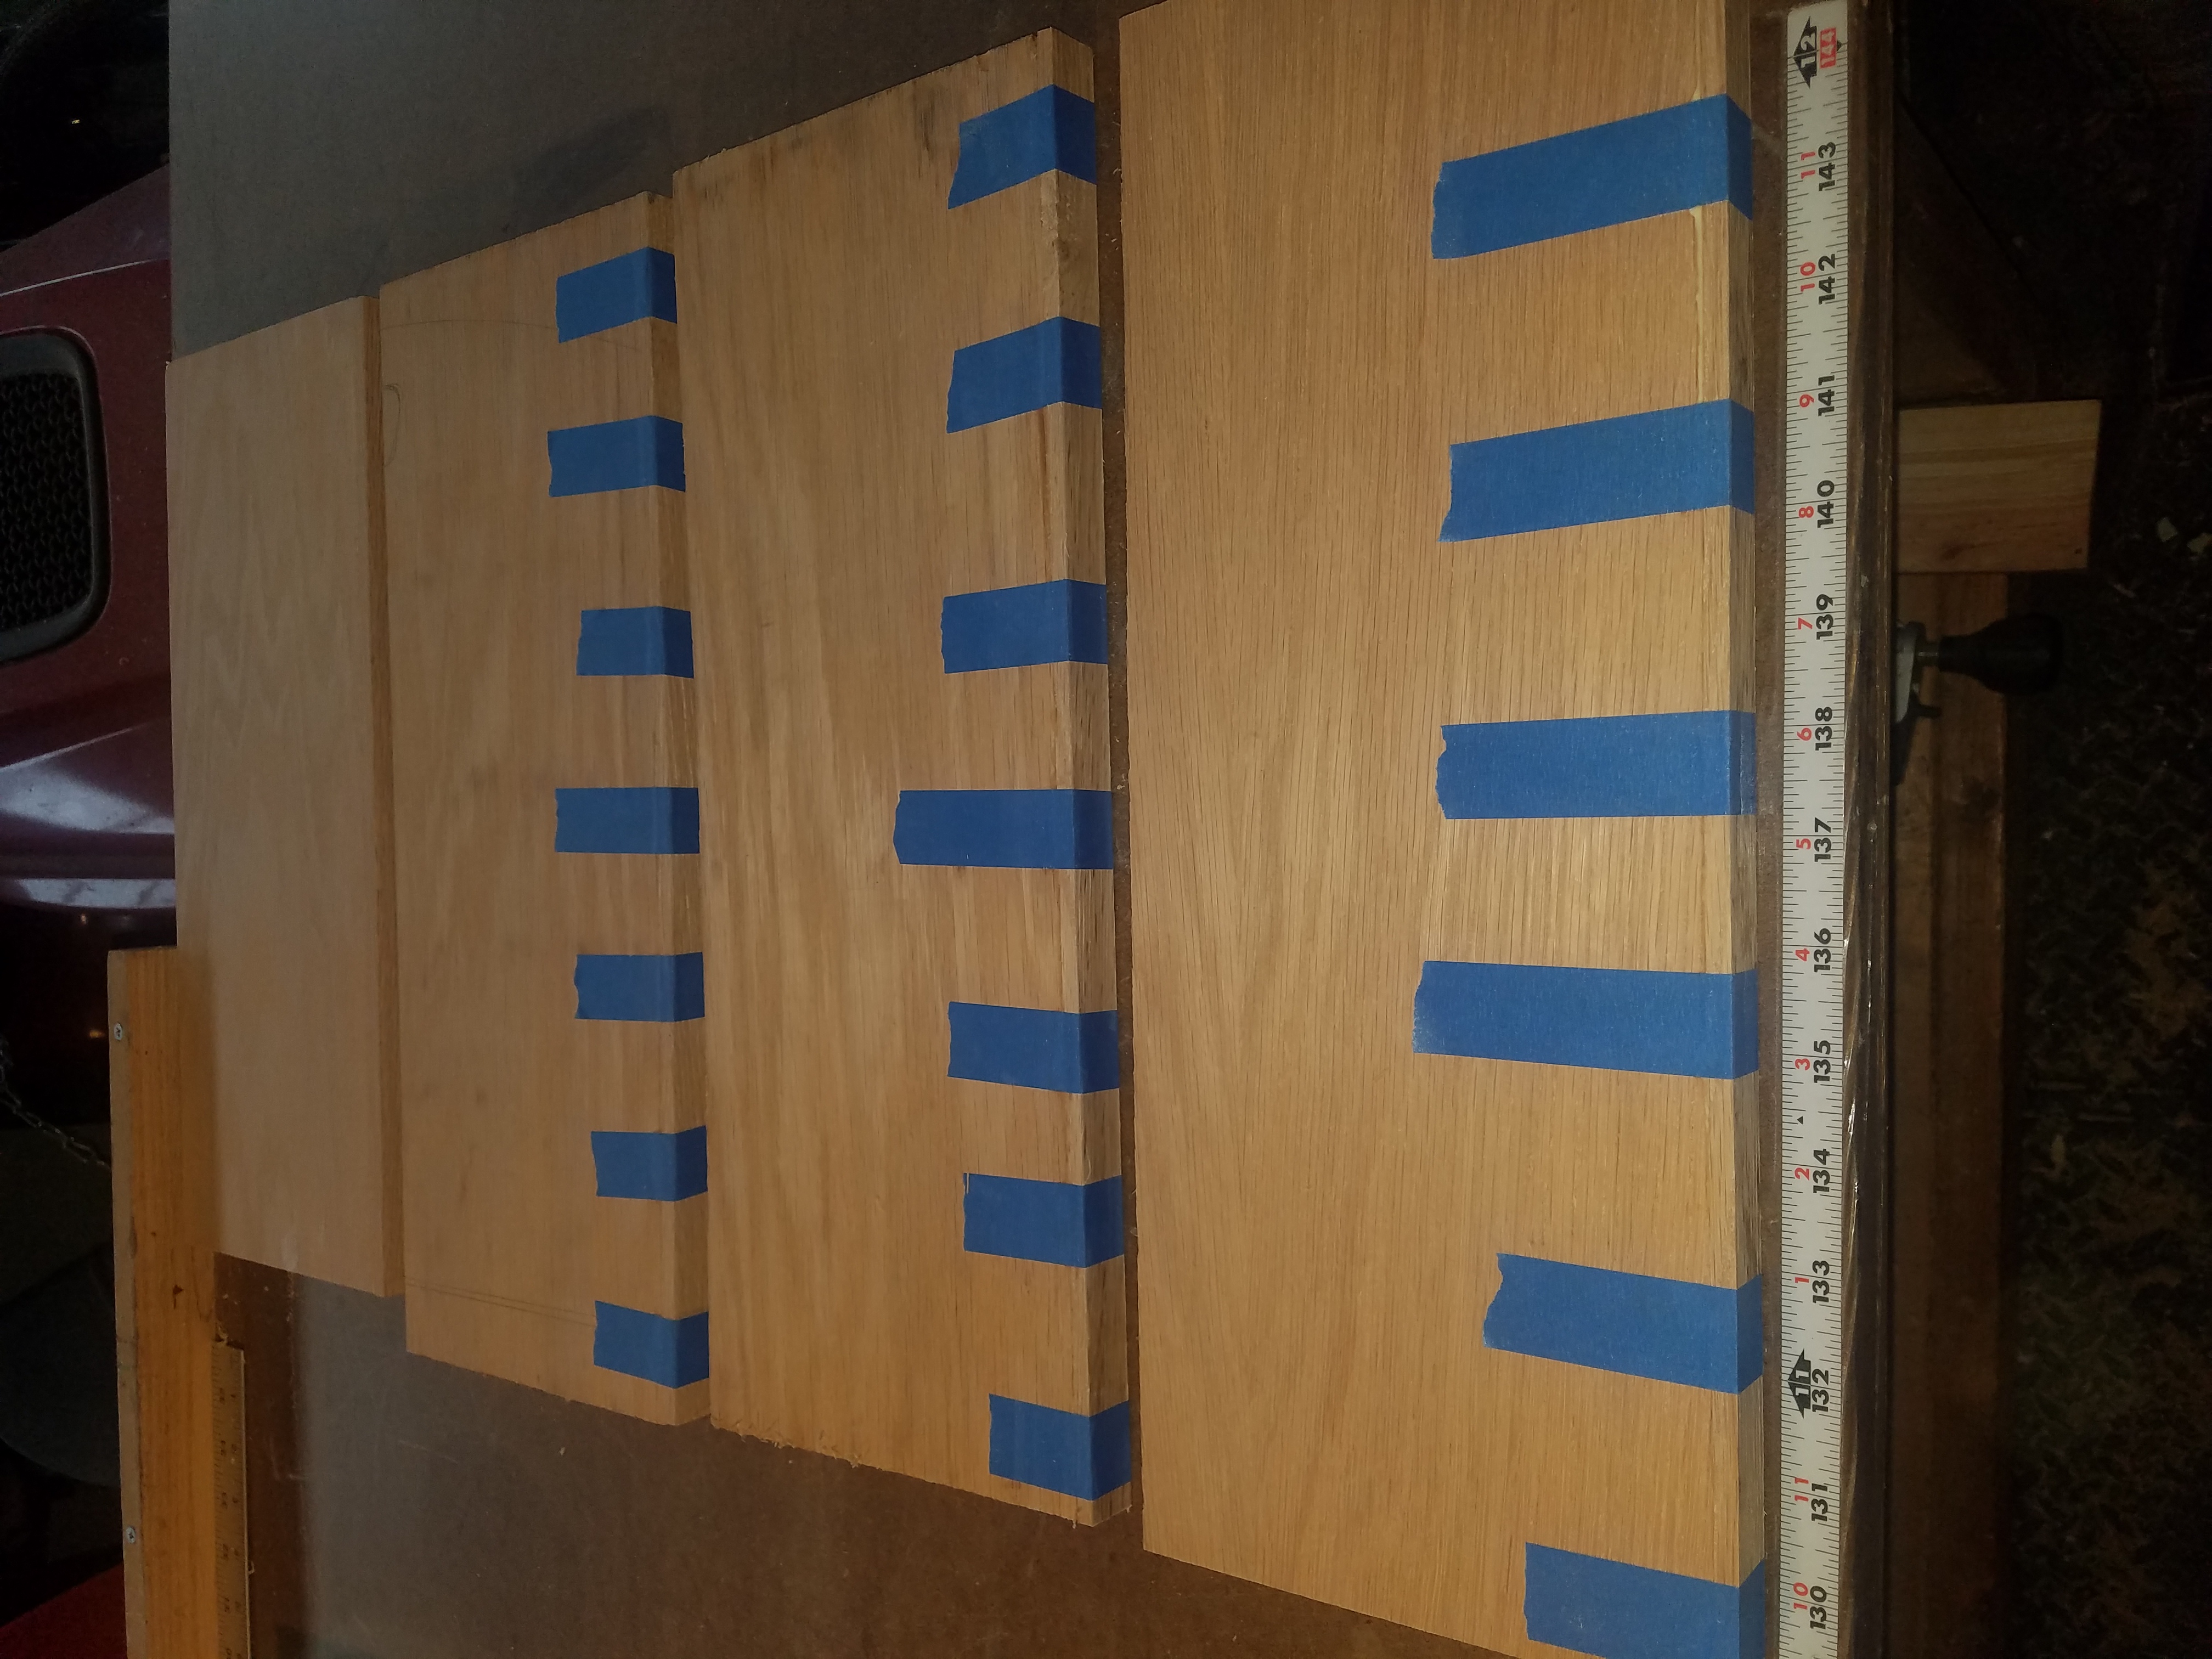
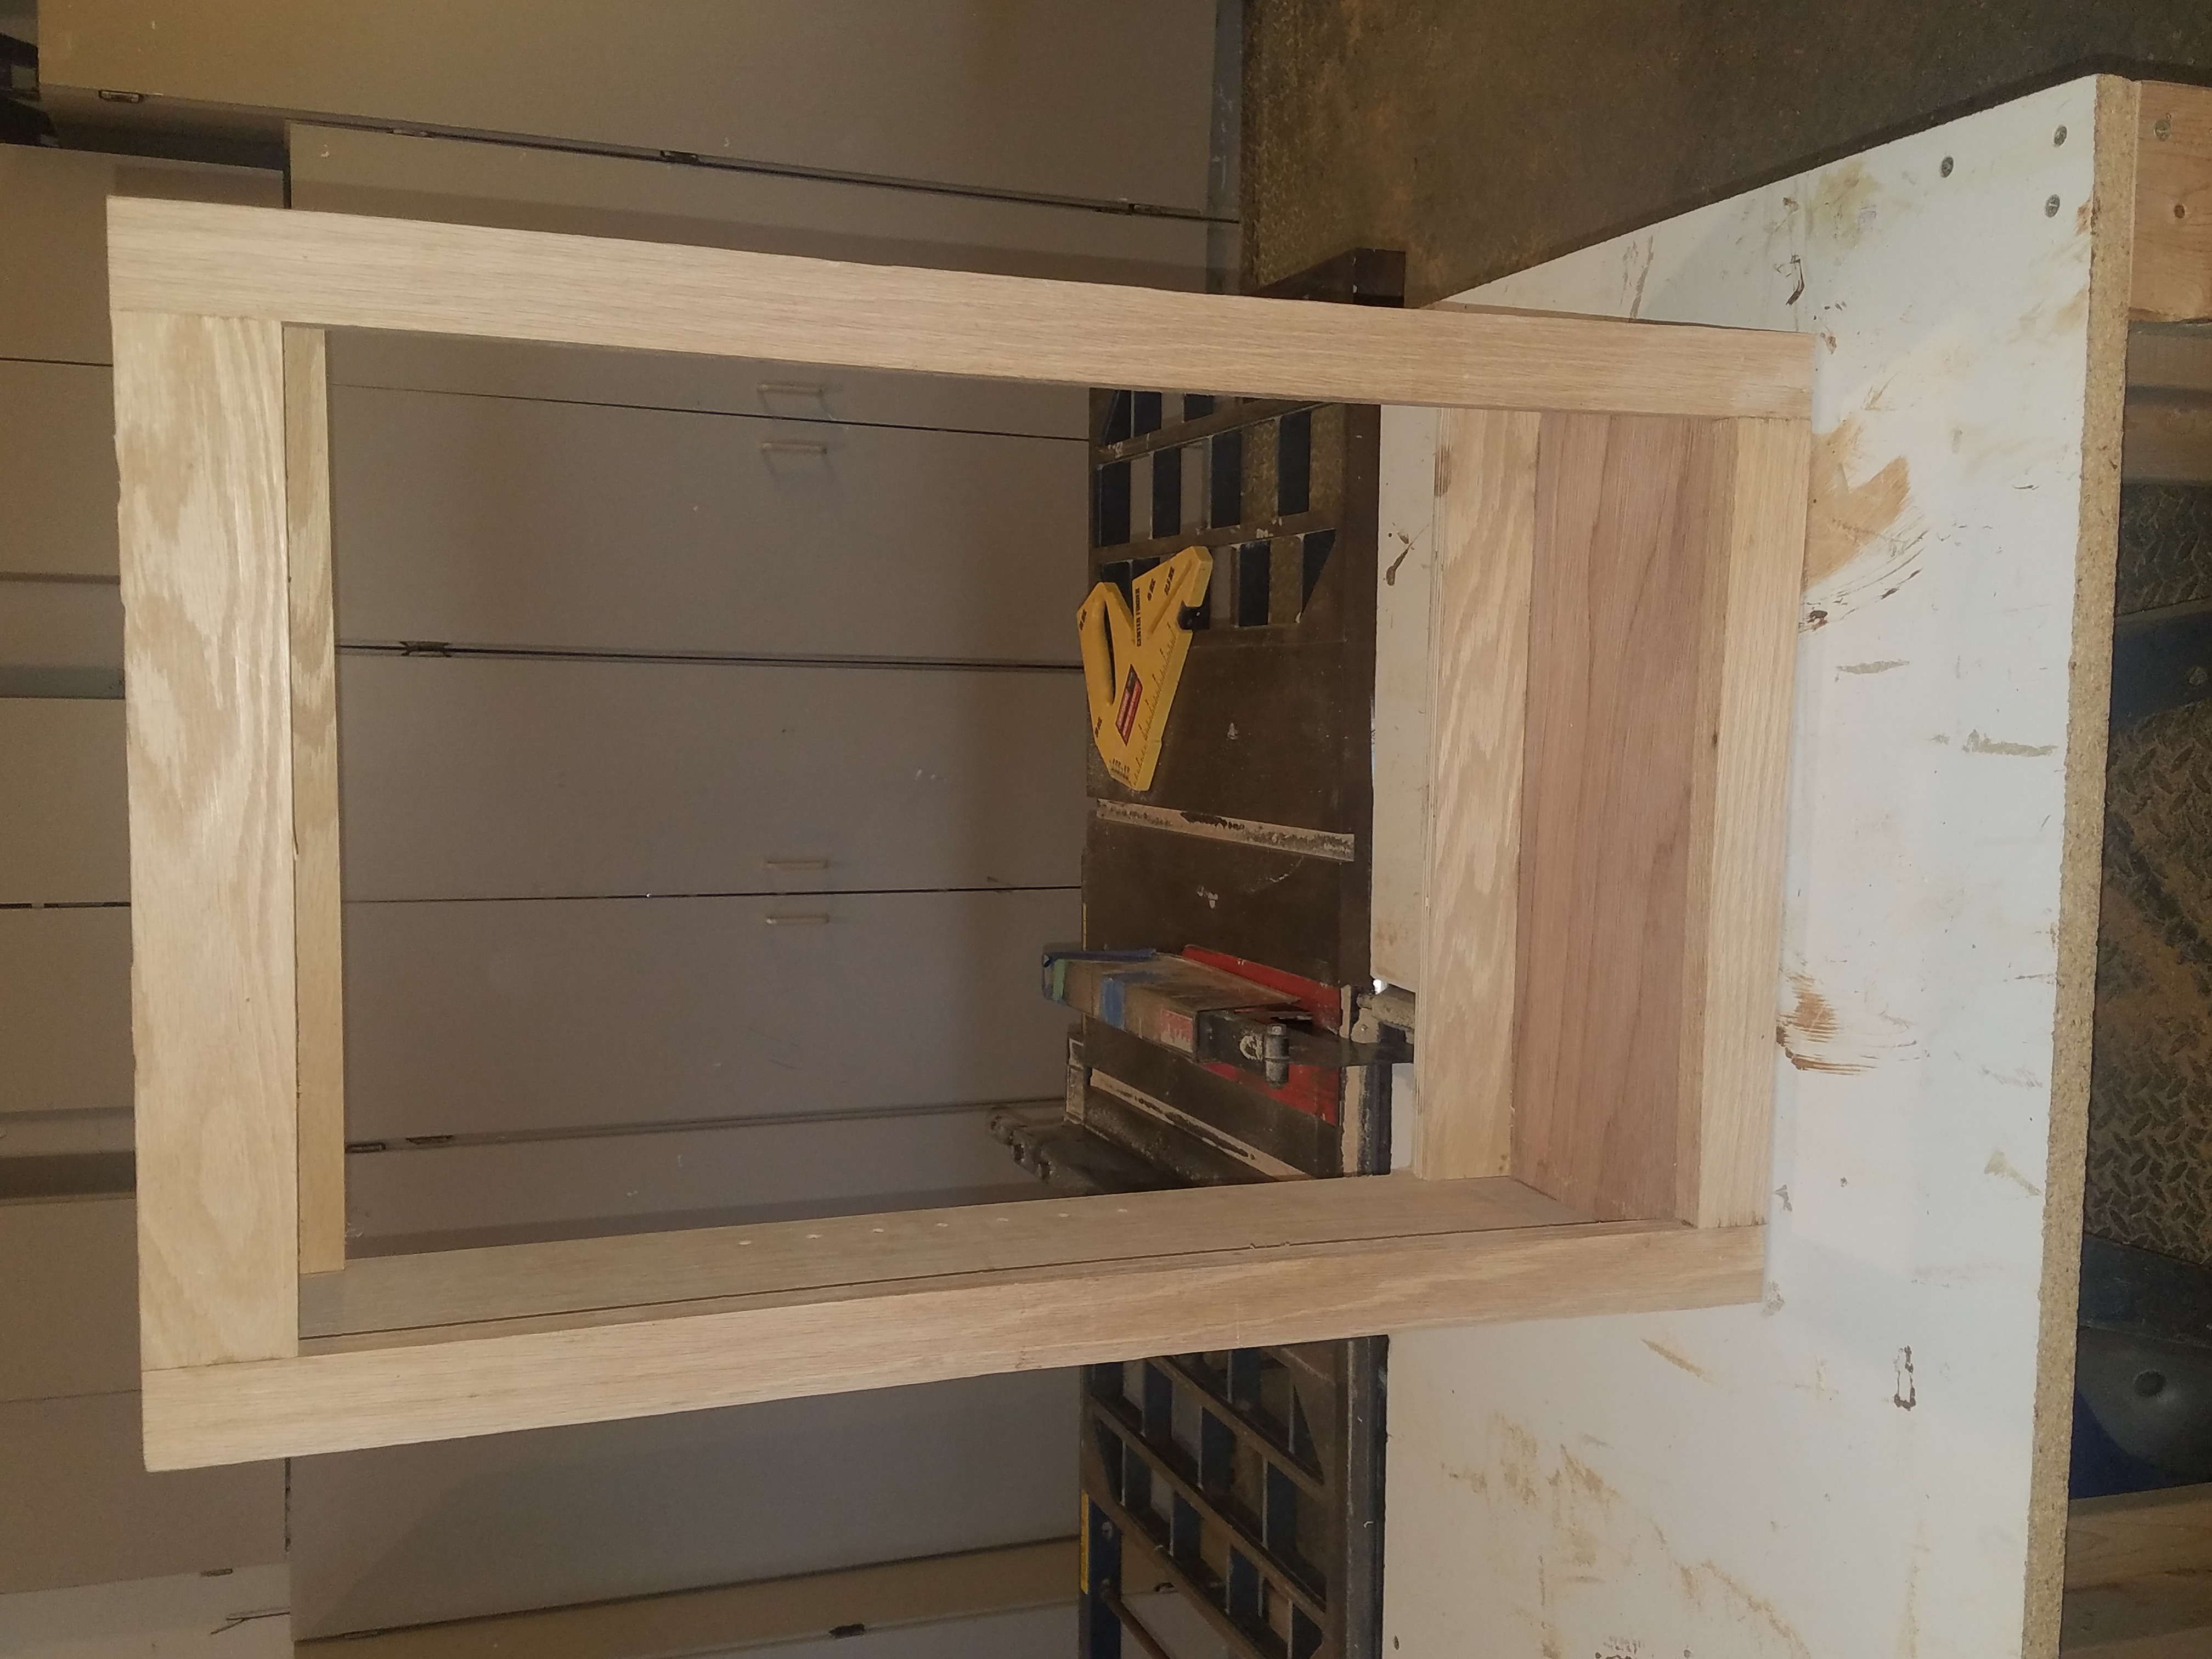
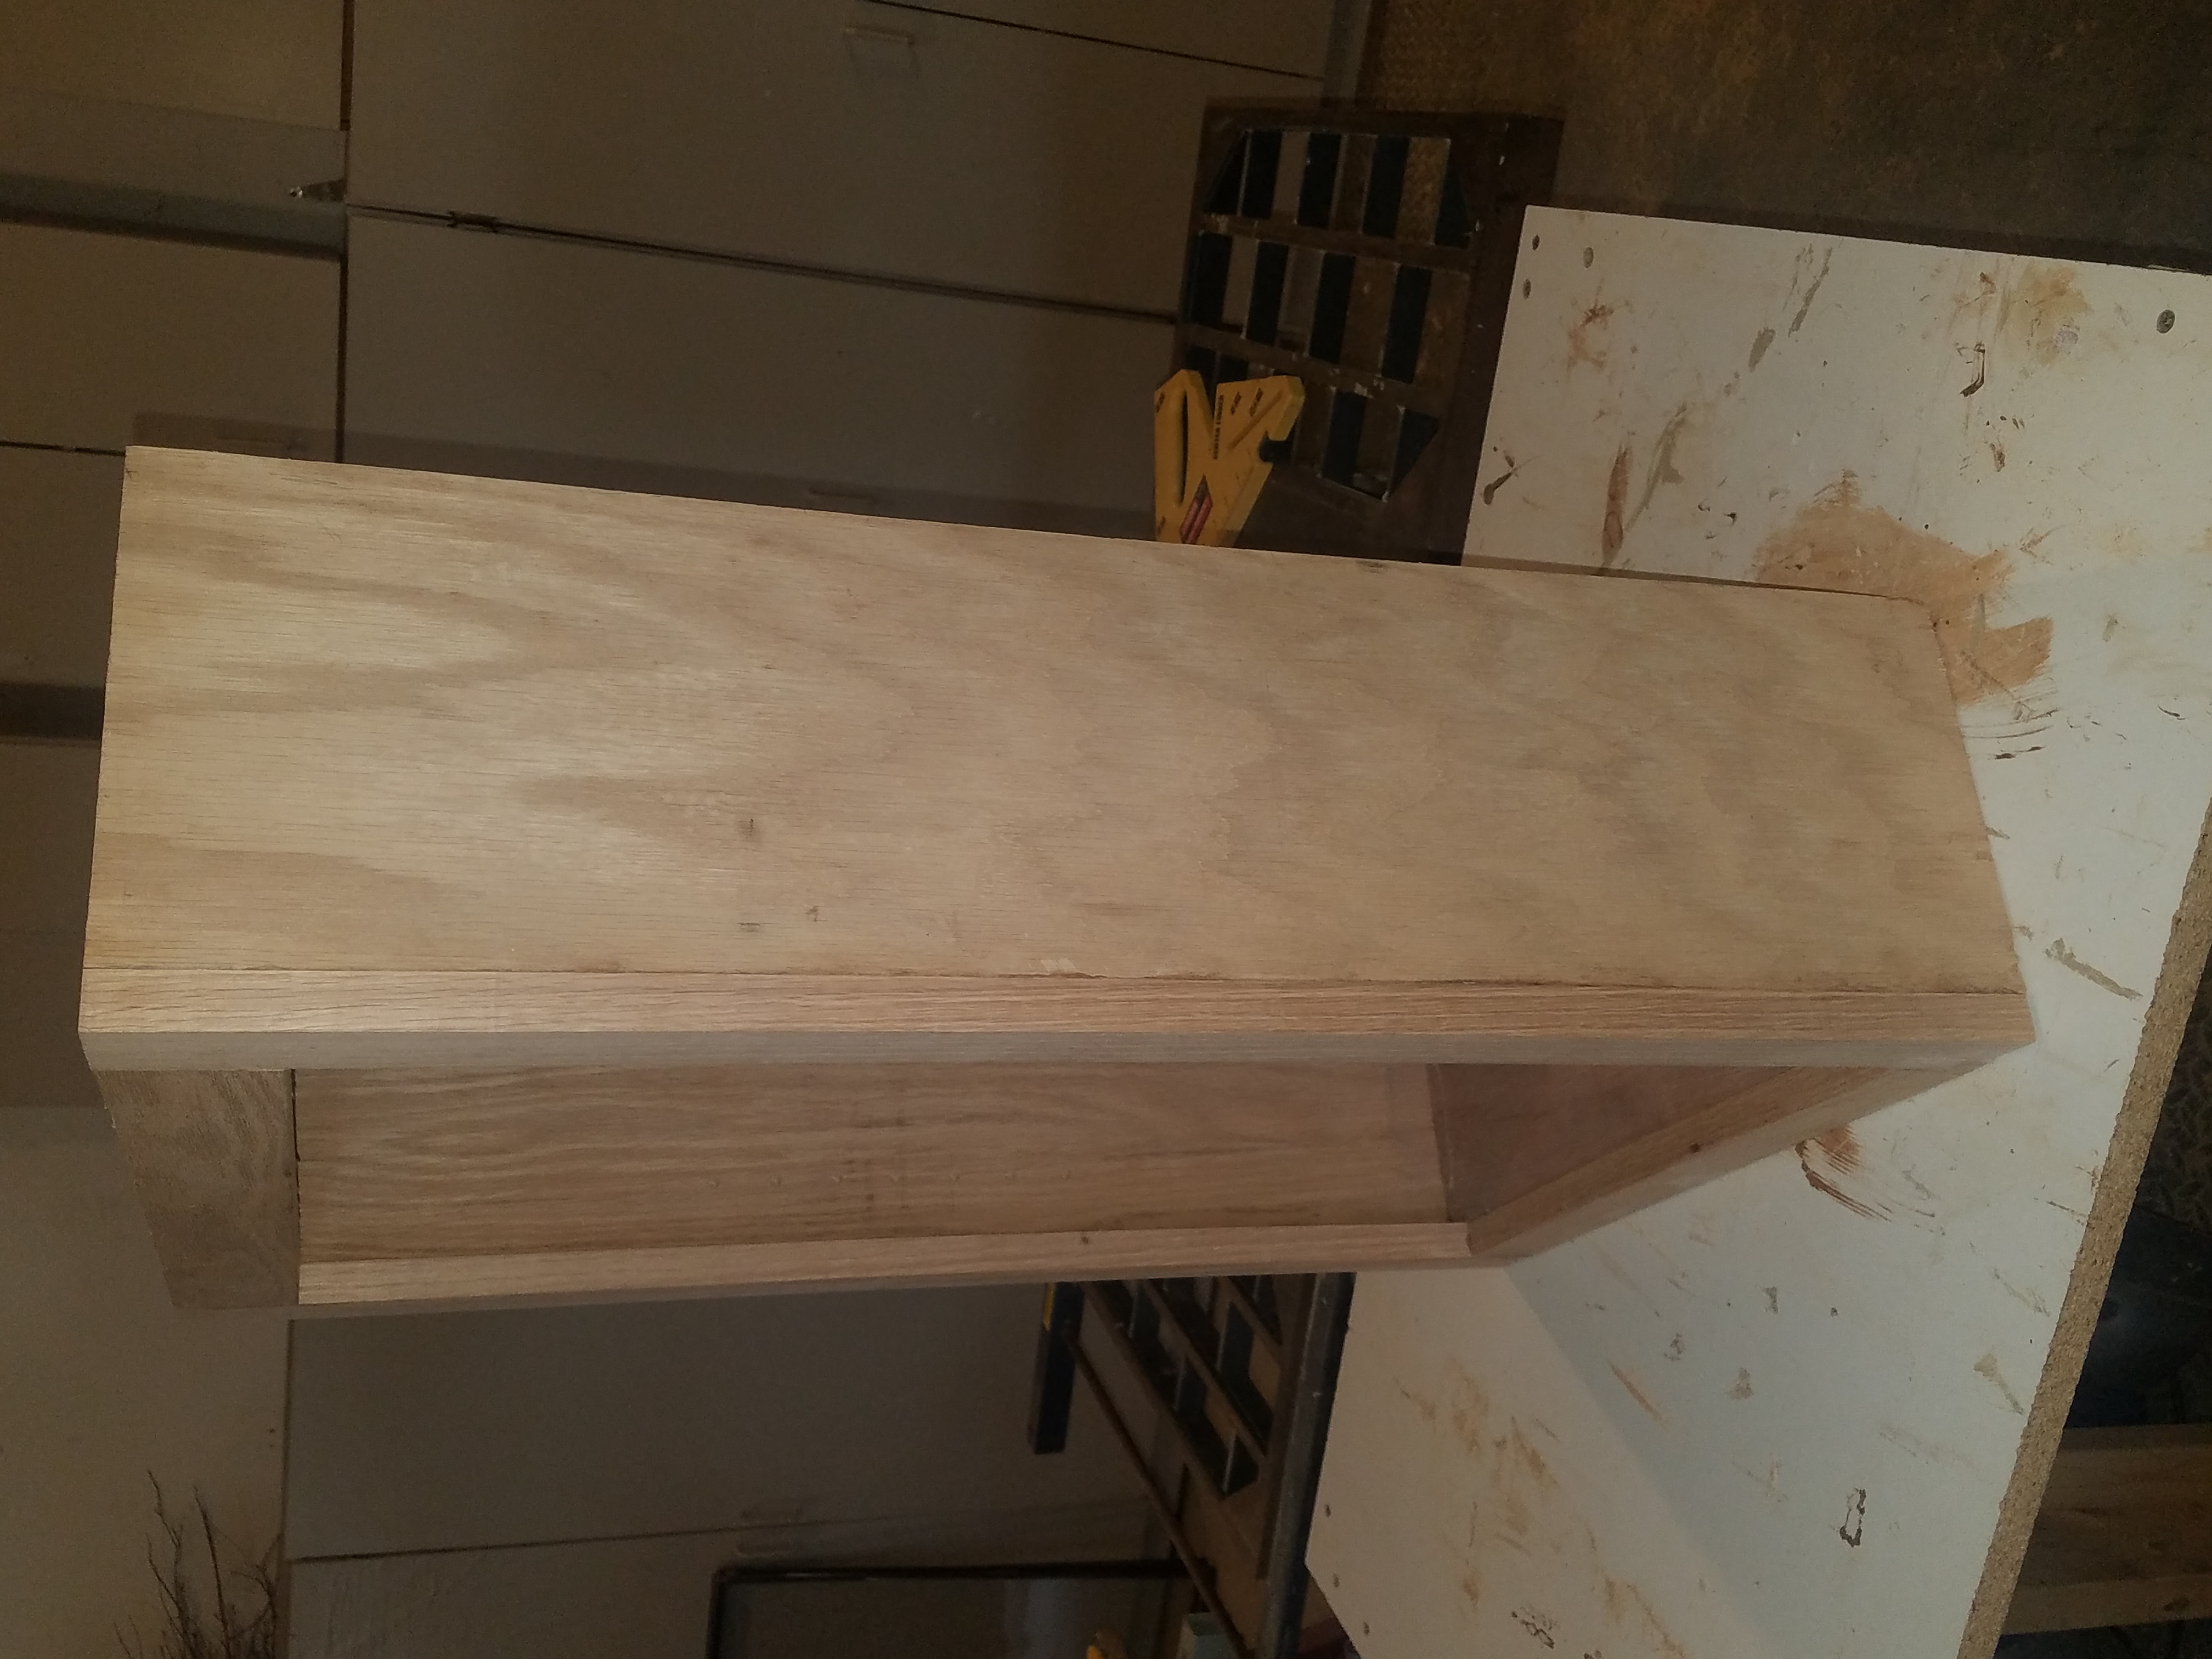
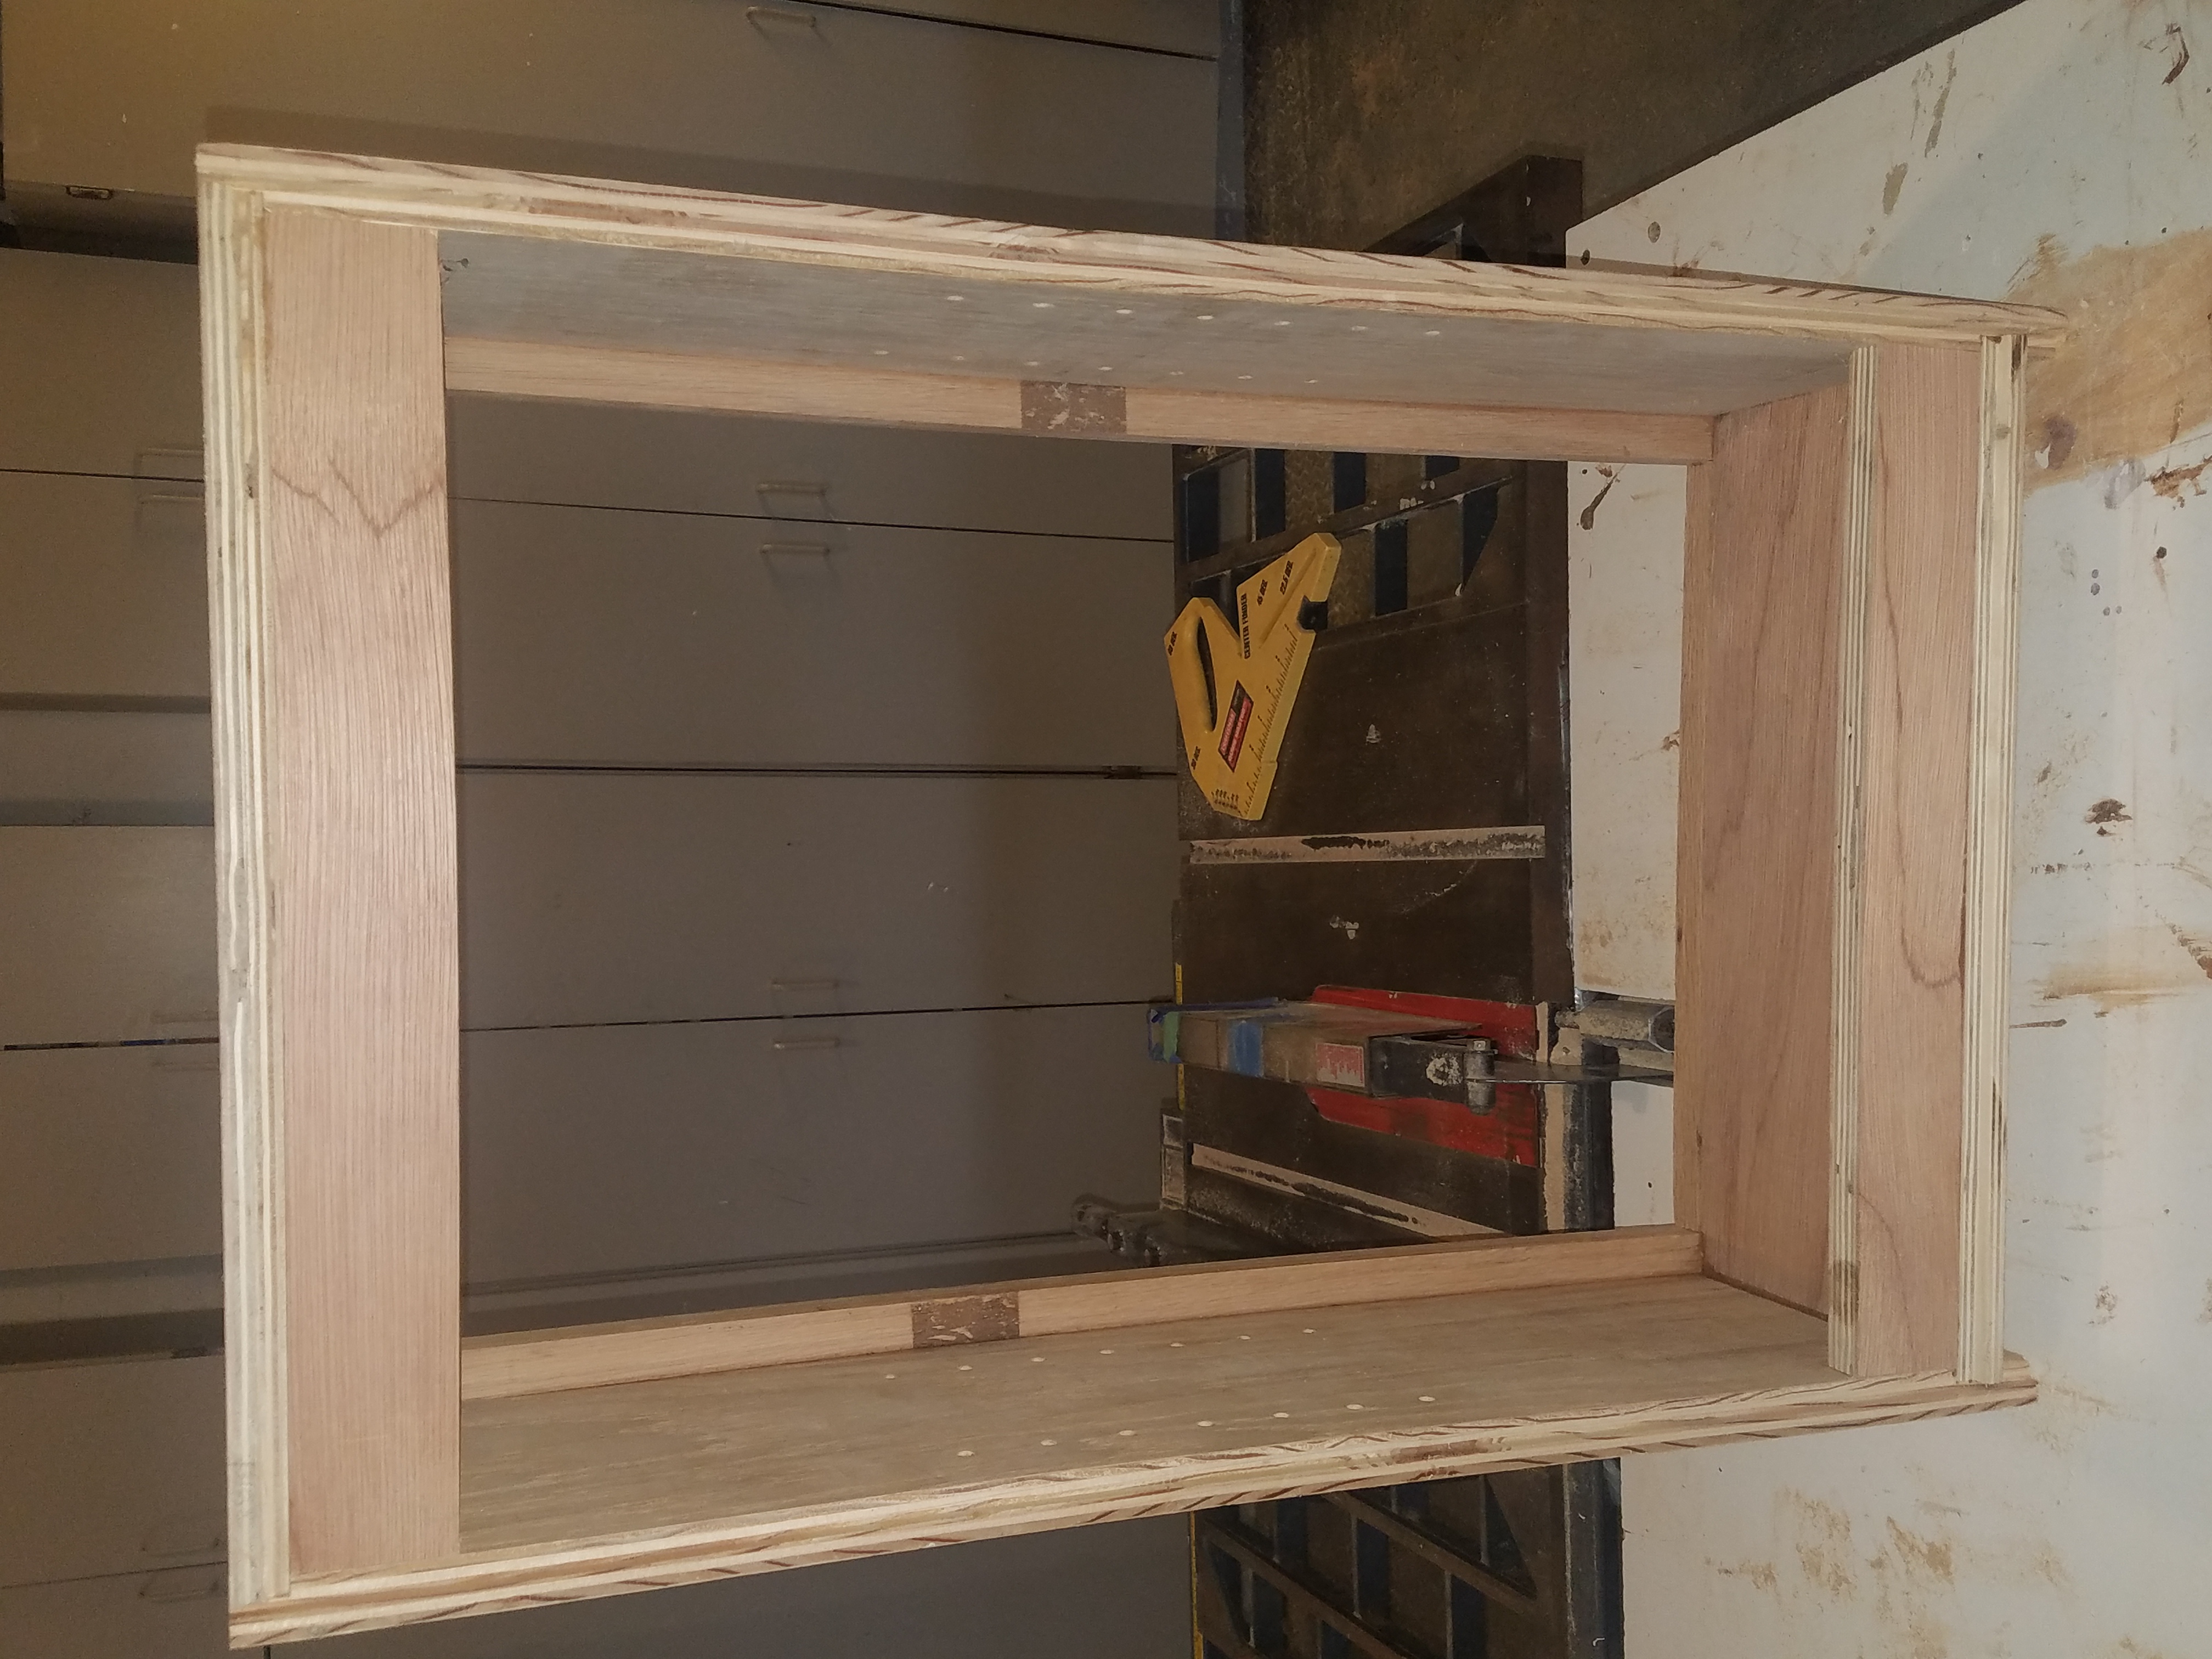
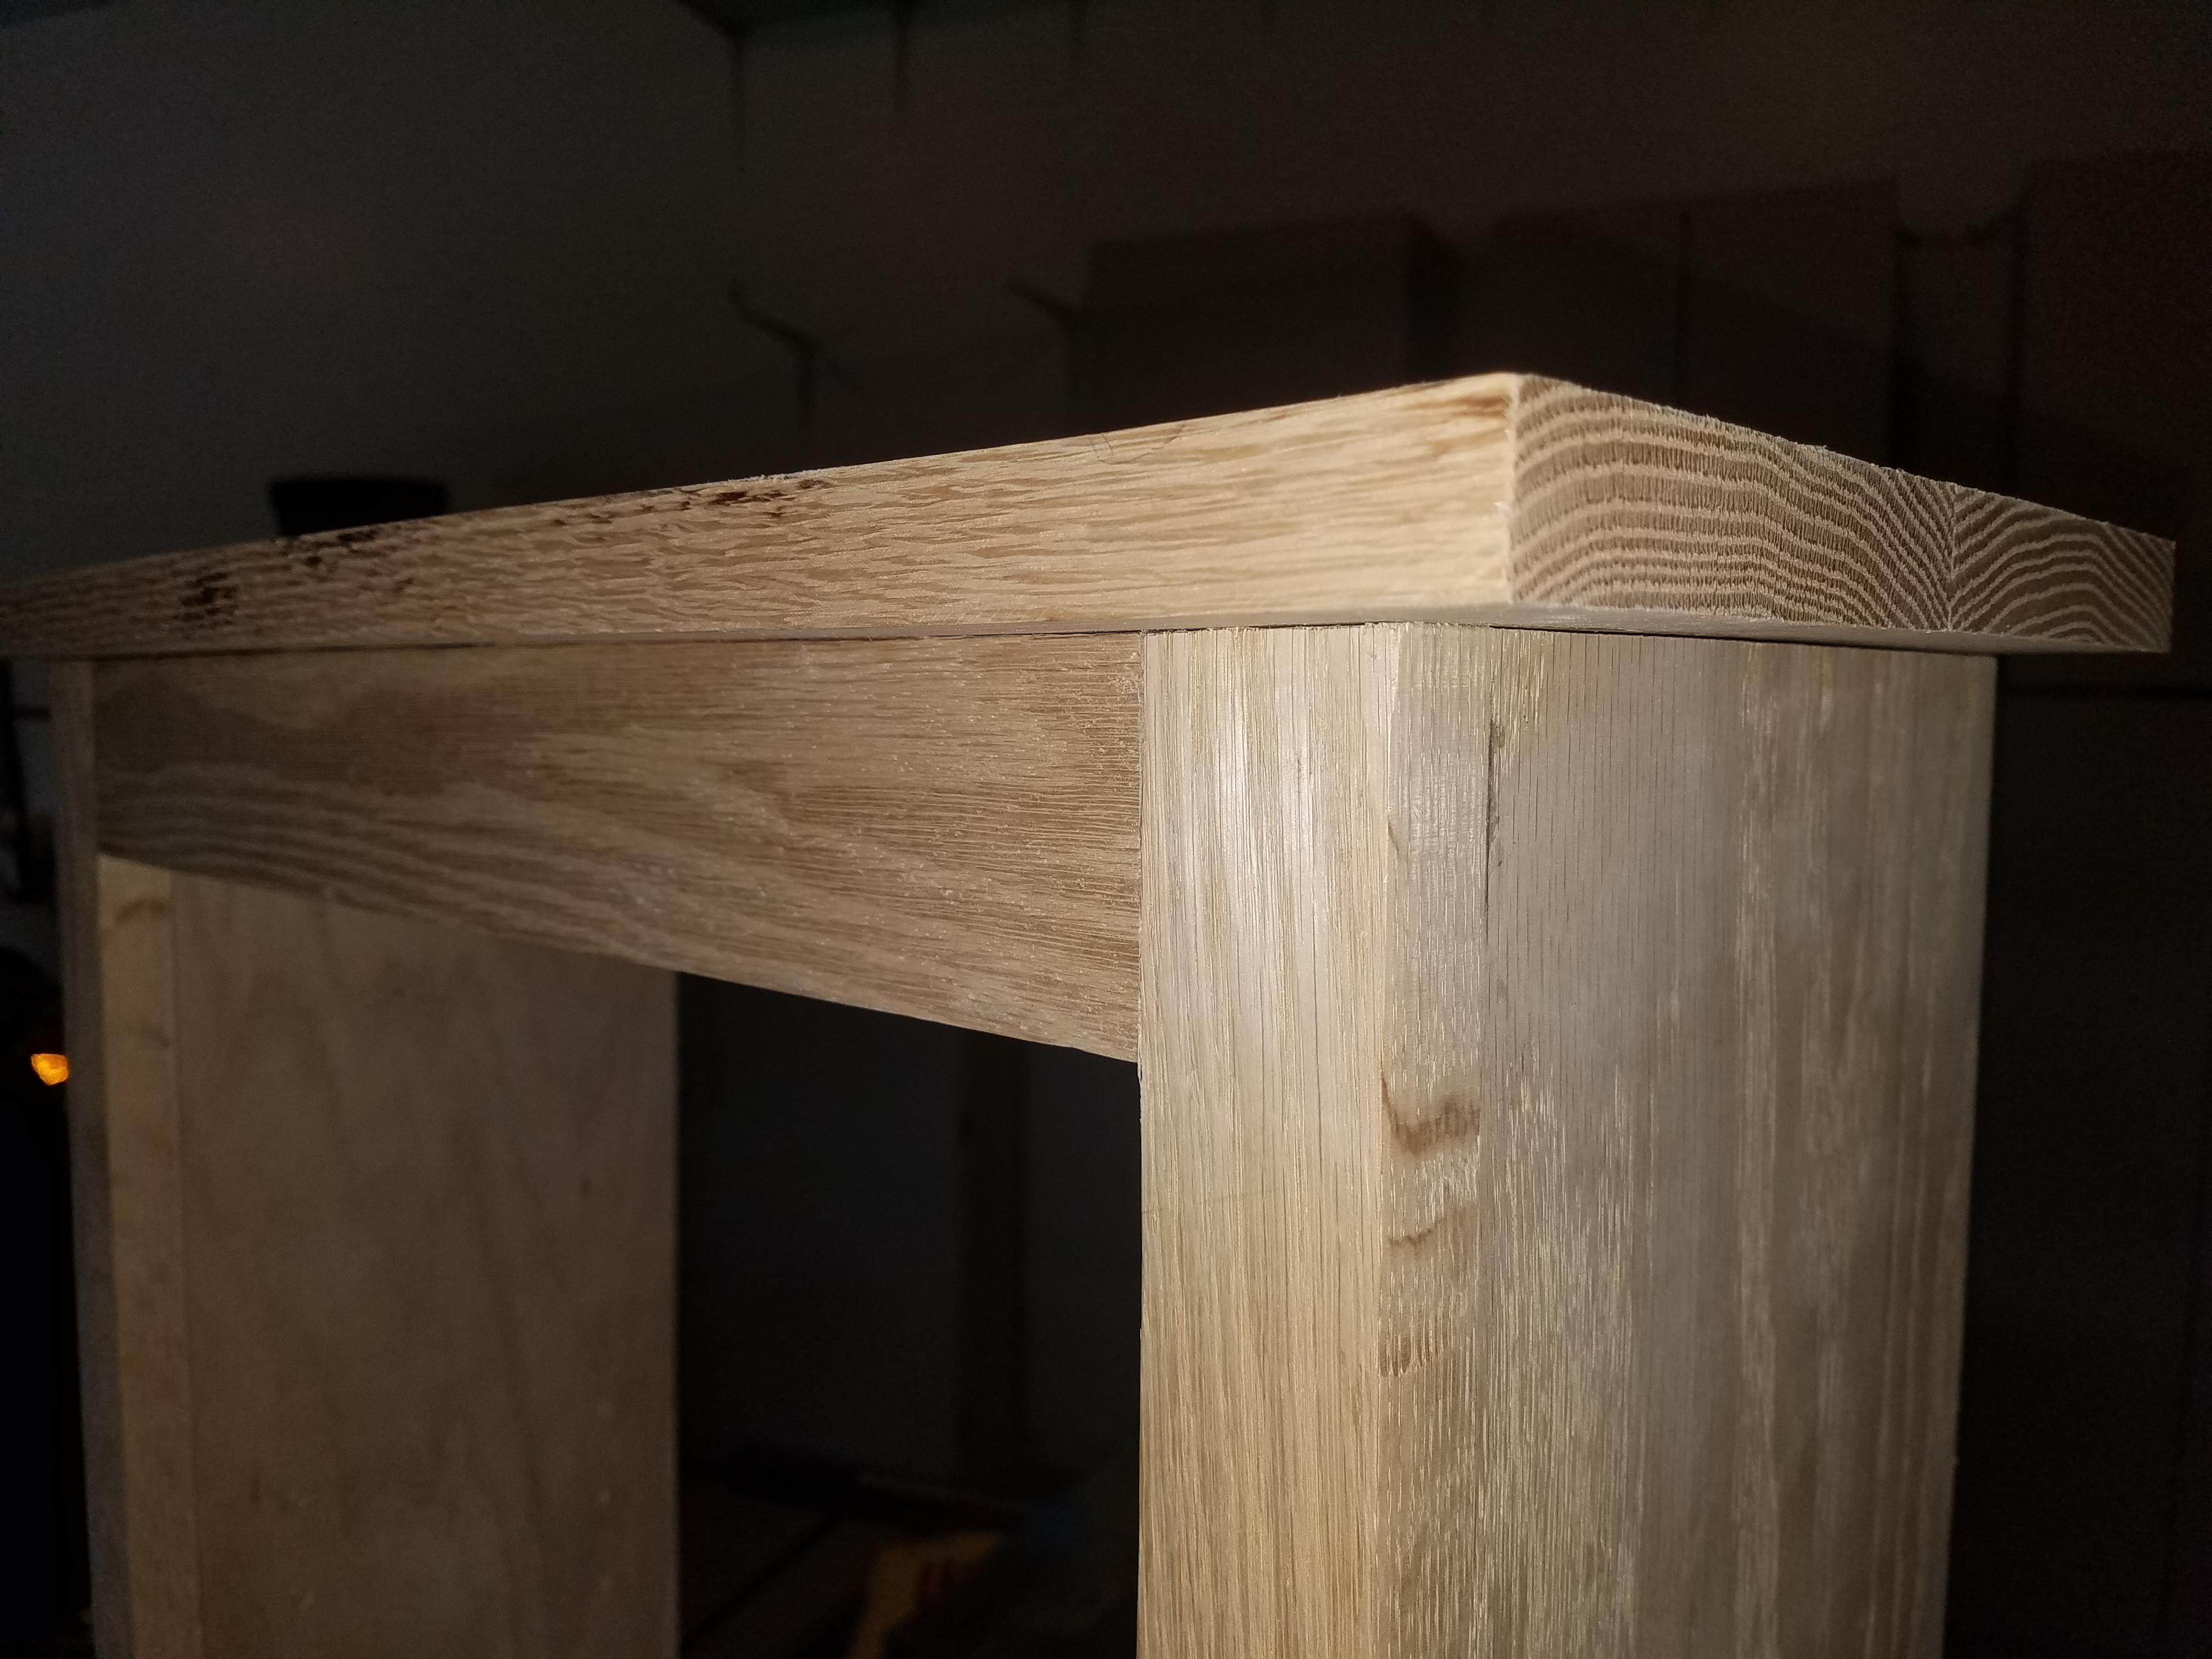
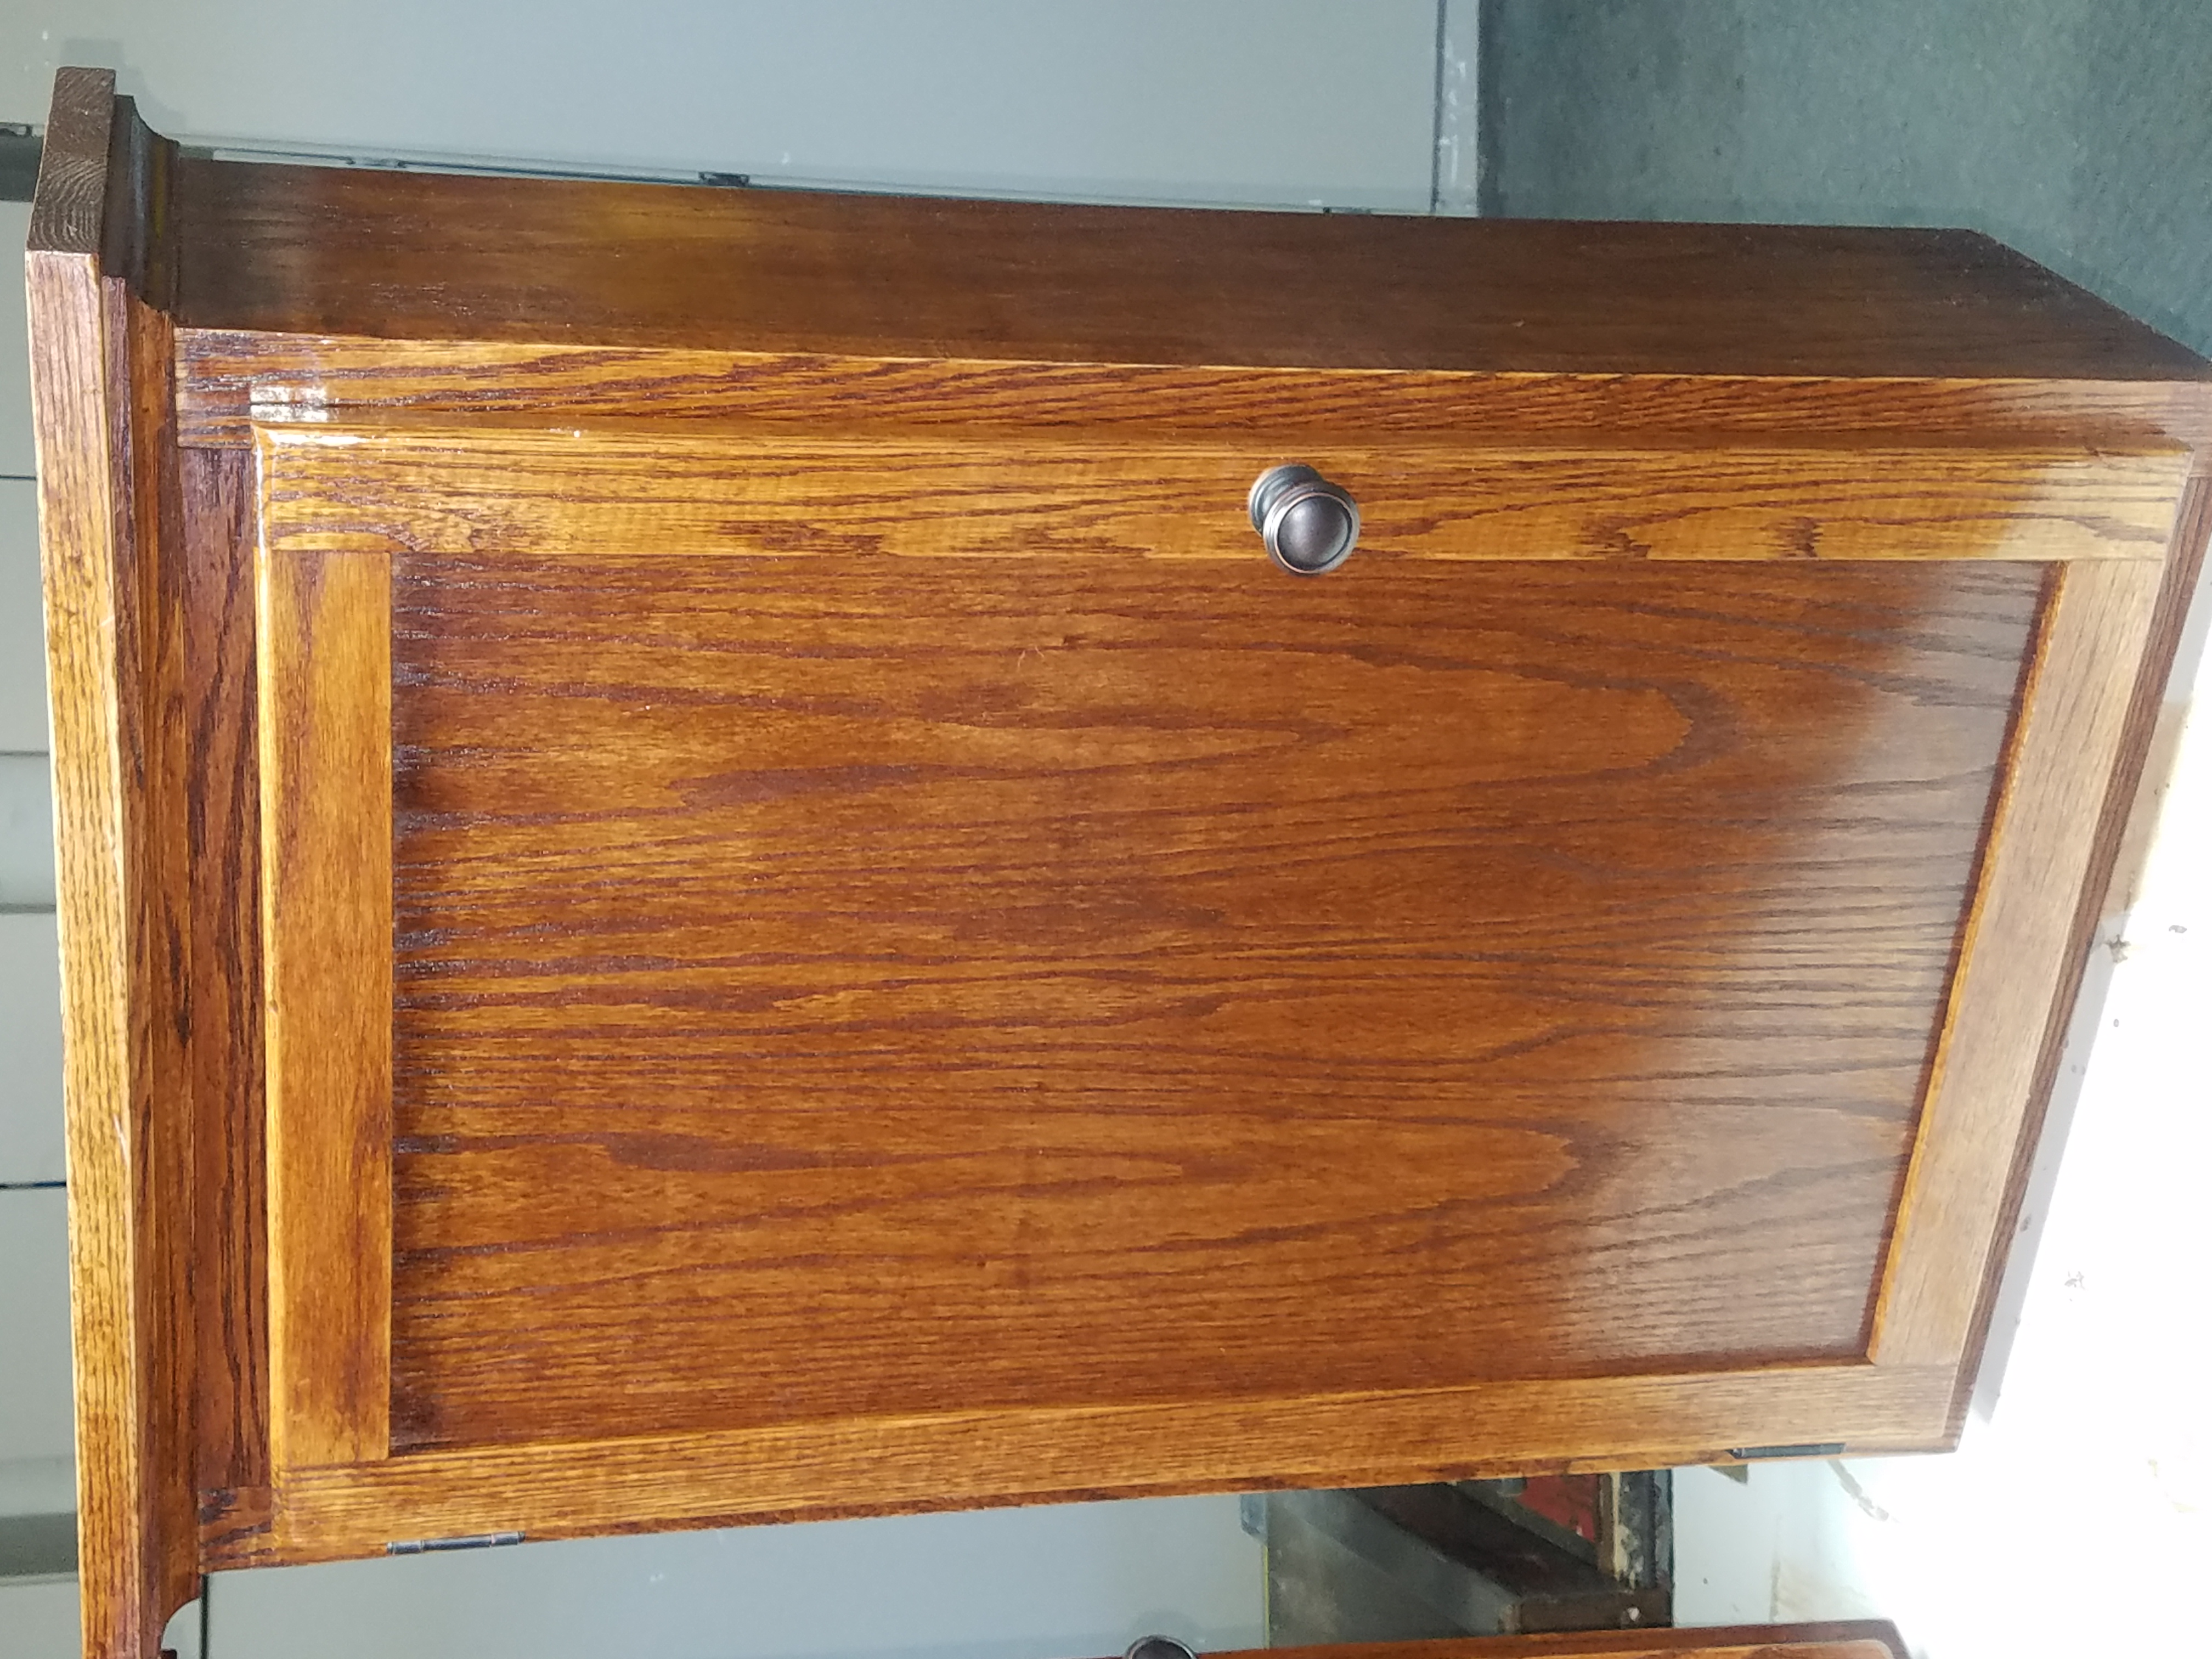
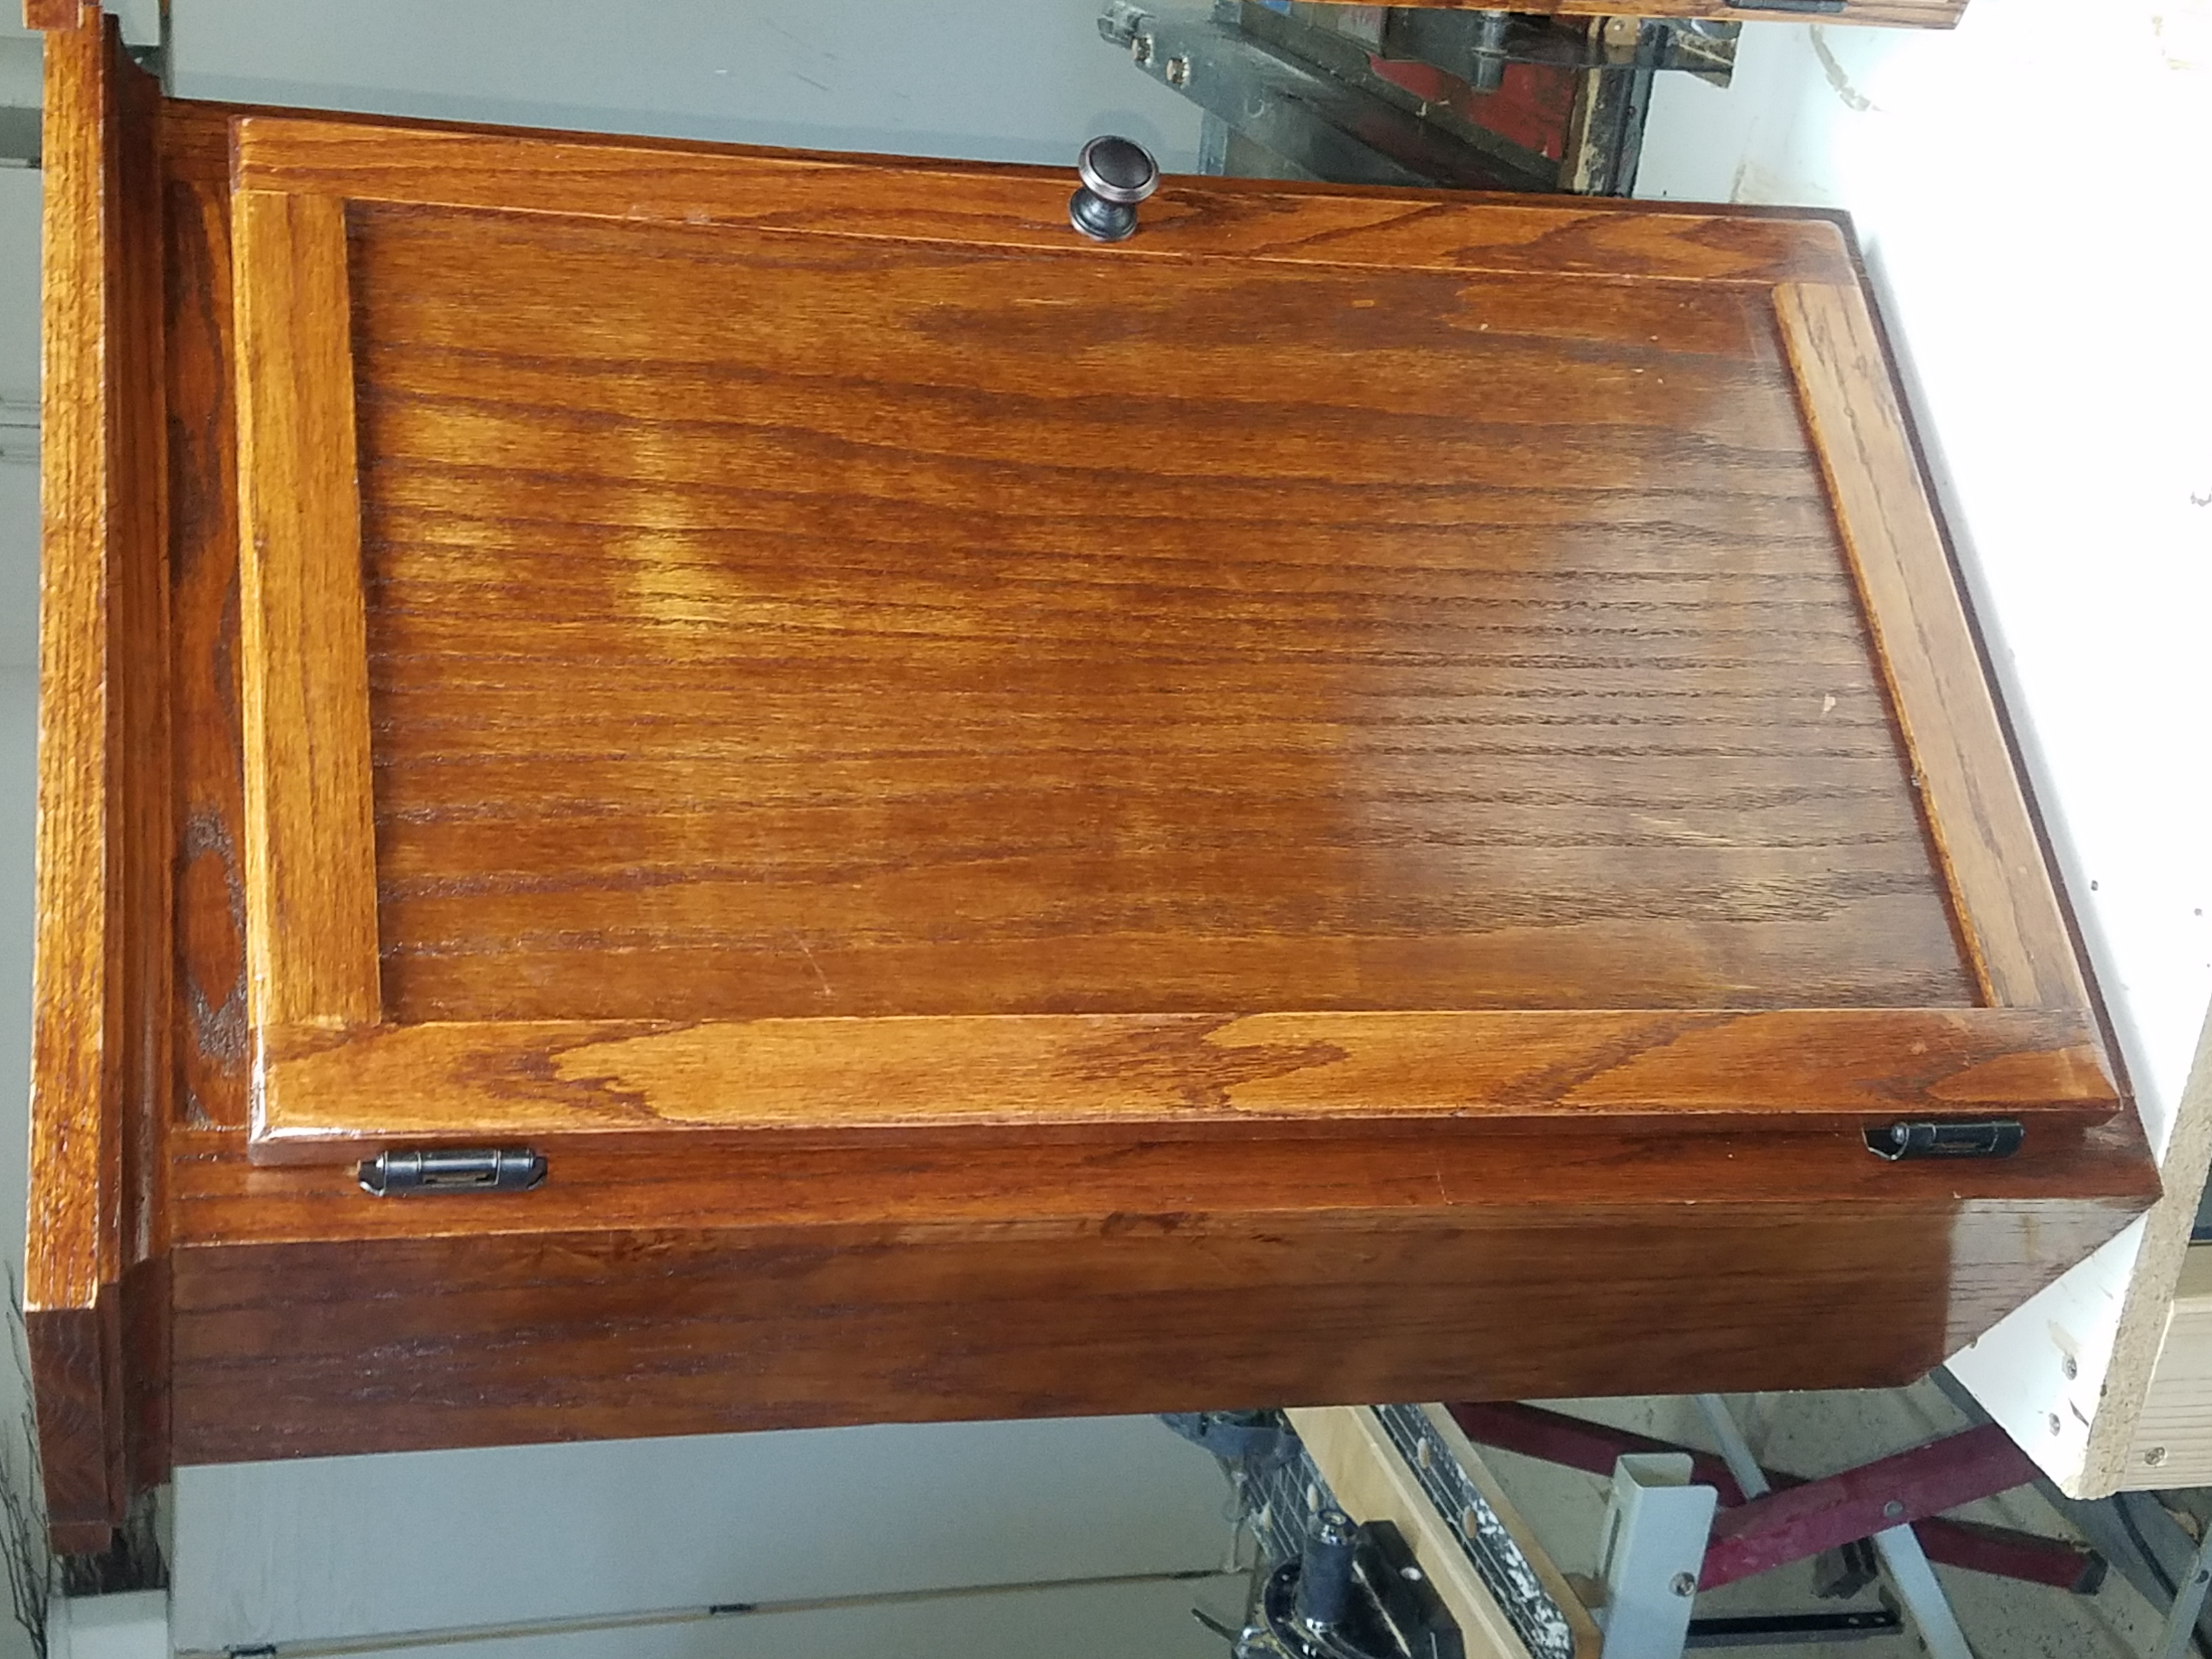
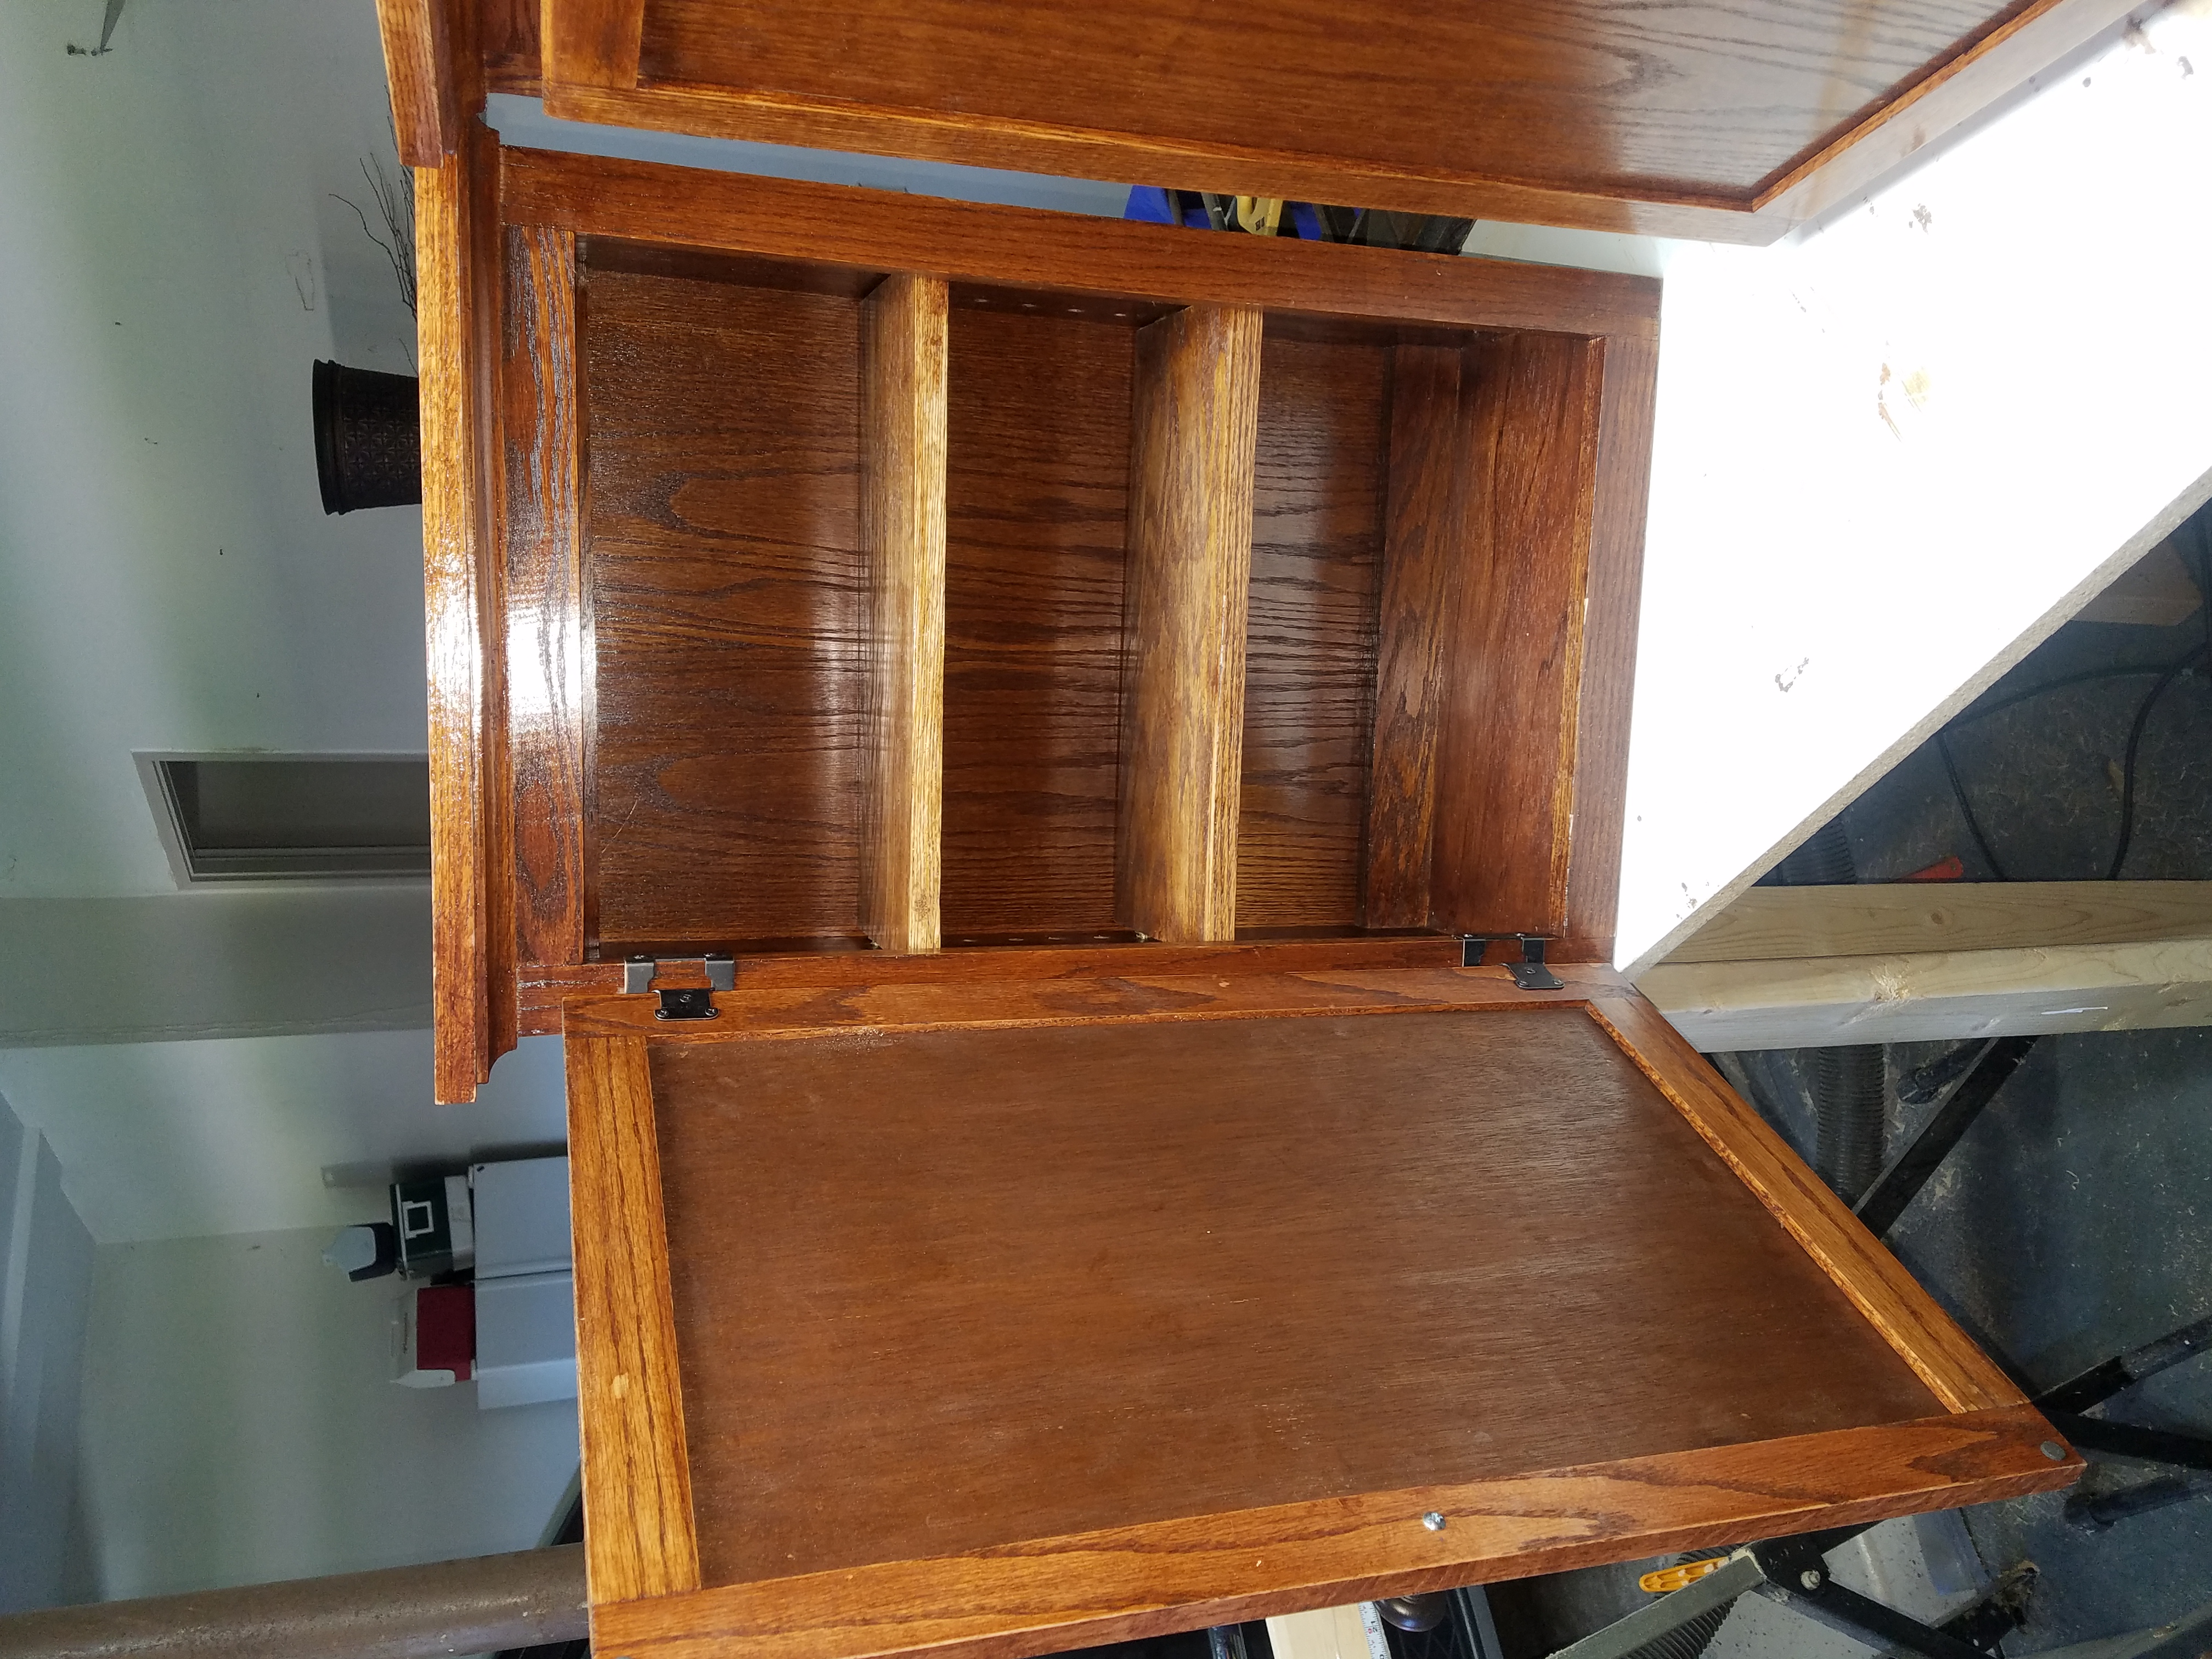
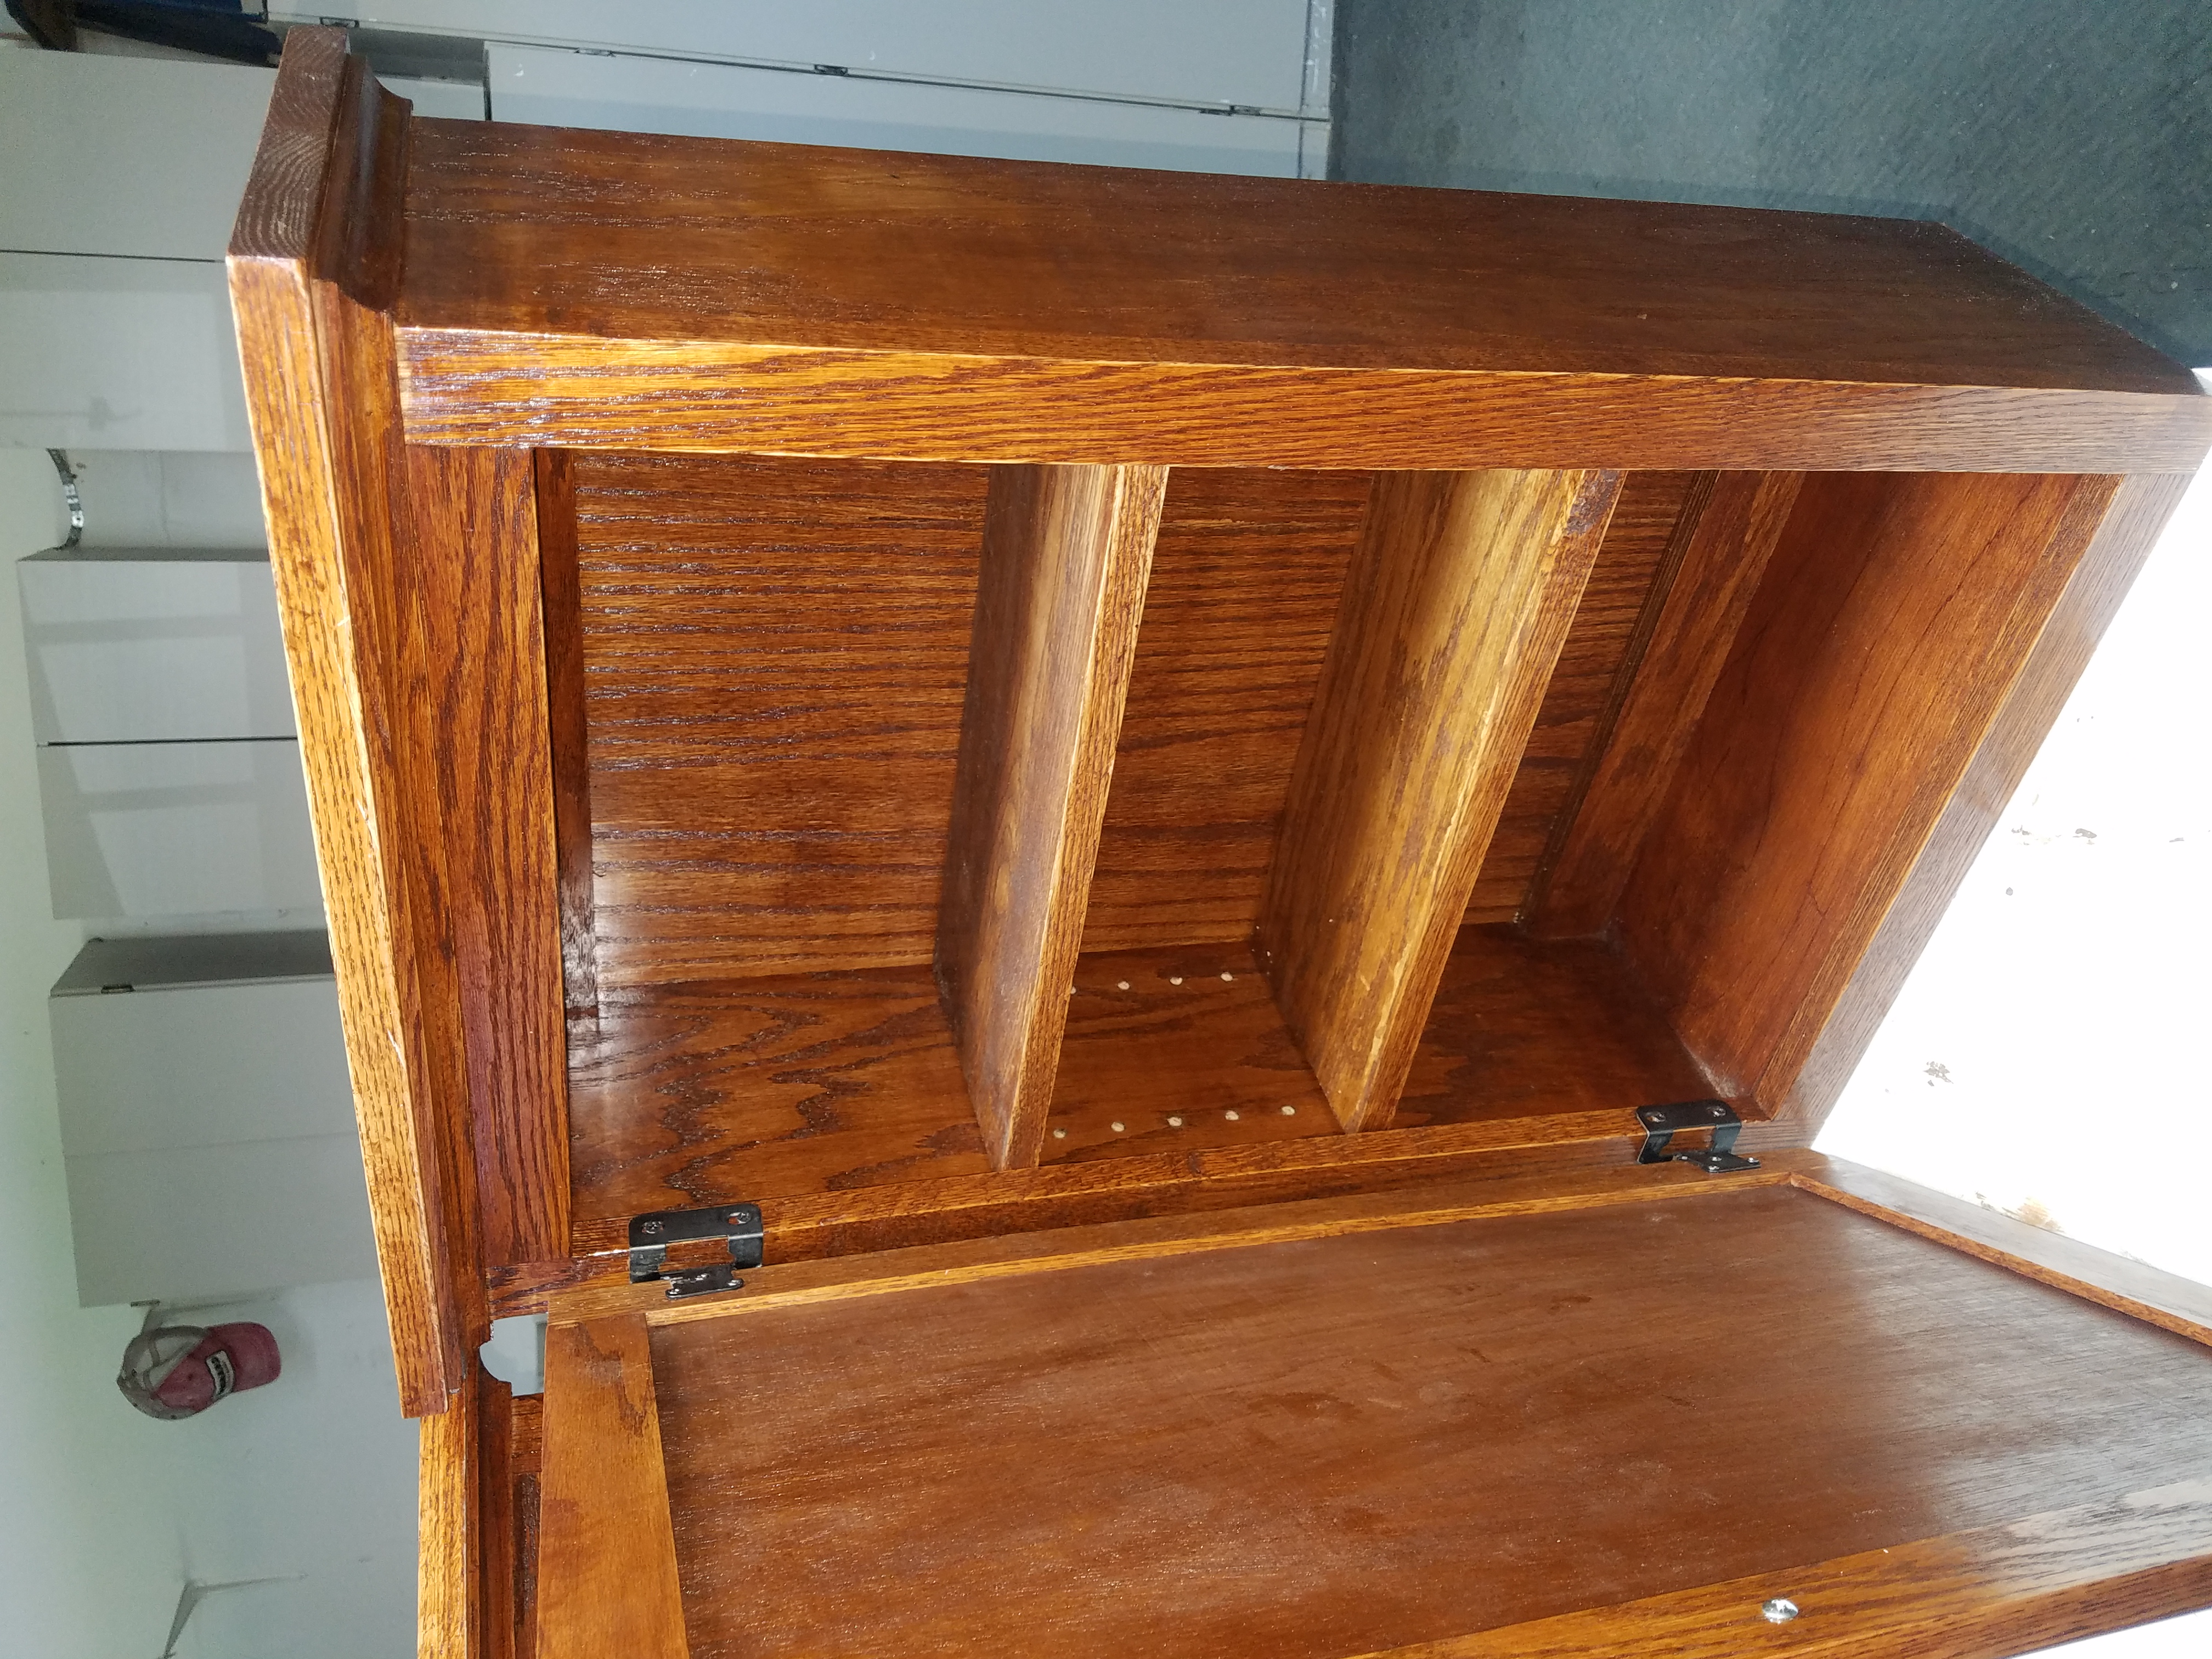
The case carcass is maded of 3/4 oak plywood joined with rabbets and dados. The face frame is made from solid oak and joined using pocket screw holes with a Kreg jig. Then, joined to the cabinet with glue and clamps. Getting the face frame perfectly square and flat is important. One technique (among many) I learned from the DVD for both the carcass and the face frame is to make things slightly over sized (a fingernail catch over). So for the sided vs. the top and bottom you make them just a little proud in the rabbet joint. Instead of trying to get it perfect and risk being undersized (which you cannot correct), you make it a little proud. Then, you use a trim bit to get it perfect!. You can do the same thing with the face frame BUT, since the ff is solid oak, you have to be just a tiny hair oversized, otherwise, when you use the trim bit trying to remove too much material, you will gauge the solid ff. (That was my error on the first build).
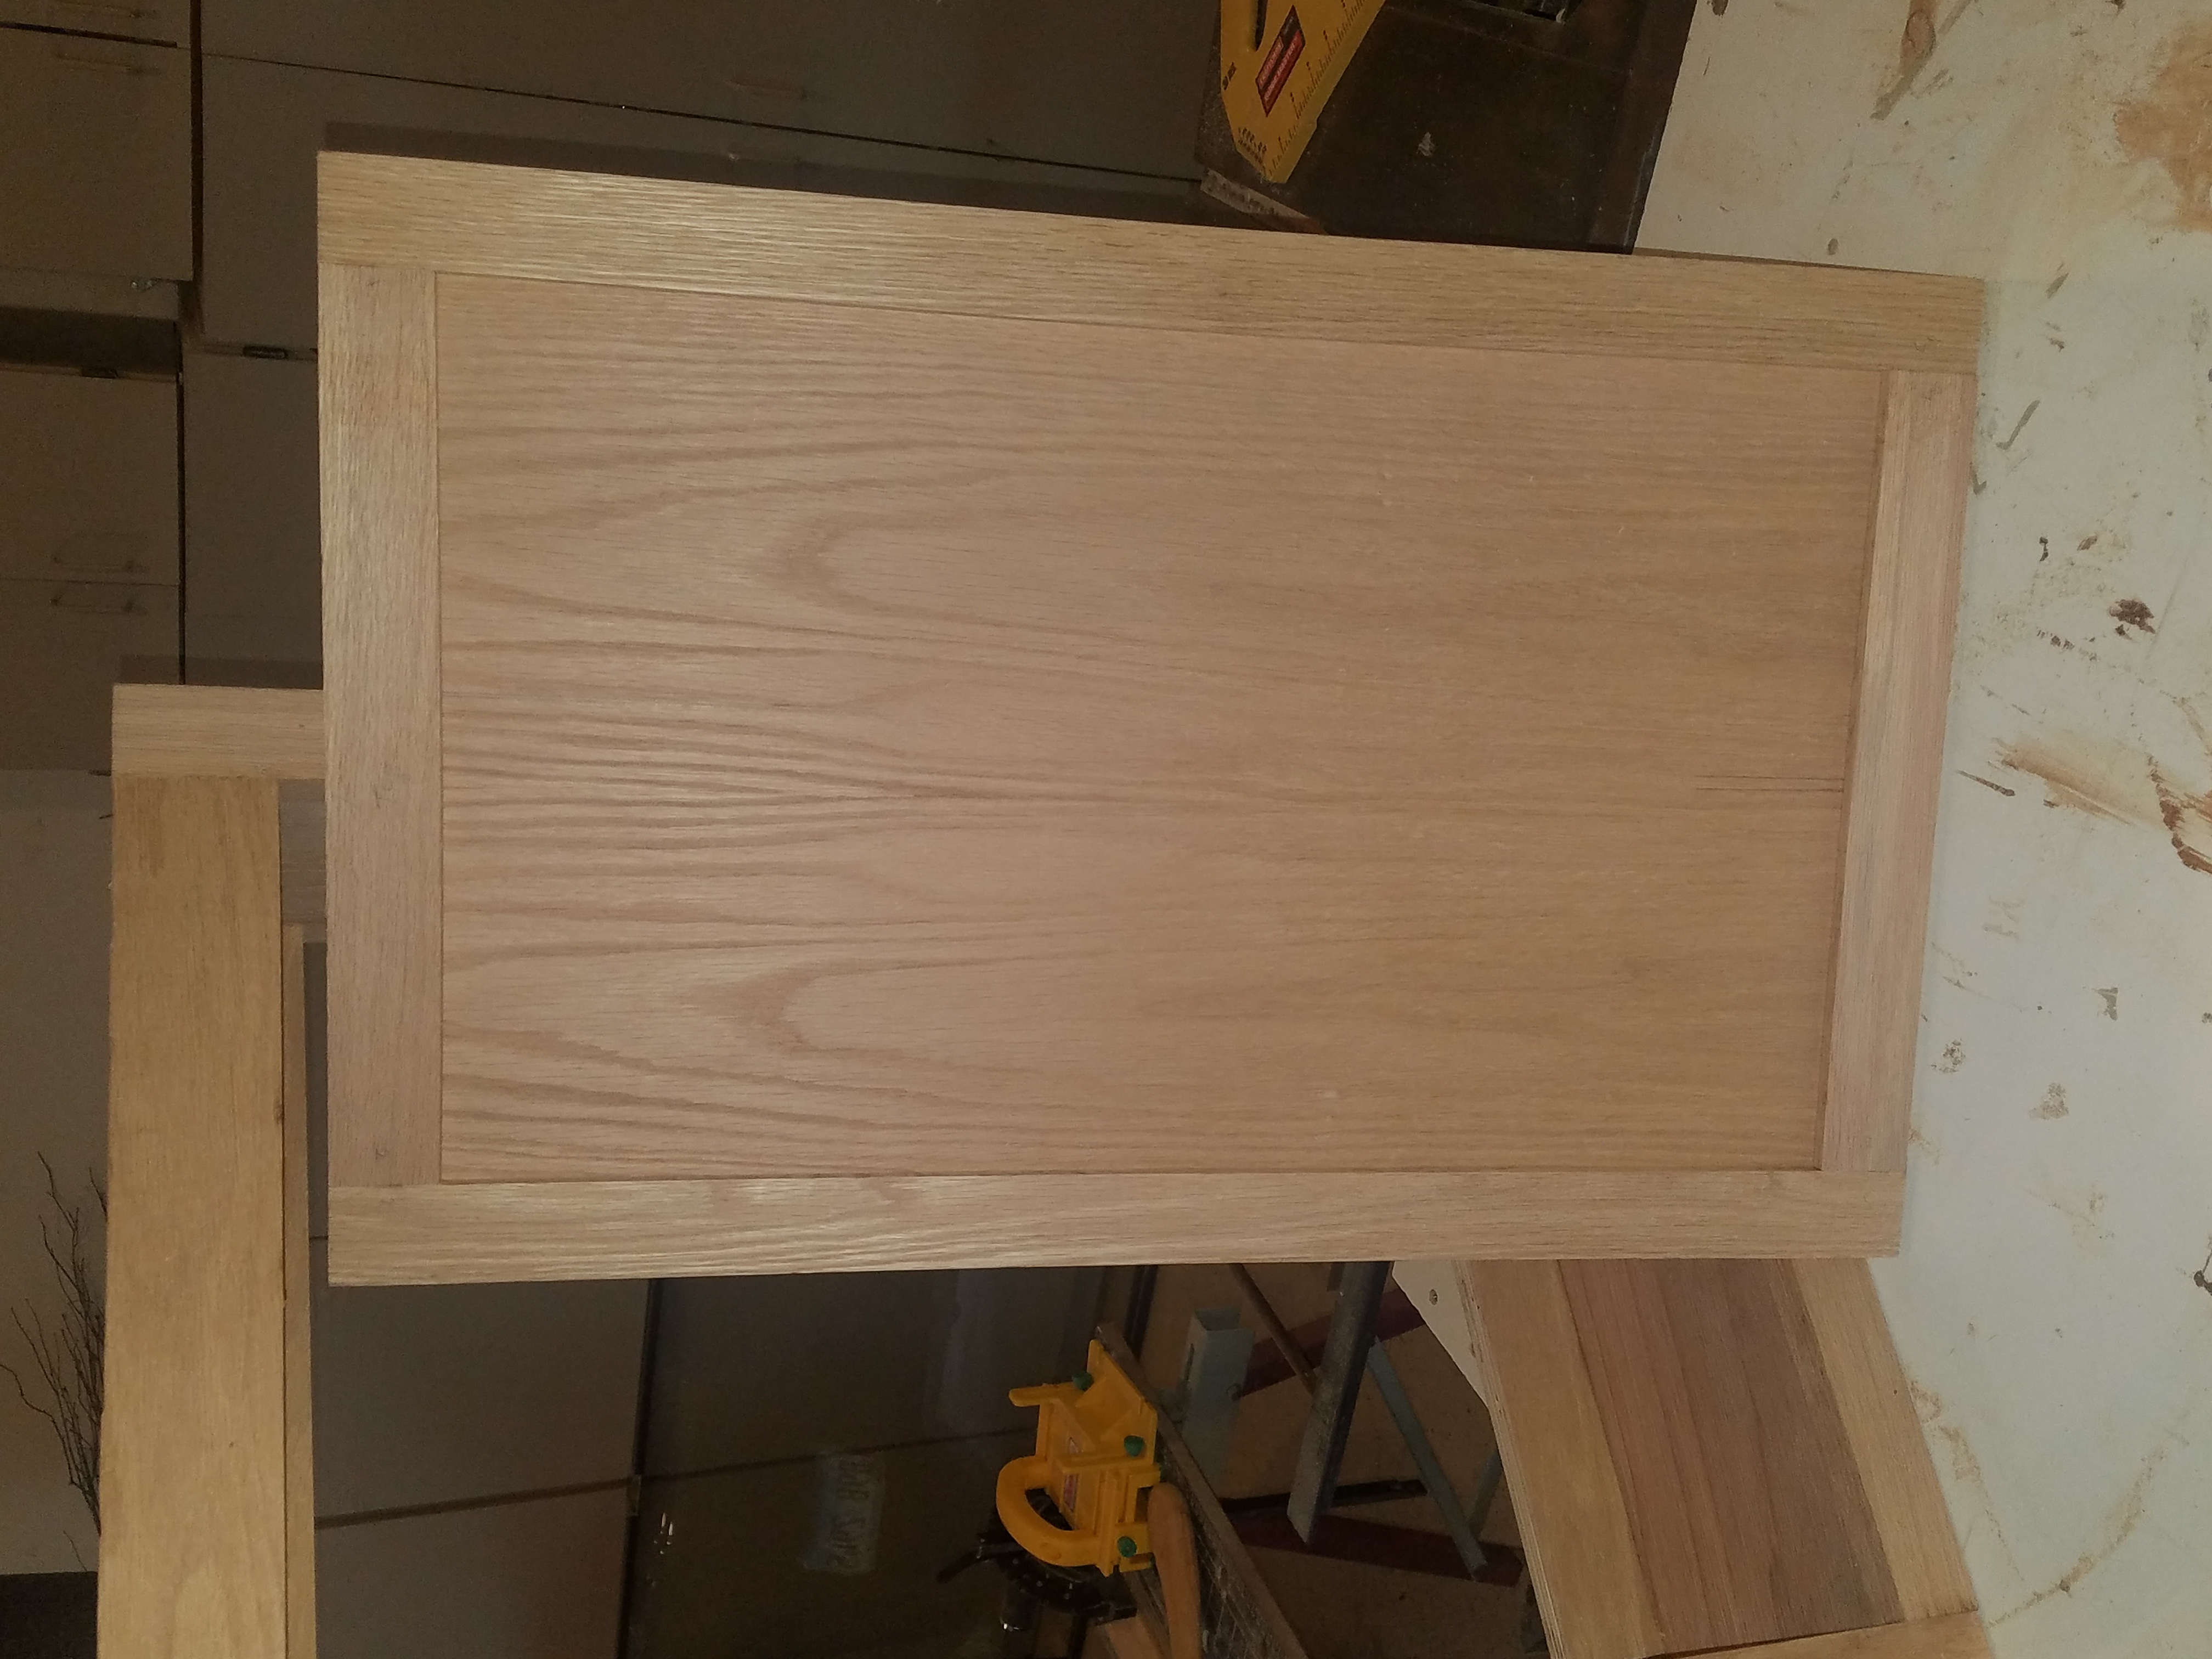
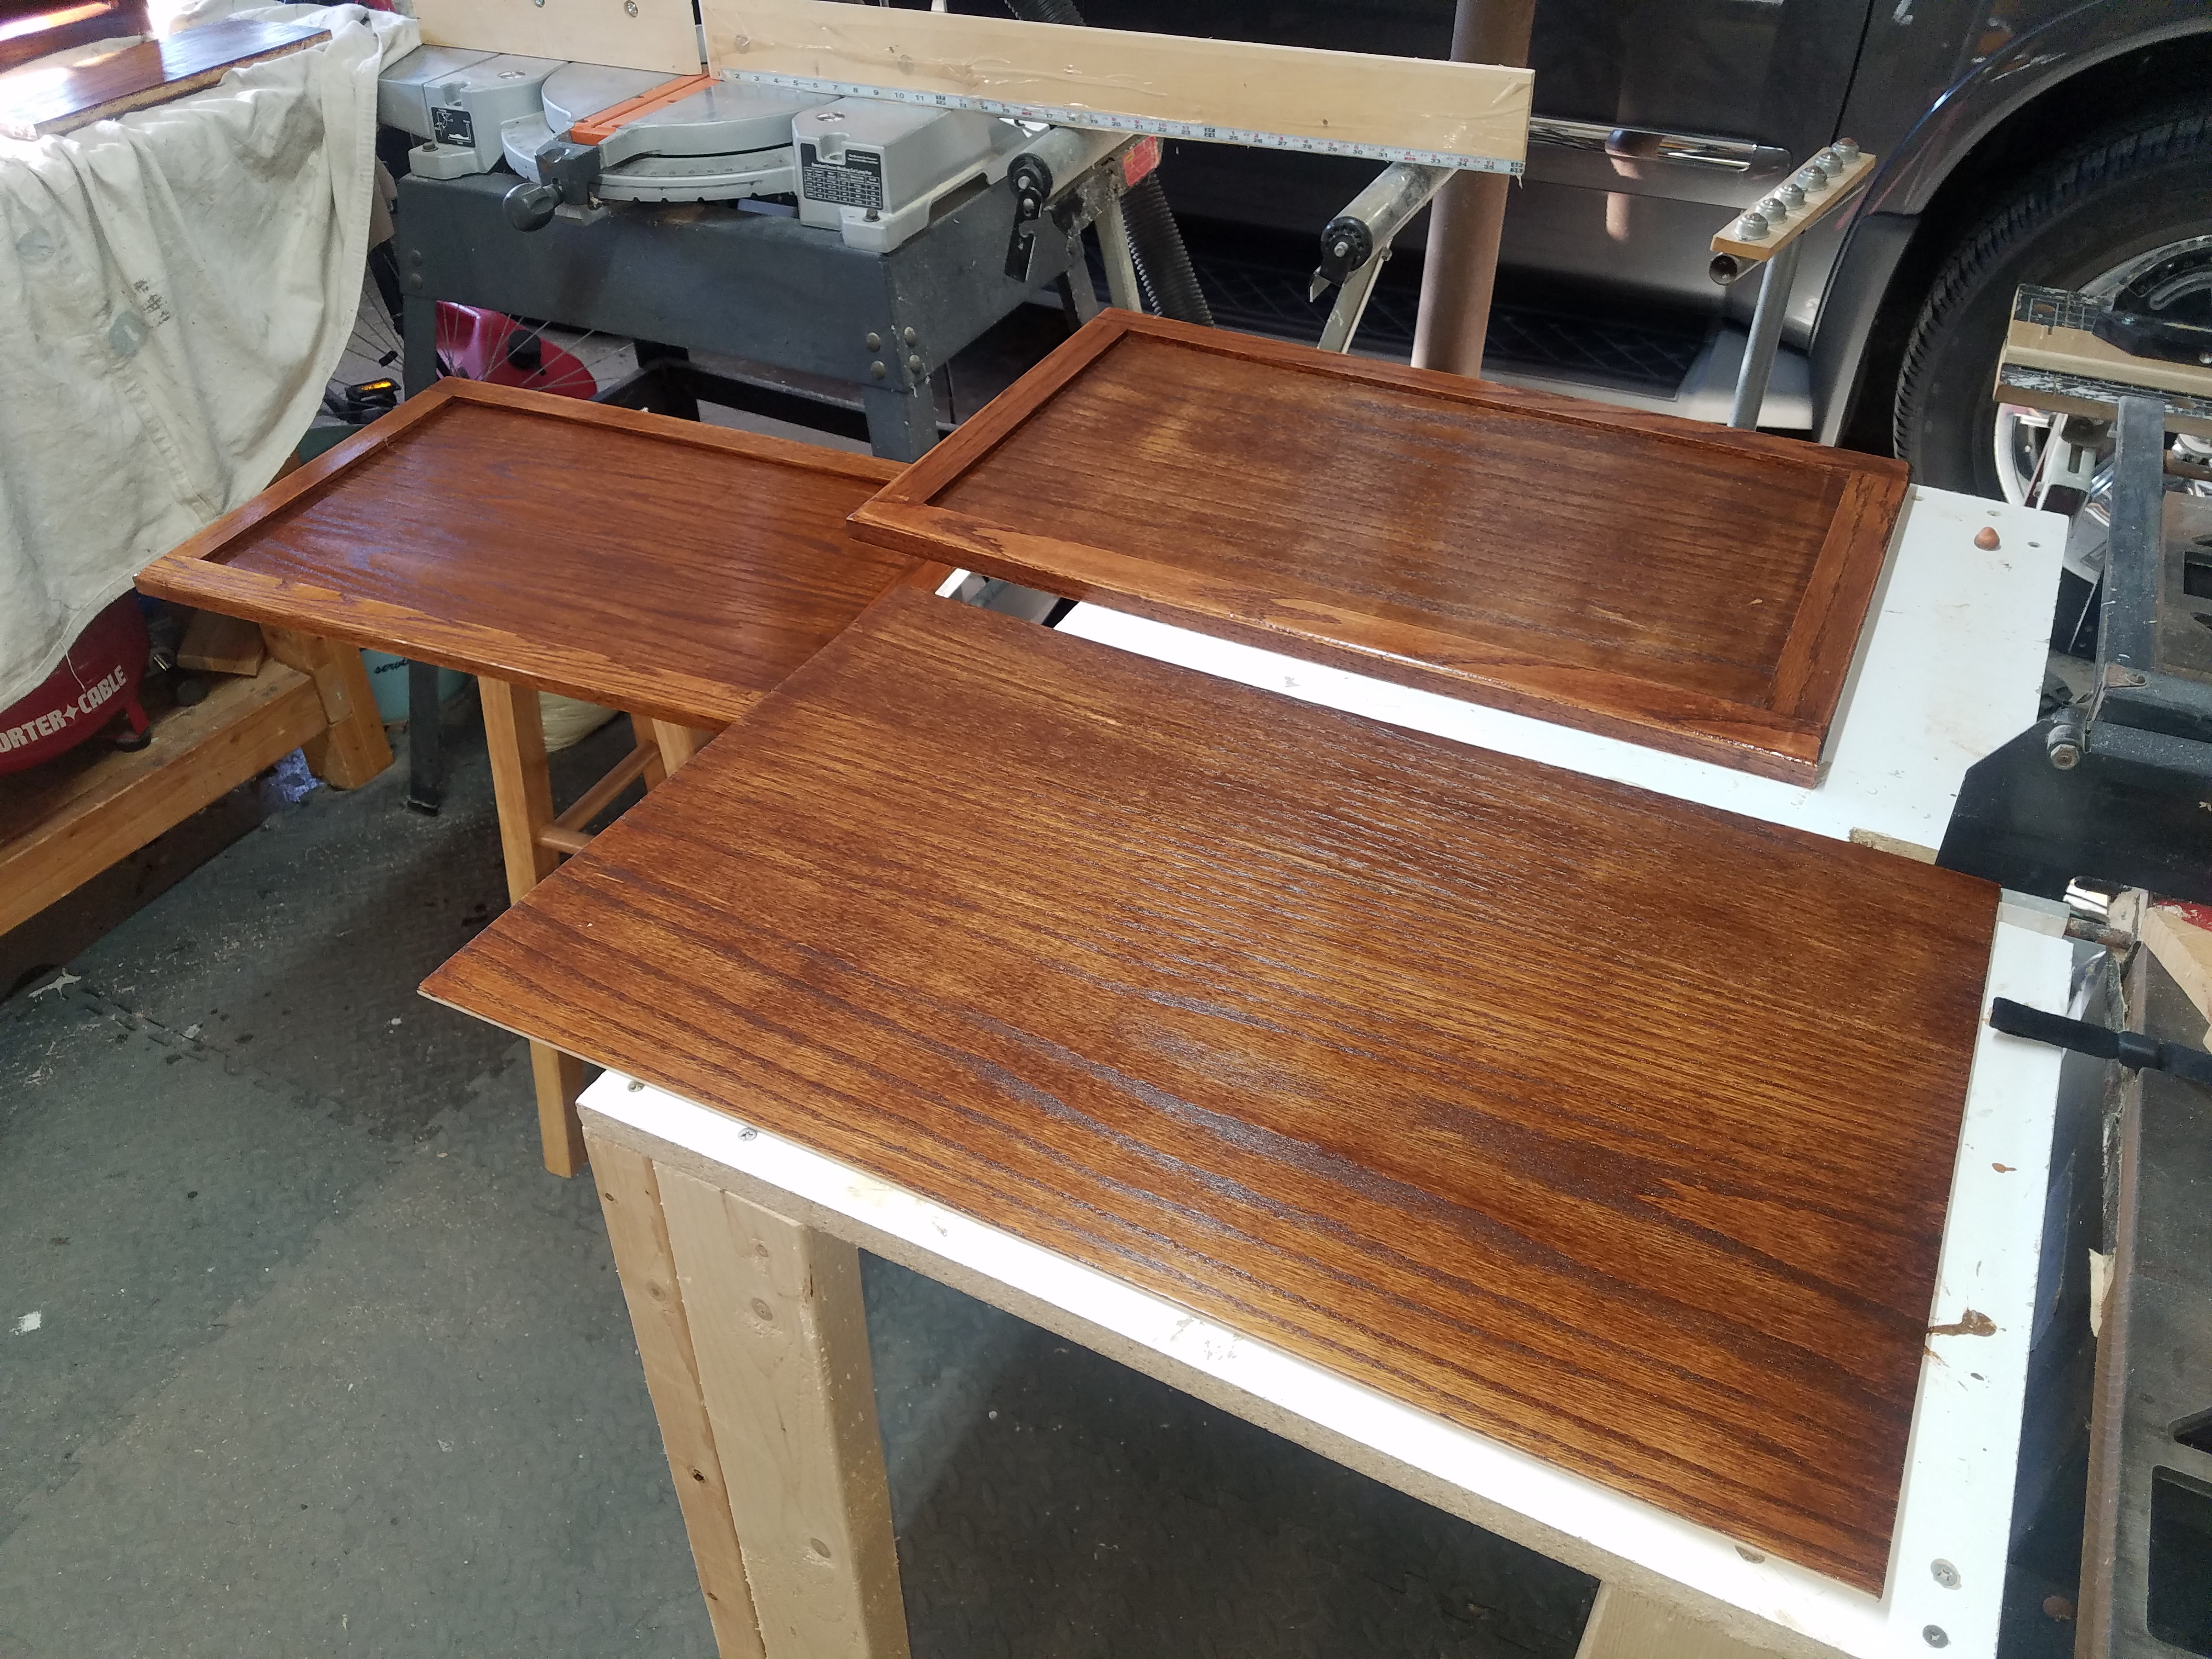
Next was the Door. Typical frame and panel construction. Bought a really nice set of tongue and groove Freud router bits. Made a small jig to avoid end grain split out (per DVD). Used a couple of silicon "snakes" to keep the floating panel from rattling.
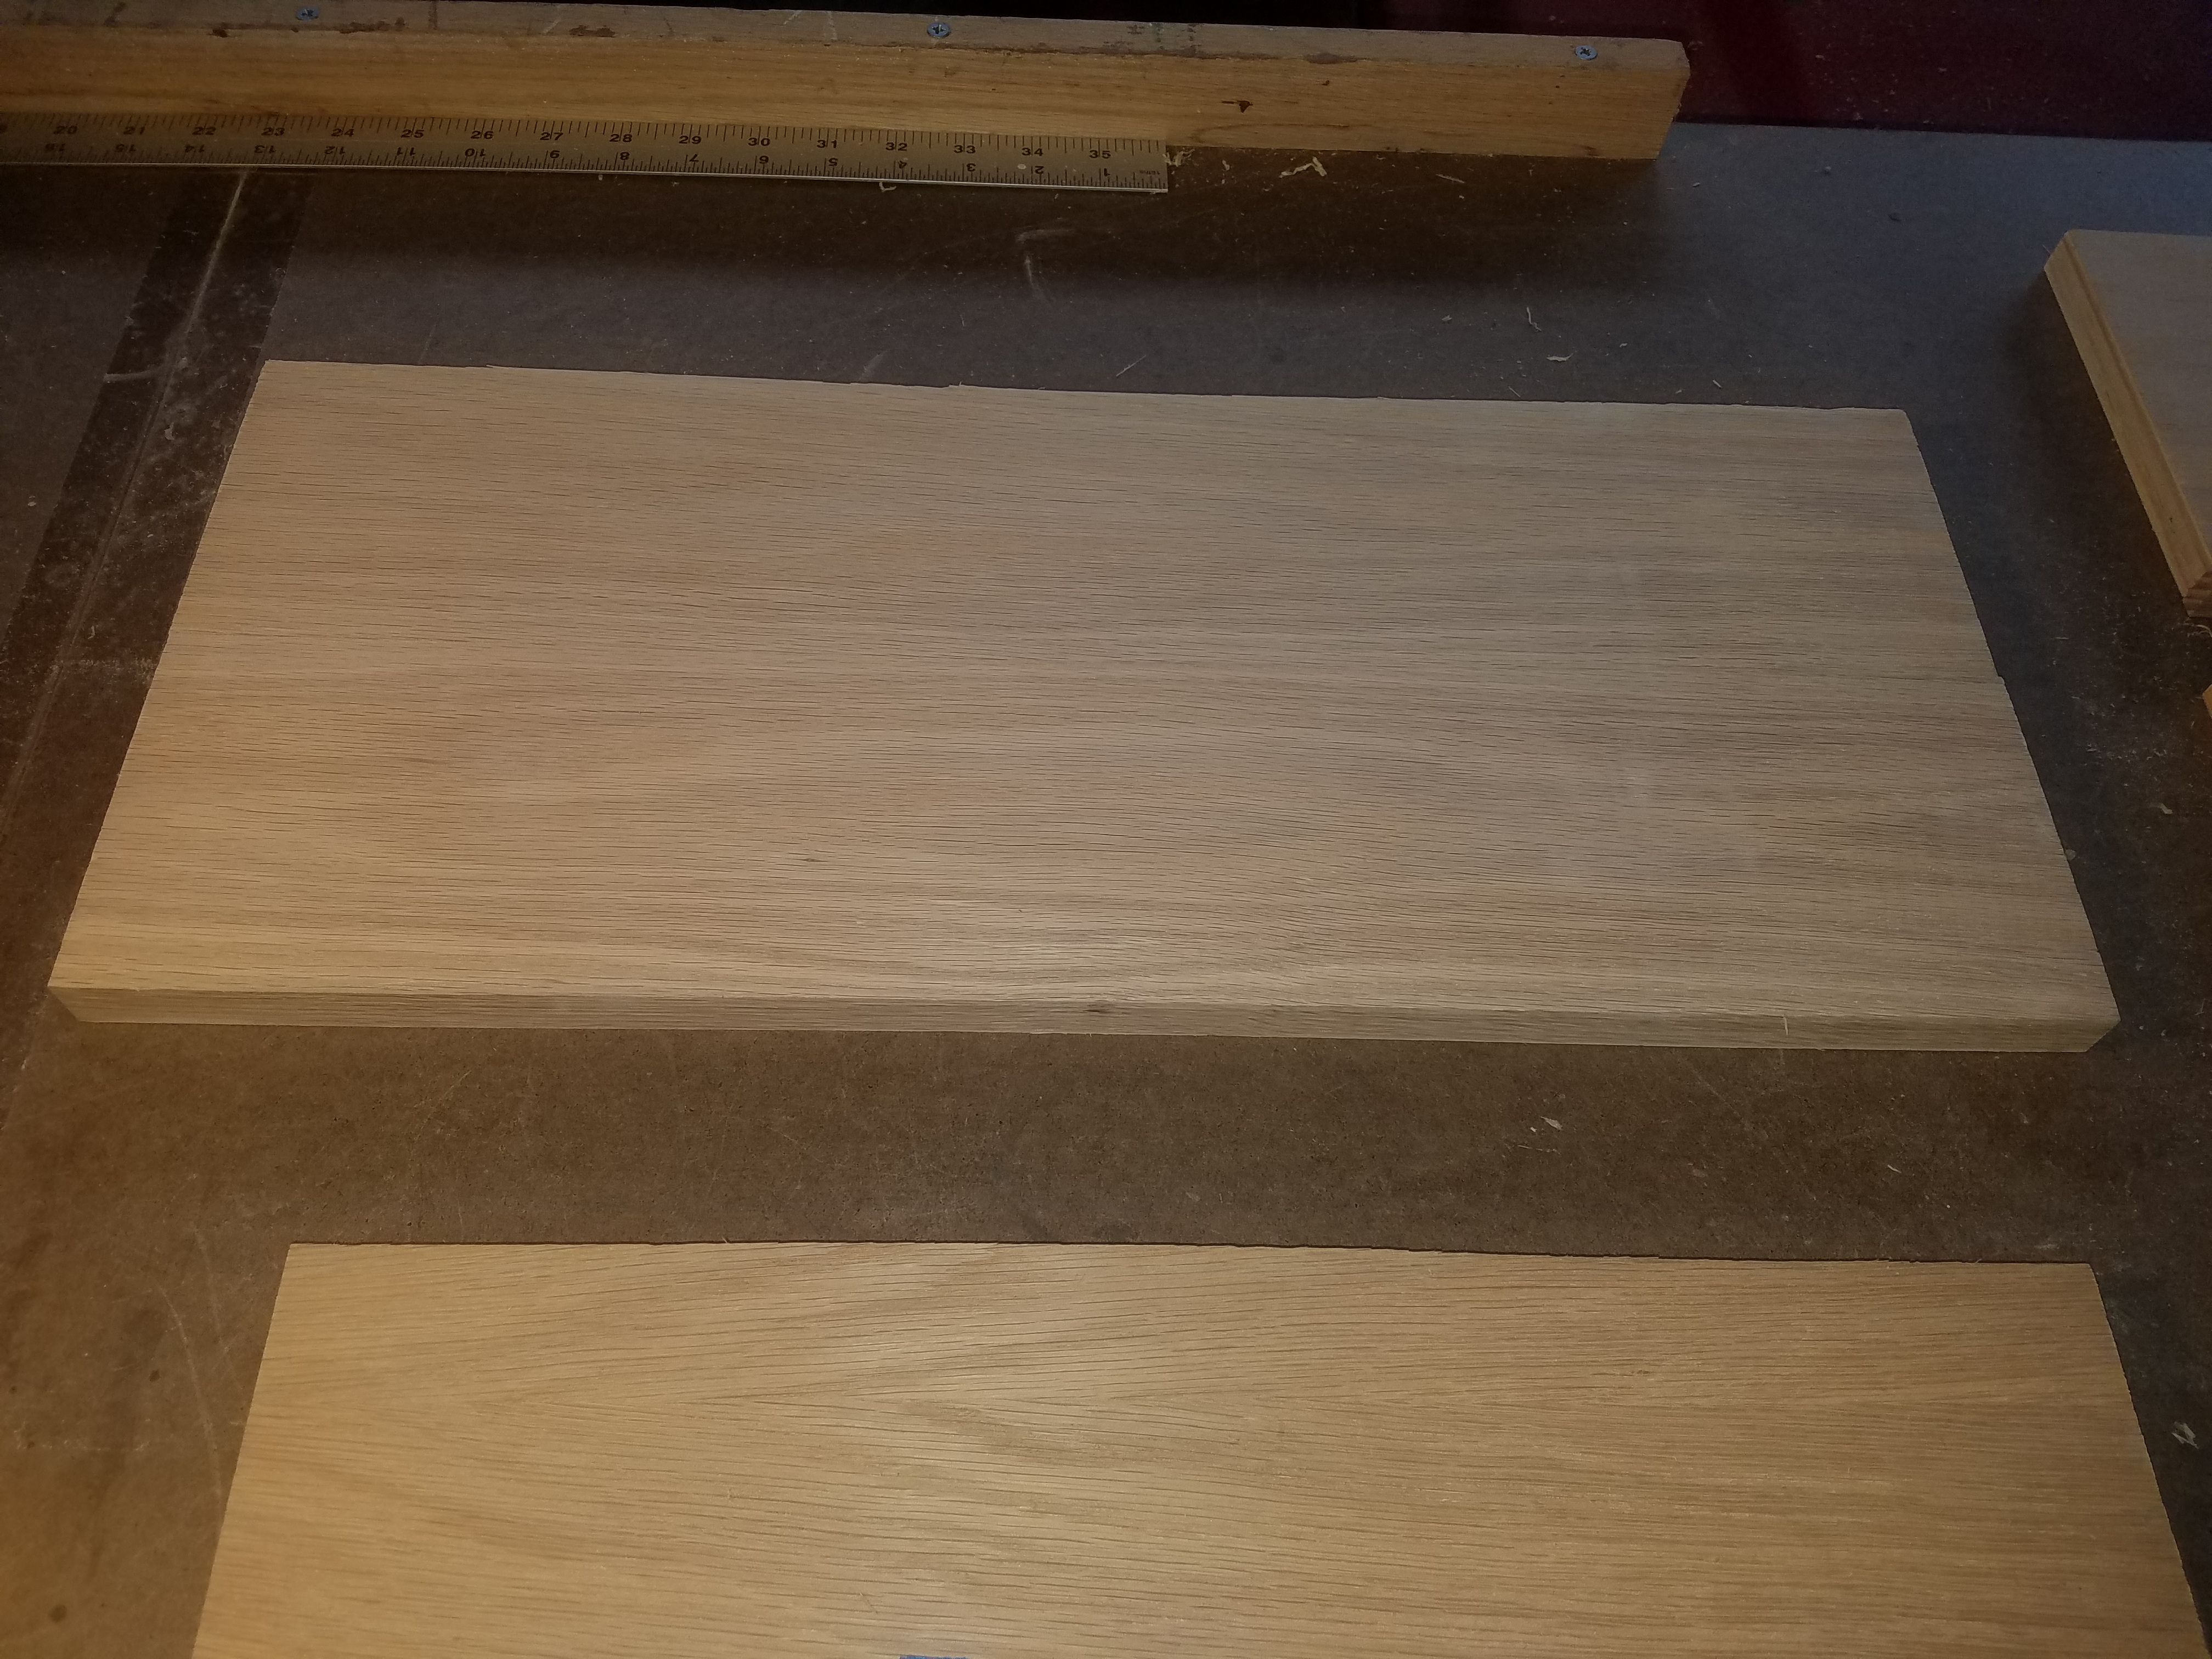
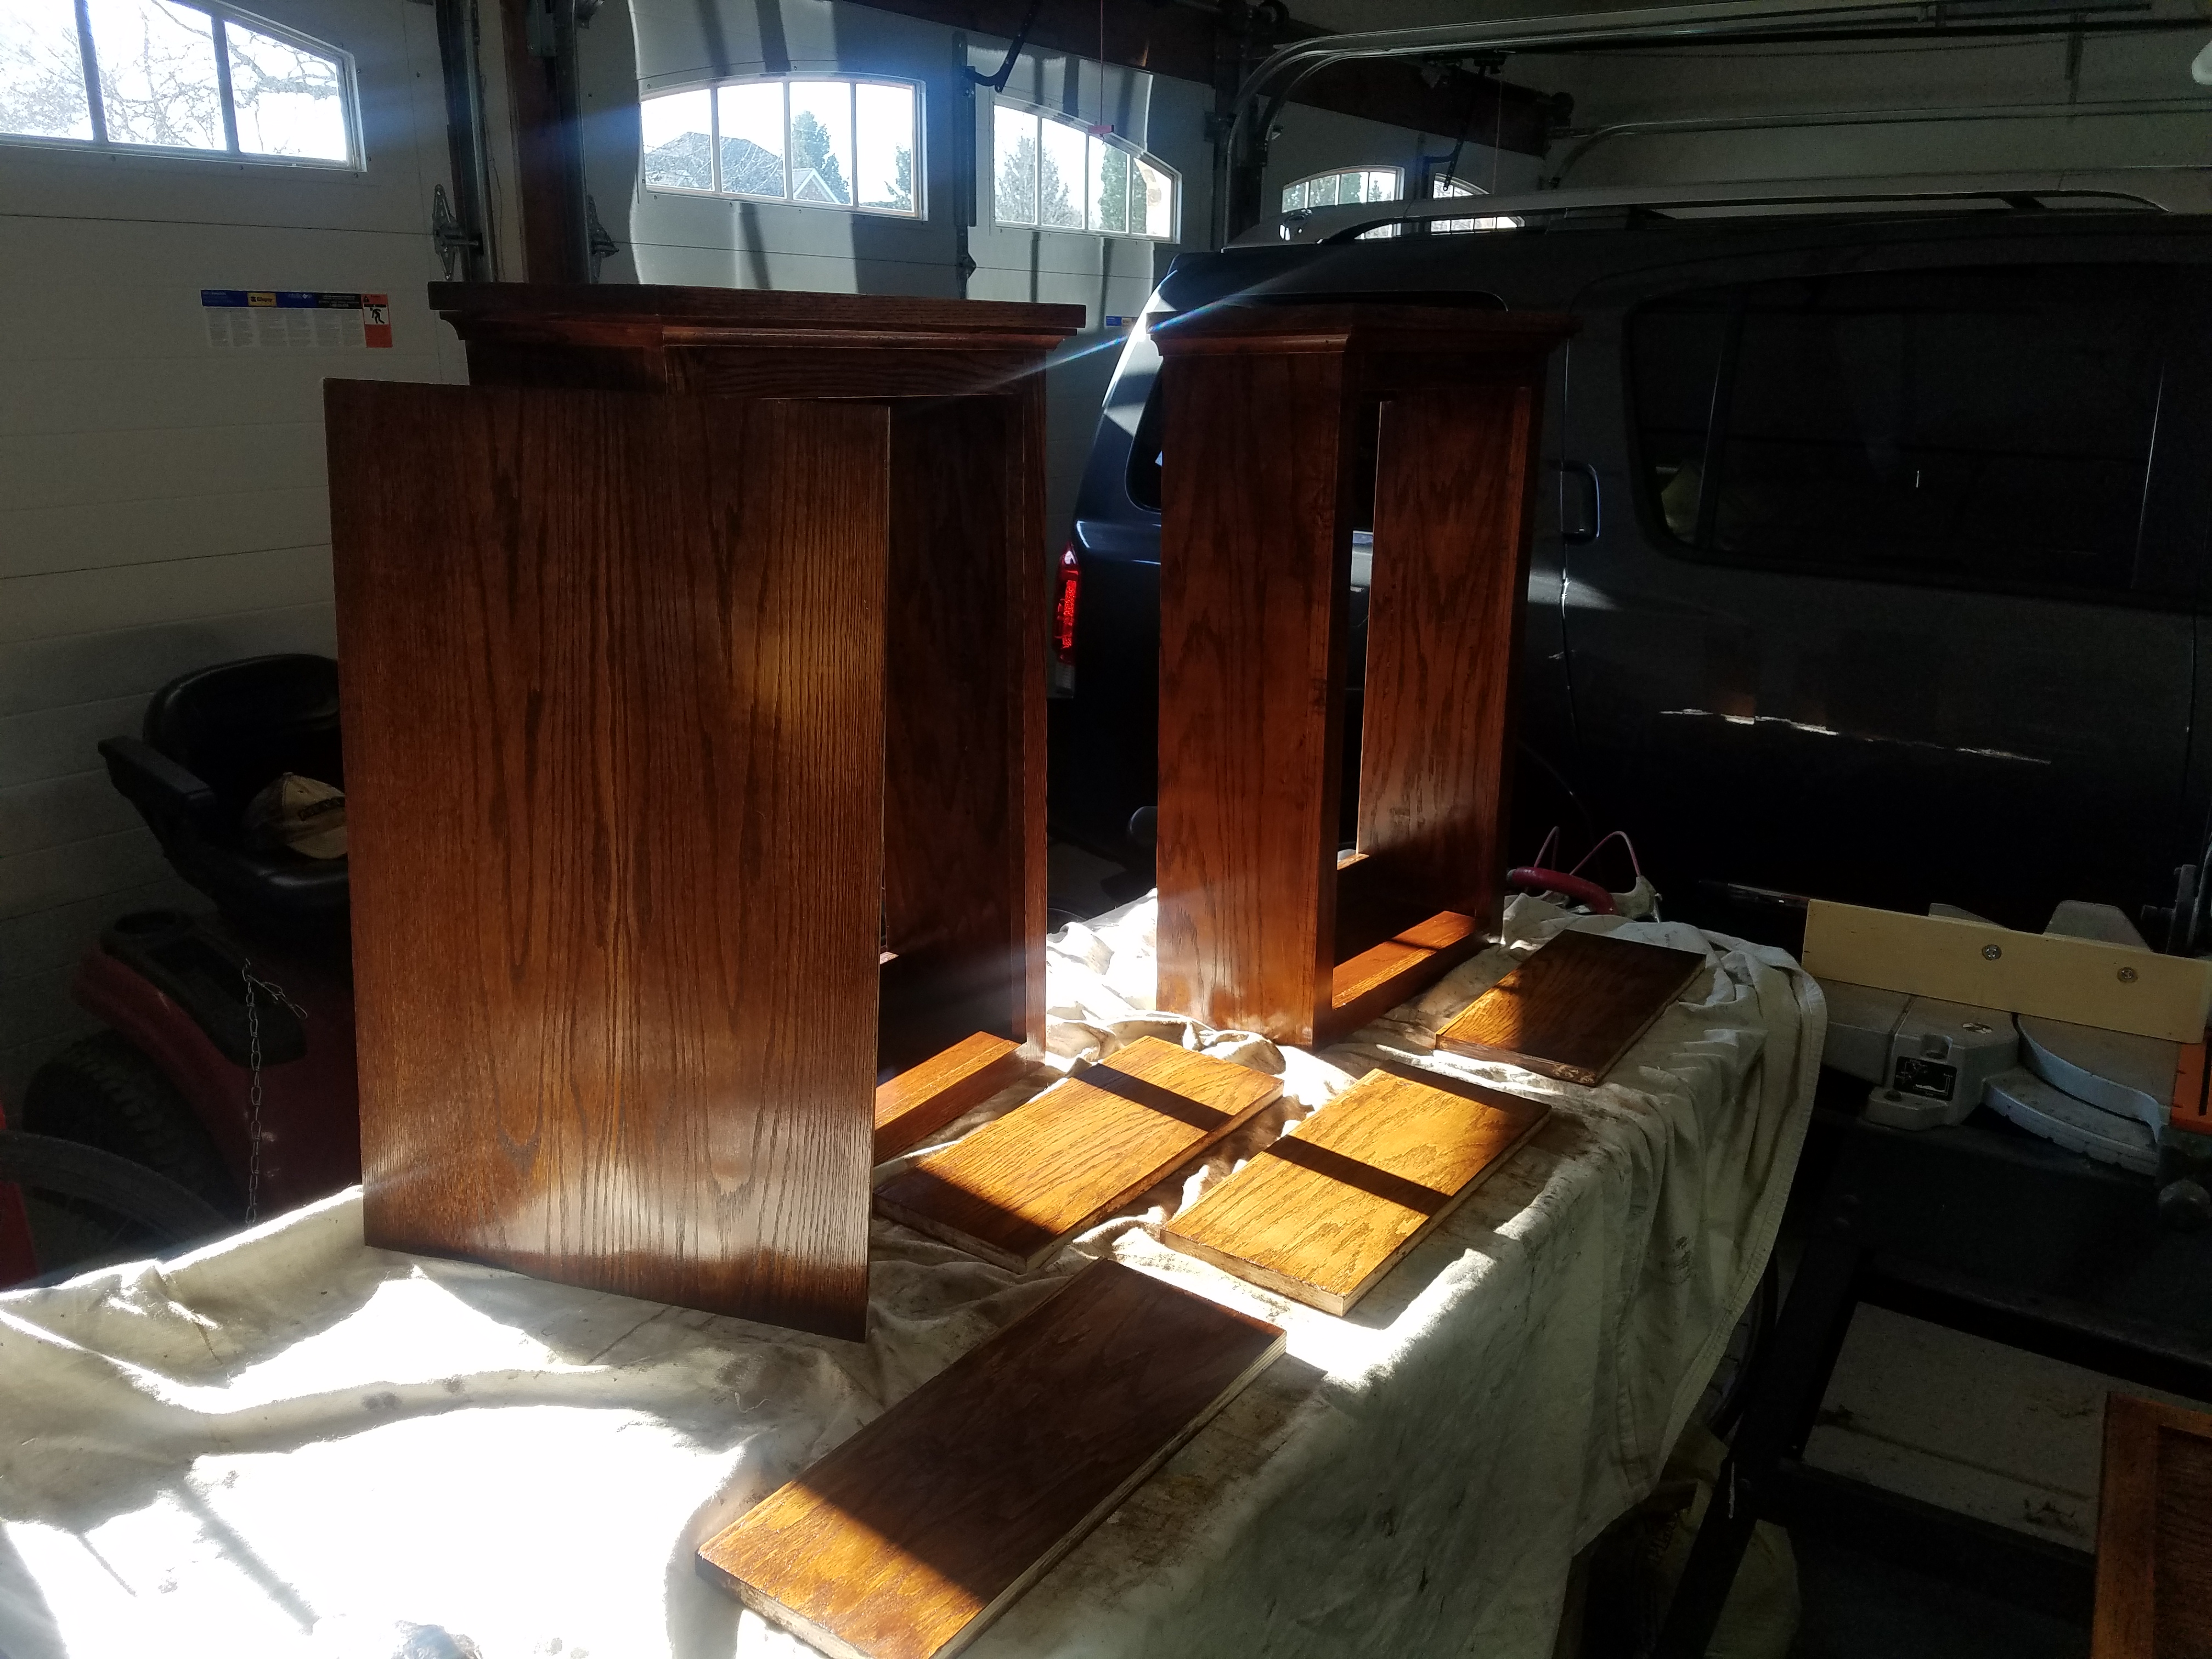
The top is made from glued up solid oak and added a molding to give the cabinet a nice accent.
Sanded with 120 then 220 grit. Finished with a 50/50 mix of Minwax Early American and a custom tint from Sherwin Williams. Three coats of stain. Top coat is 3 coats of Minwax Antique Oil gloss finish. Didn't start getting the higher sheen until the third coat. I need more work on my finishing. Oddly, the stain didn't take very uniformely, particularly on one of the cabinets and not sure why.
Very happy with the end results for both cabinets and the techniques I learned from the DVD will come in handy in the future.