Mike's Woodworking Projects

Built Ins
Year built: 2010?
Plan: My Design
Another ambitious project. Another one for Brittany's room. Starting to feel like I should do something for Jake's room but, this will be the last one for Brittany's room. Then, hopefully, Jake and I can build some projects together for his room or other projects if he is inclined to woodworking and dust!
Brittany's room has a great wall to do a built in so, I decided to build my own. One design idea I got from the office furniture we bought was to make the thickness 1" instead of the standard 3/4 material. Easier said than done. Wow. I took 3/4 oak plywood and laminated 1/4 plywood to it to make sheets 1" thick. This was a ton of work and added weight to the project but, the look of the 1" thickness is nice.
I decided to build the units in pieces and in a knock down design that can be moved to another location. In hindsight, I don't think it is going anywhere.
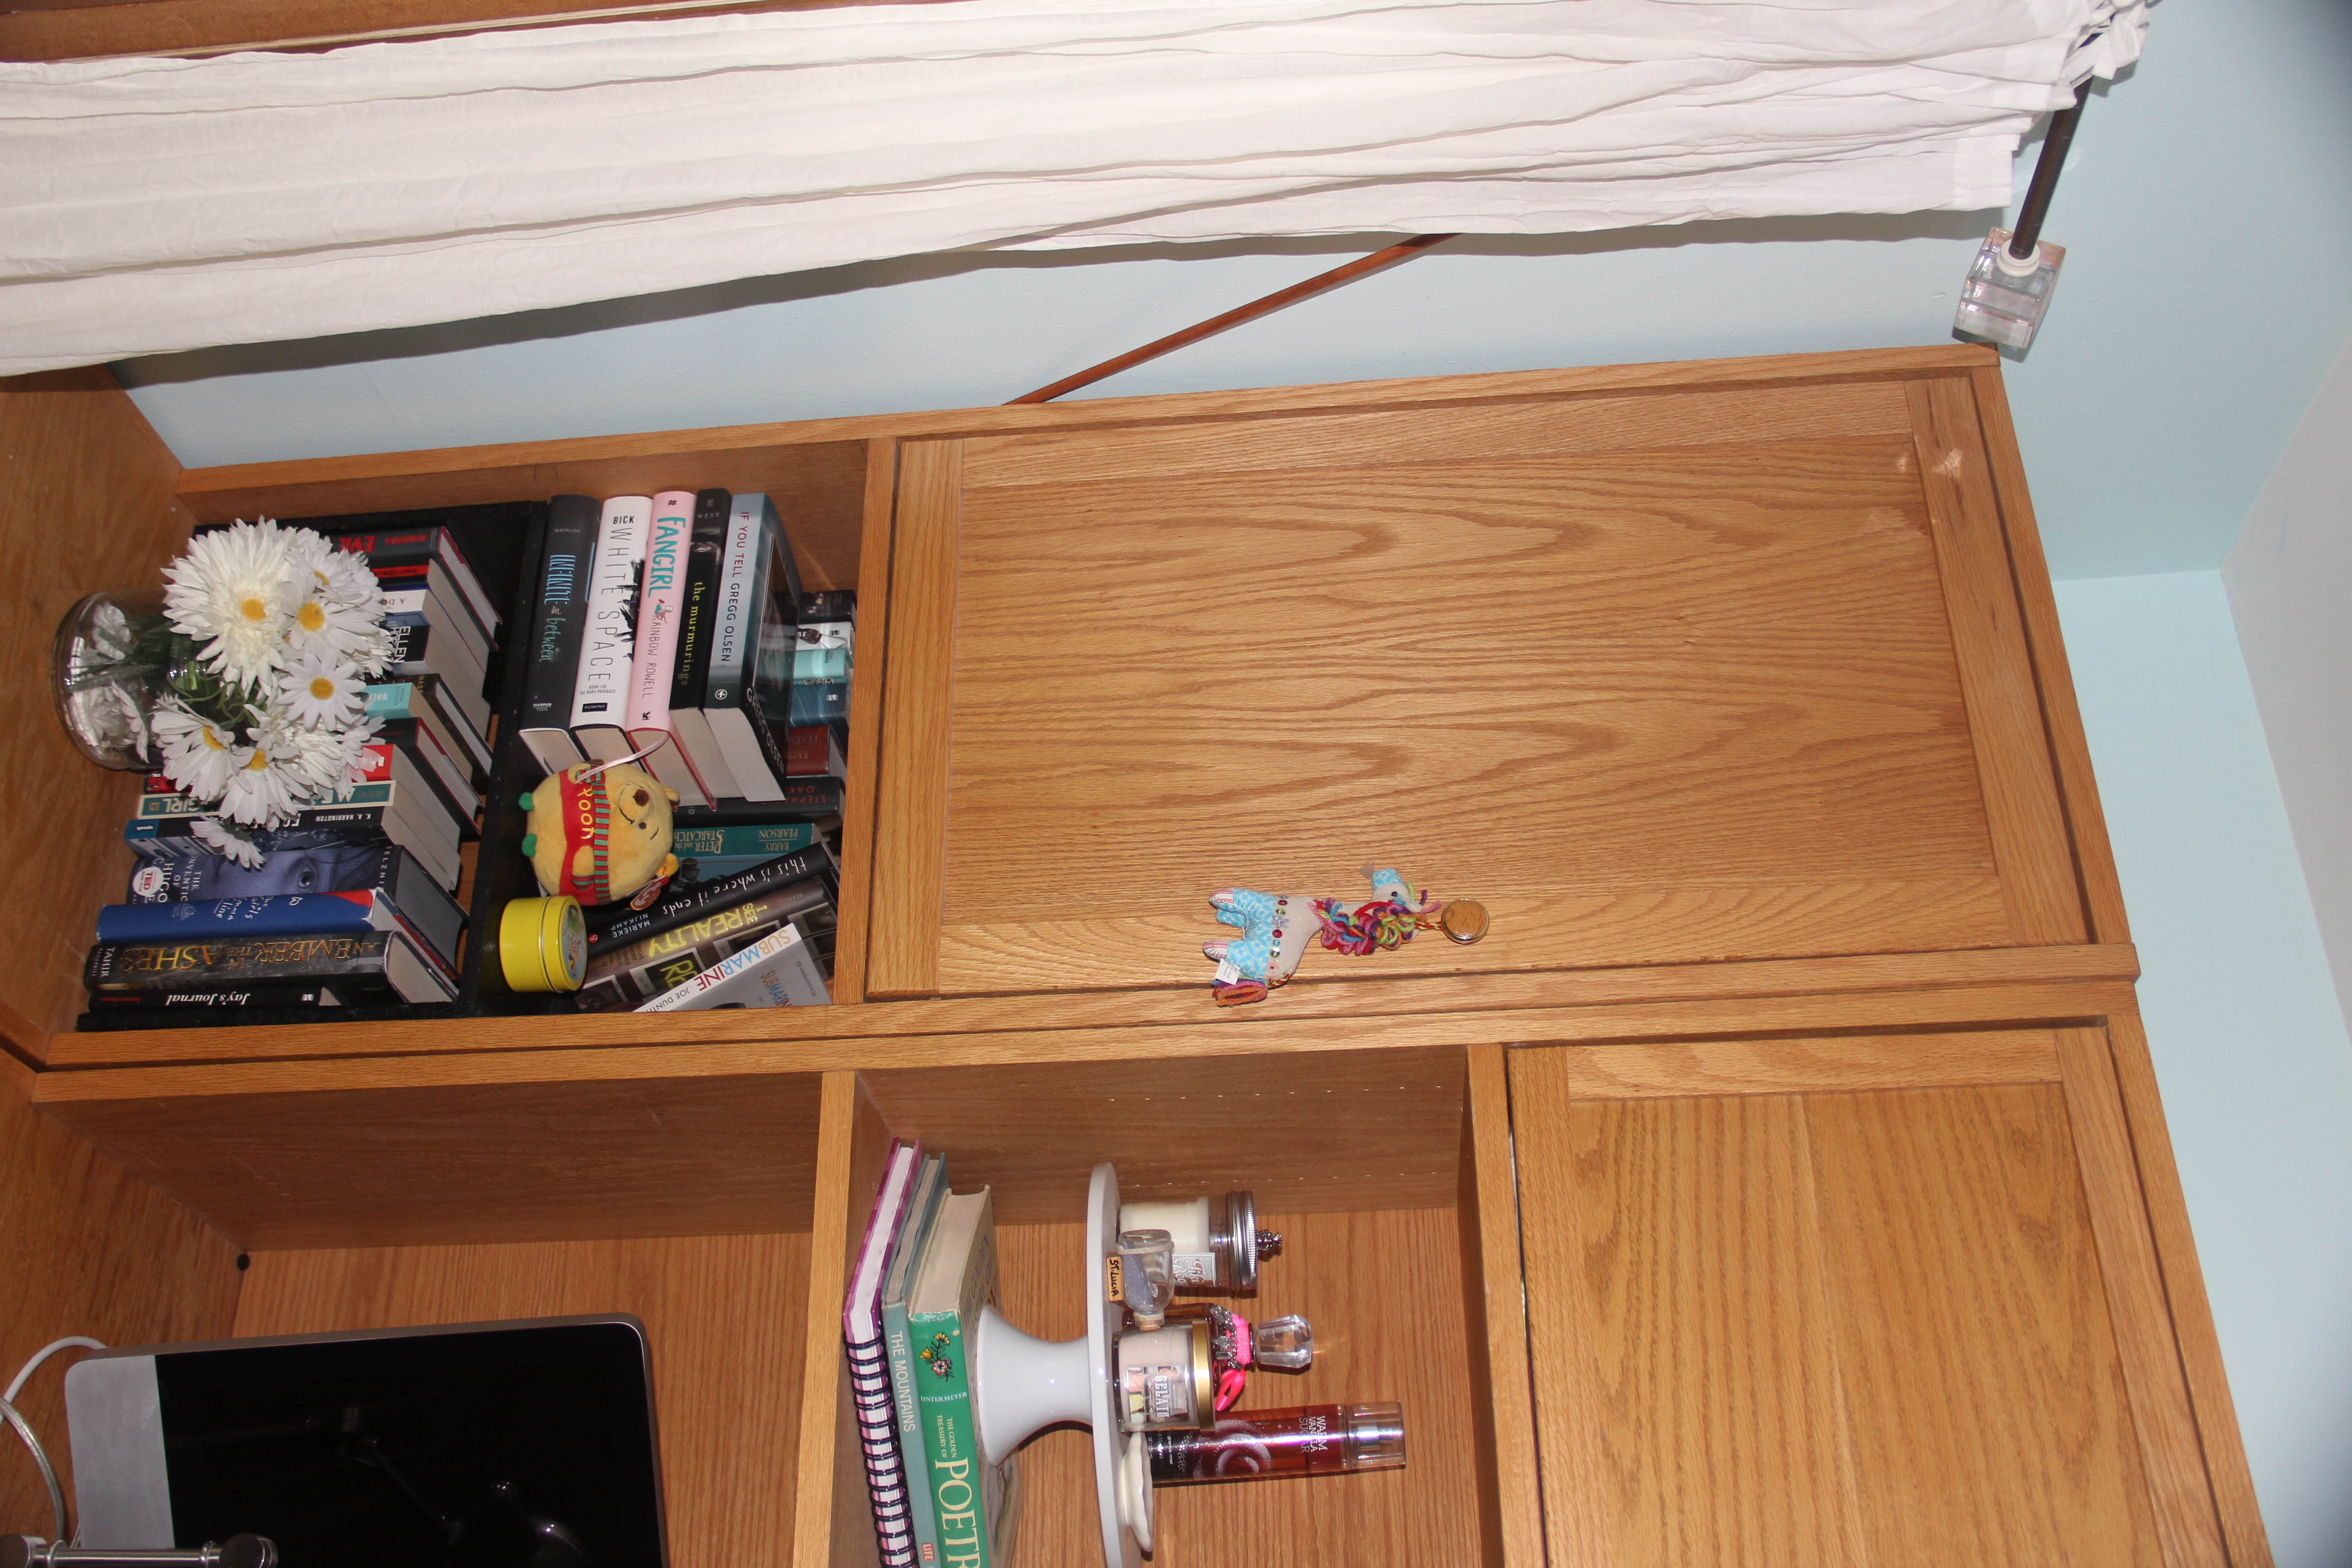
The project was broken into six separate pieces. On the bottom, a desk in the middle, and two side pieces for drawers. On the top, three separate hutches to fit above the three bottom pieces.
The design was fairly simple joinery. Mostly butt joints and some just joined with brackets that are screwed into each piece so that it all can be knocked down. I edge banded all the exposed plywood edges and just glued and nailed them in place. Since then, I learned a better technique from using brads. Just glue the edge band on and use a bunch of blue tape until it dries.
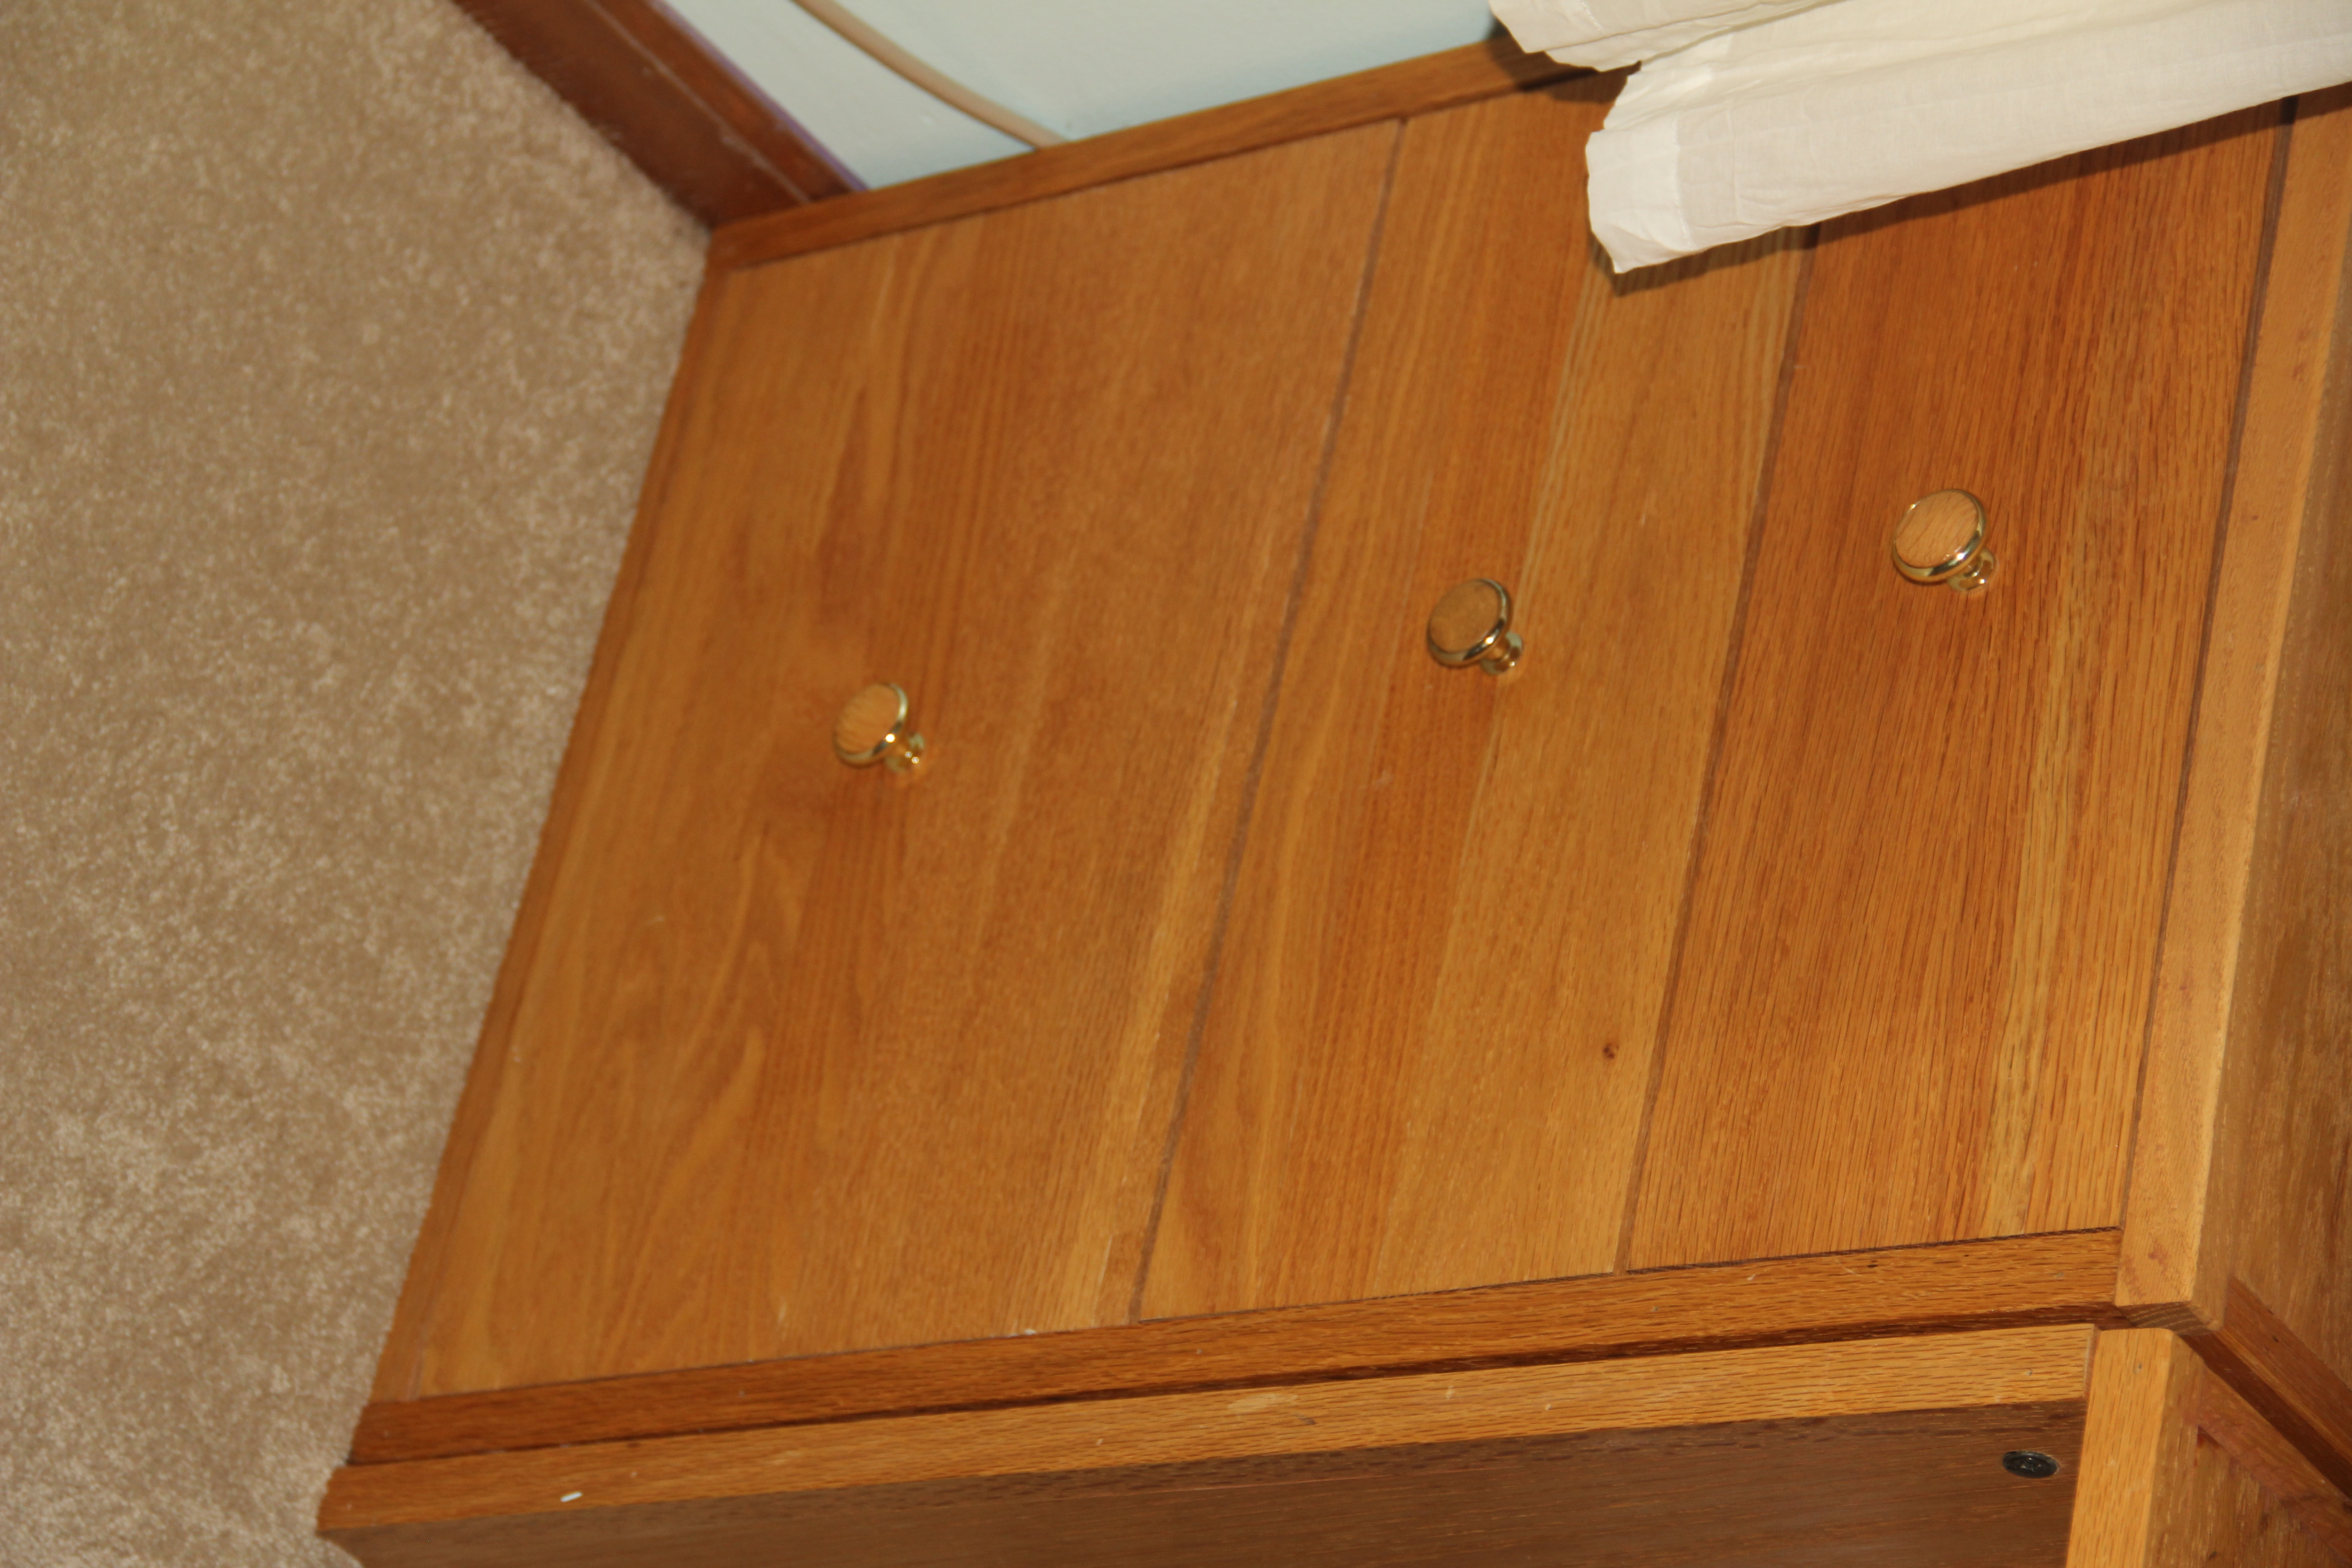
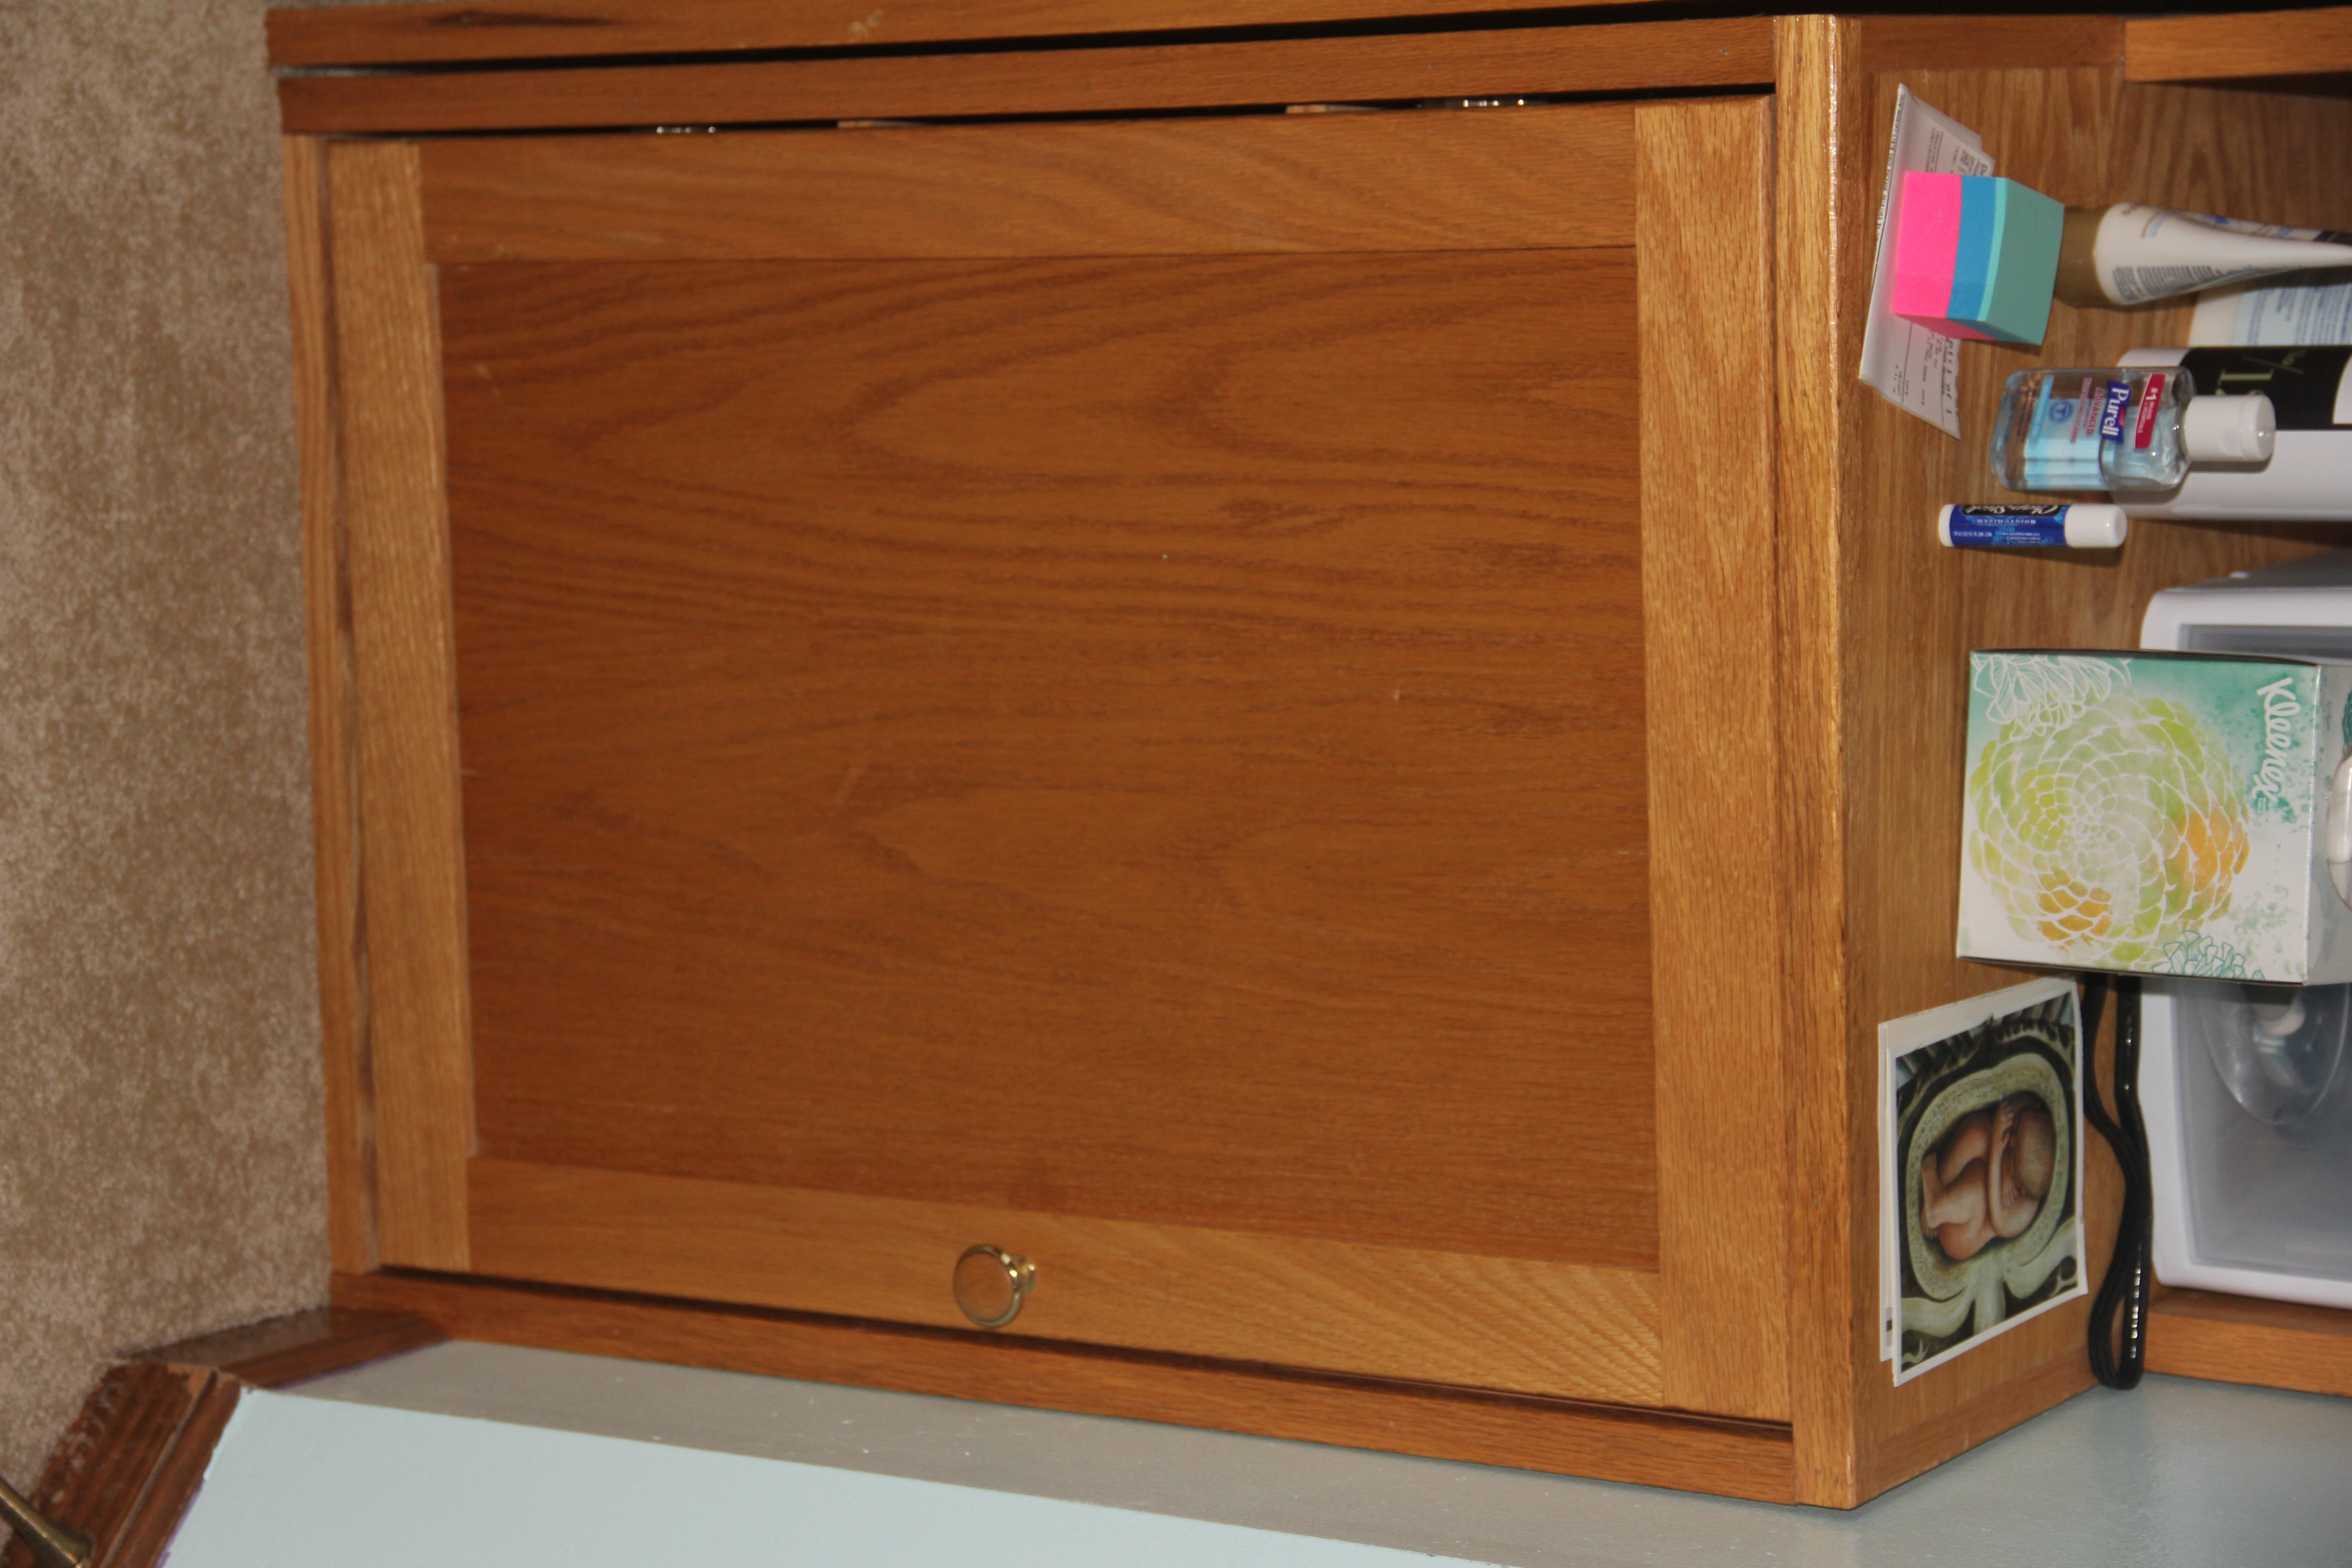
The cabinet doors are overlap and were basic tongue and groove panel construction. The desk drawers I made from solid oak edge joined. I used really good metal rails for the slides to avoid the problems I had with the design of the rail system in the woodsmith plans for Brittany's dresser and night stand.
Just a clear finish to match her other furniture. The dimensions made it a super tight fit opening. After putting in place I used screw posts to fasten all the pieces together.
This was a big project. Turned out well. Learned a few new ways to do things in the process too.