2024 Mike's Closet


Mike's Custom Closet
Year Built: 2024
Design By: Michael Lieske
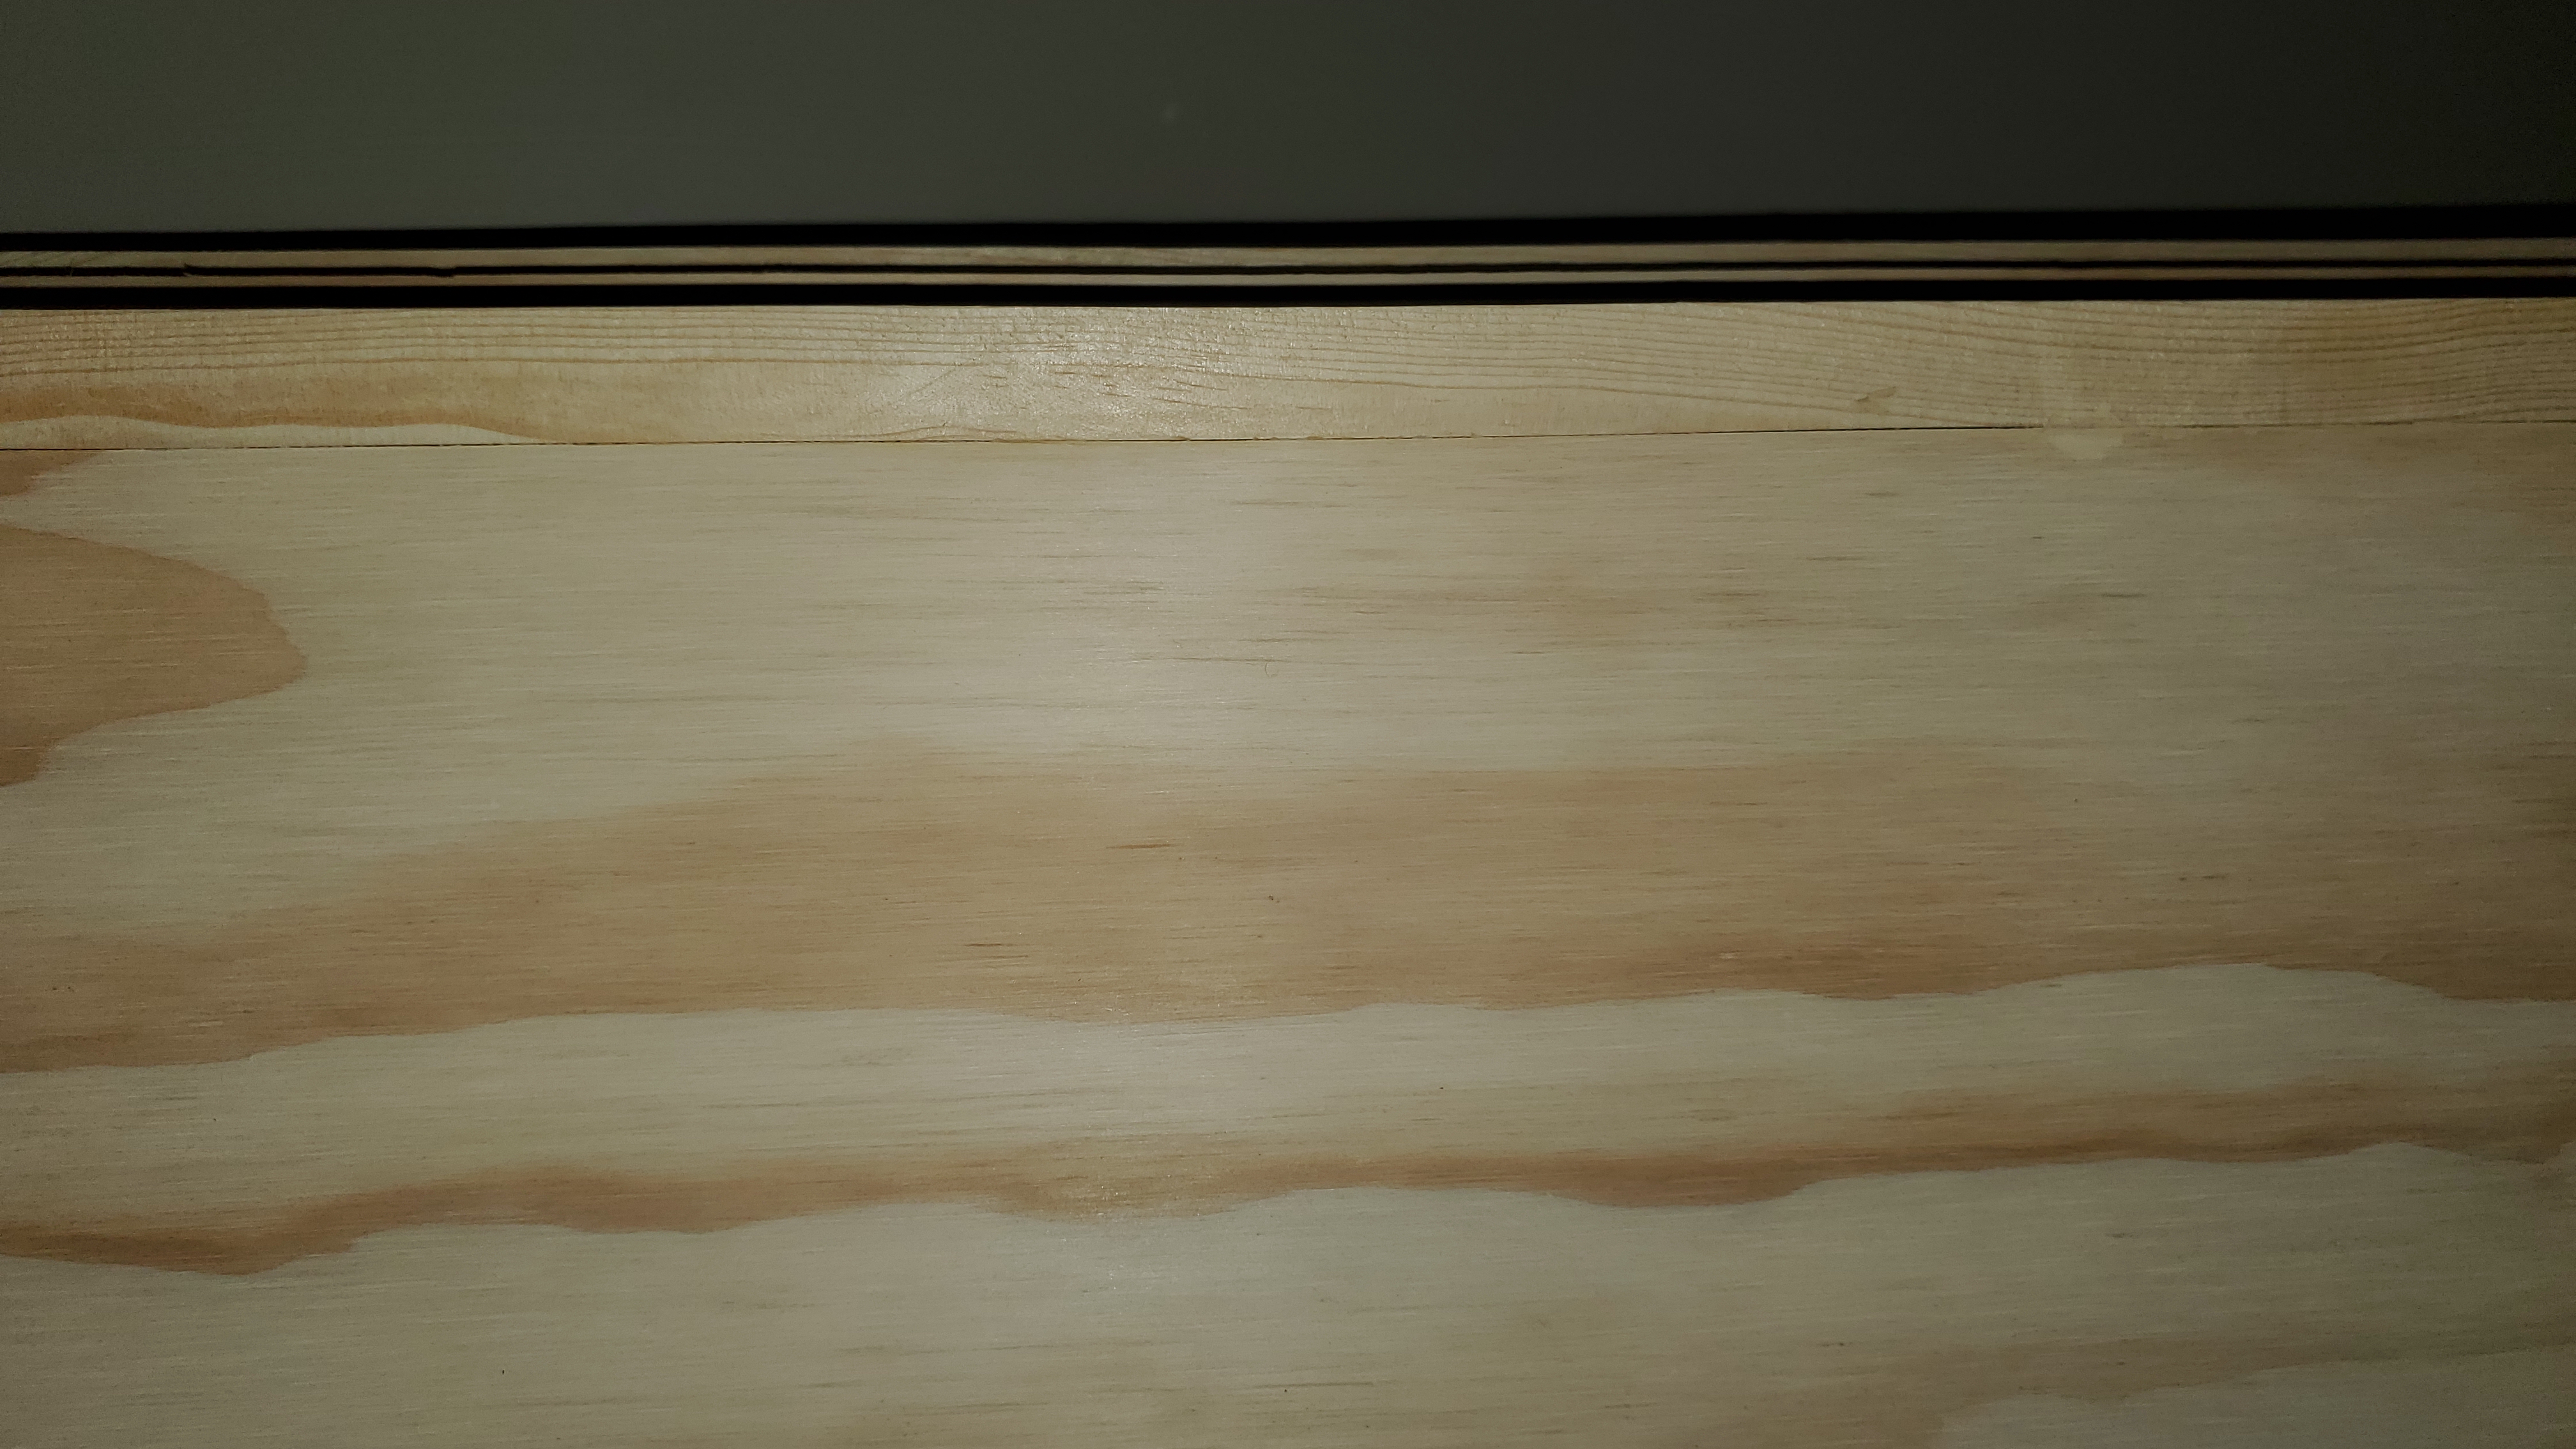
Materials: Pine ACX Plywood (walls, shelves, braces), Solid Pine (trim)
Joinery: Through Hole screws, Brads
Finish: Primer- Zinsser Smart Prime thinned 10%, Paints- Benjamin Moore Advanced Hybrid Alykd custom color thinned 10%.
All applied with HVLP sprayer and touch up with brush
Design
I used Kathryn's closet I built last year as a starting point but simplified the design by not using Dowels and Pocket Hole joinery. Here are some of the pages from my design file in Excel.
A couple of key design choices:
Make the system modular so each module can be assembled separately. This added more walls but allowed assembly
with just through hole screws for all the shelves;
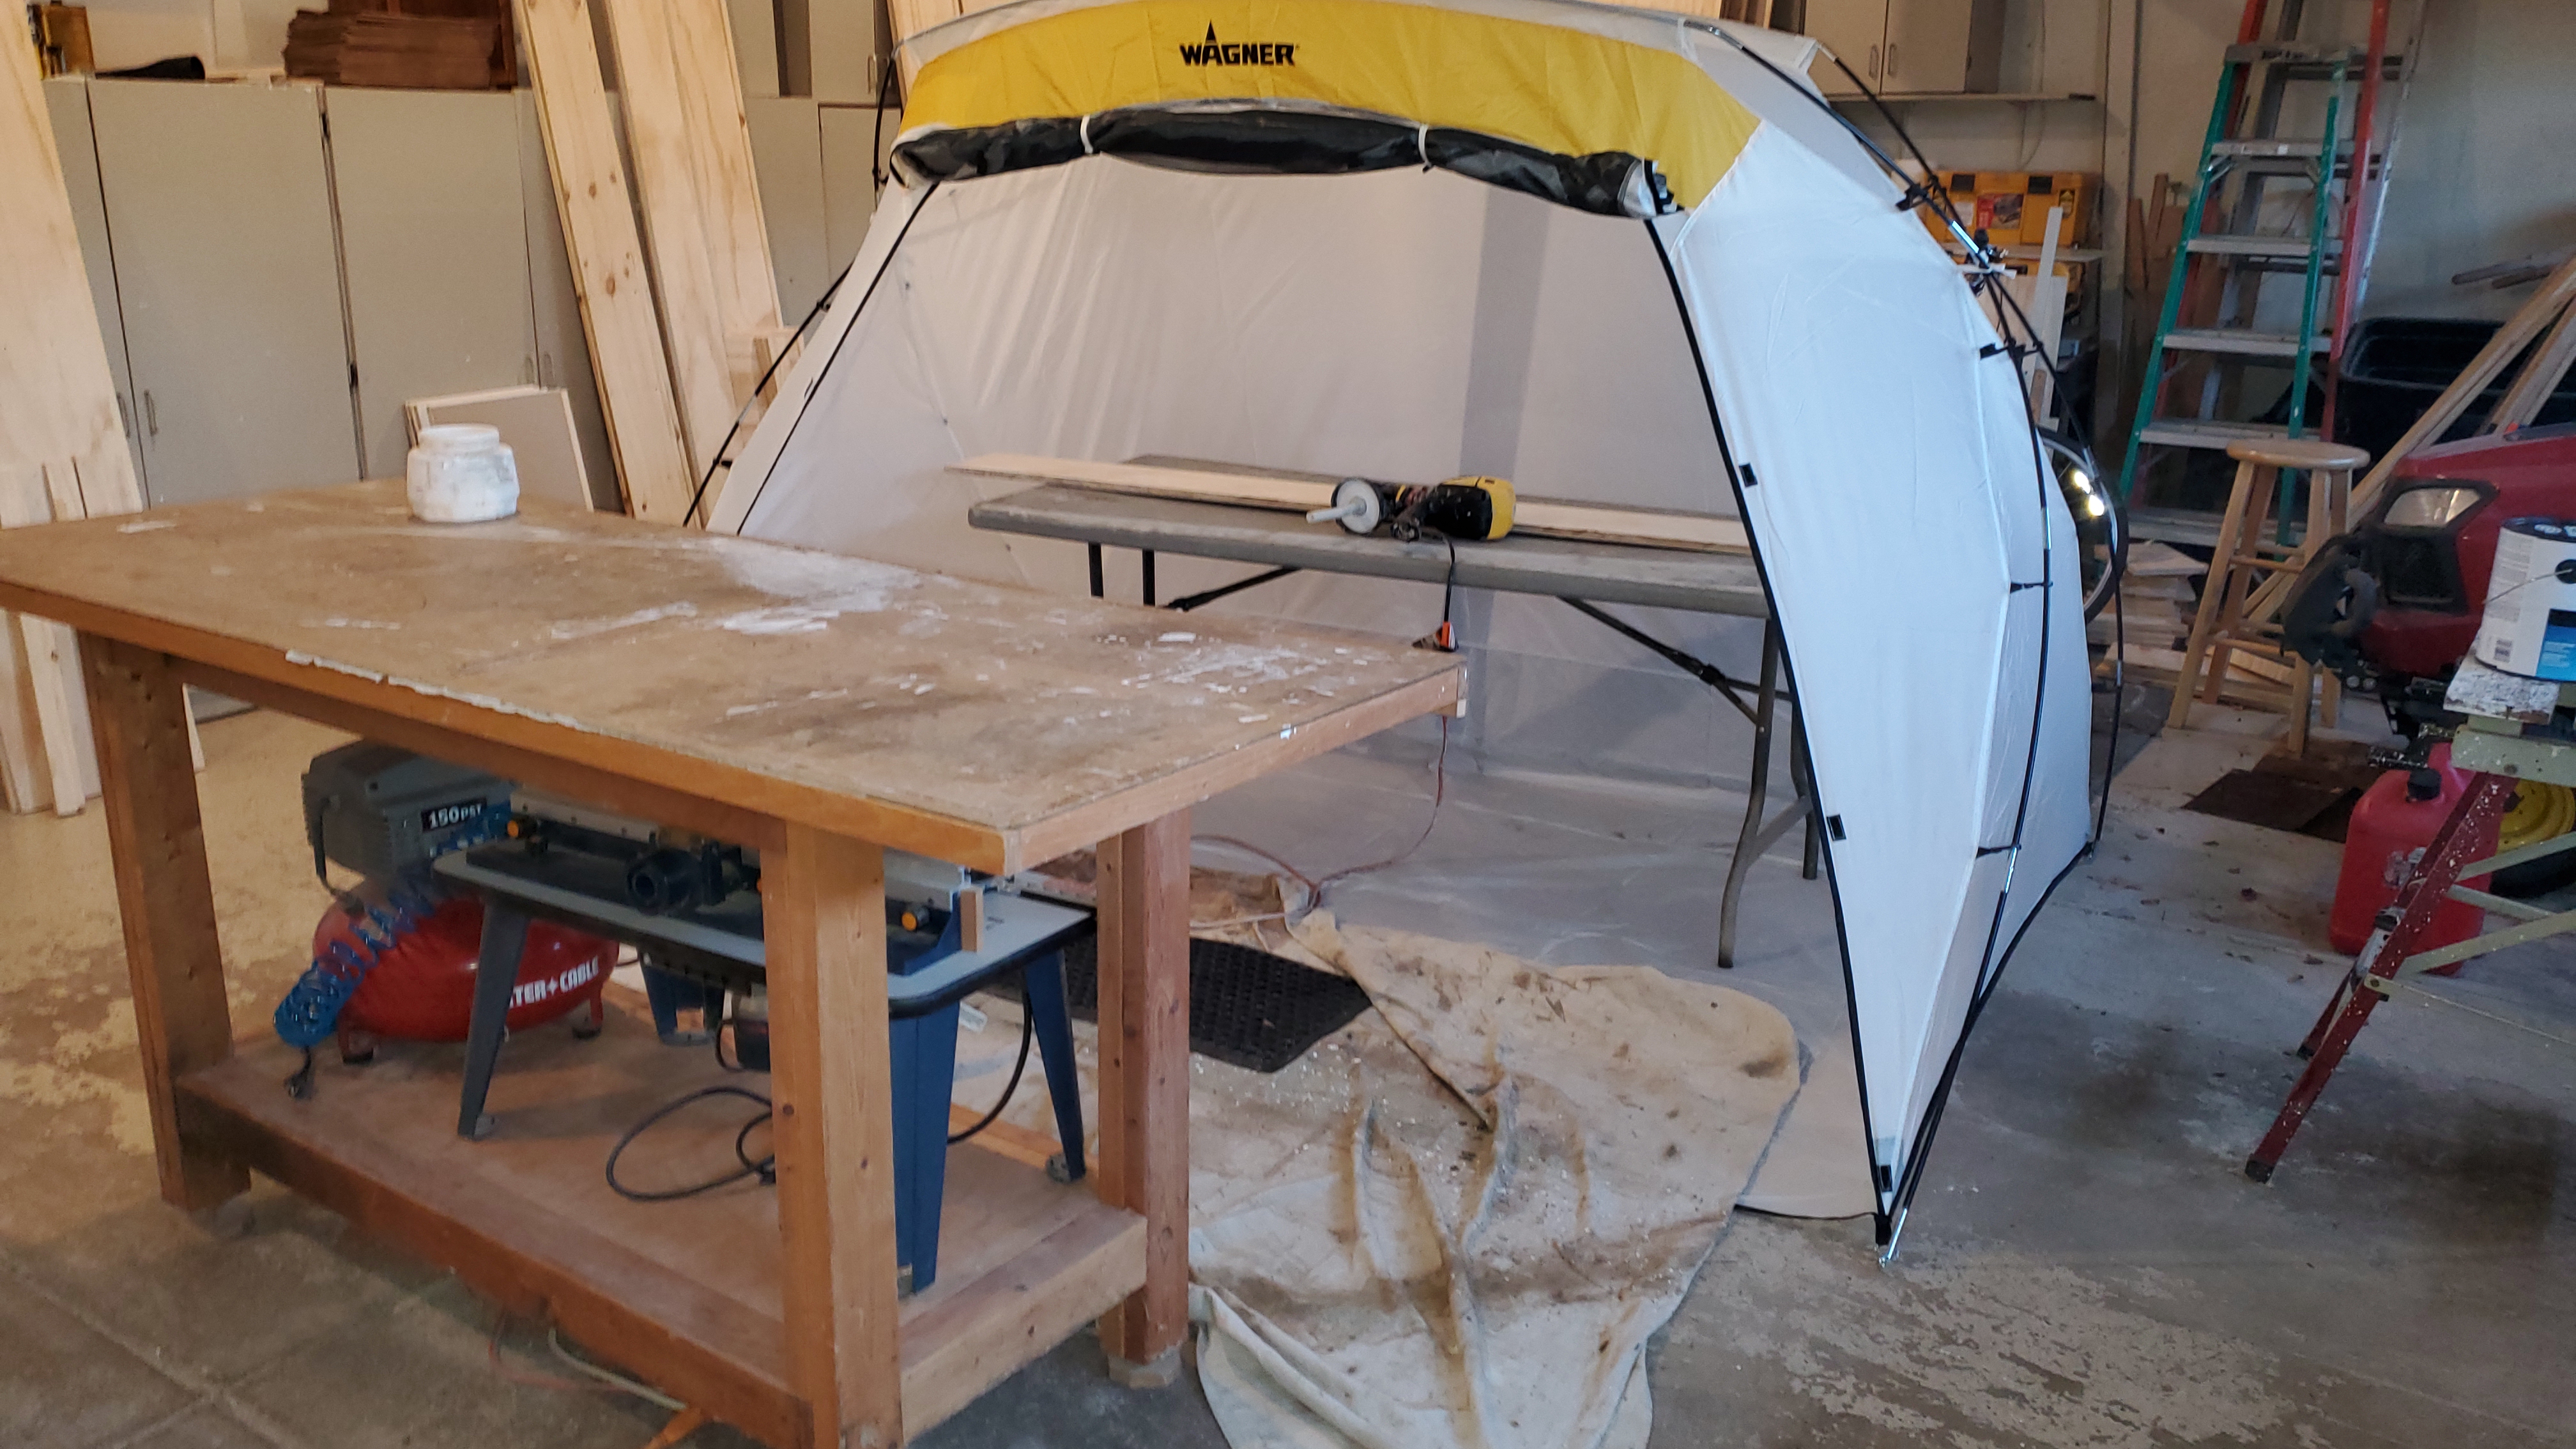
Finish the pieces before assembly in the garage with the HVLP sprayer. This turned out to be a very good decision since the HVLP is much
faster, easier and can be done in the garage (in my spray booth!). Touch up with a brush as necessary once in the closet turned out fine too.
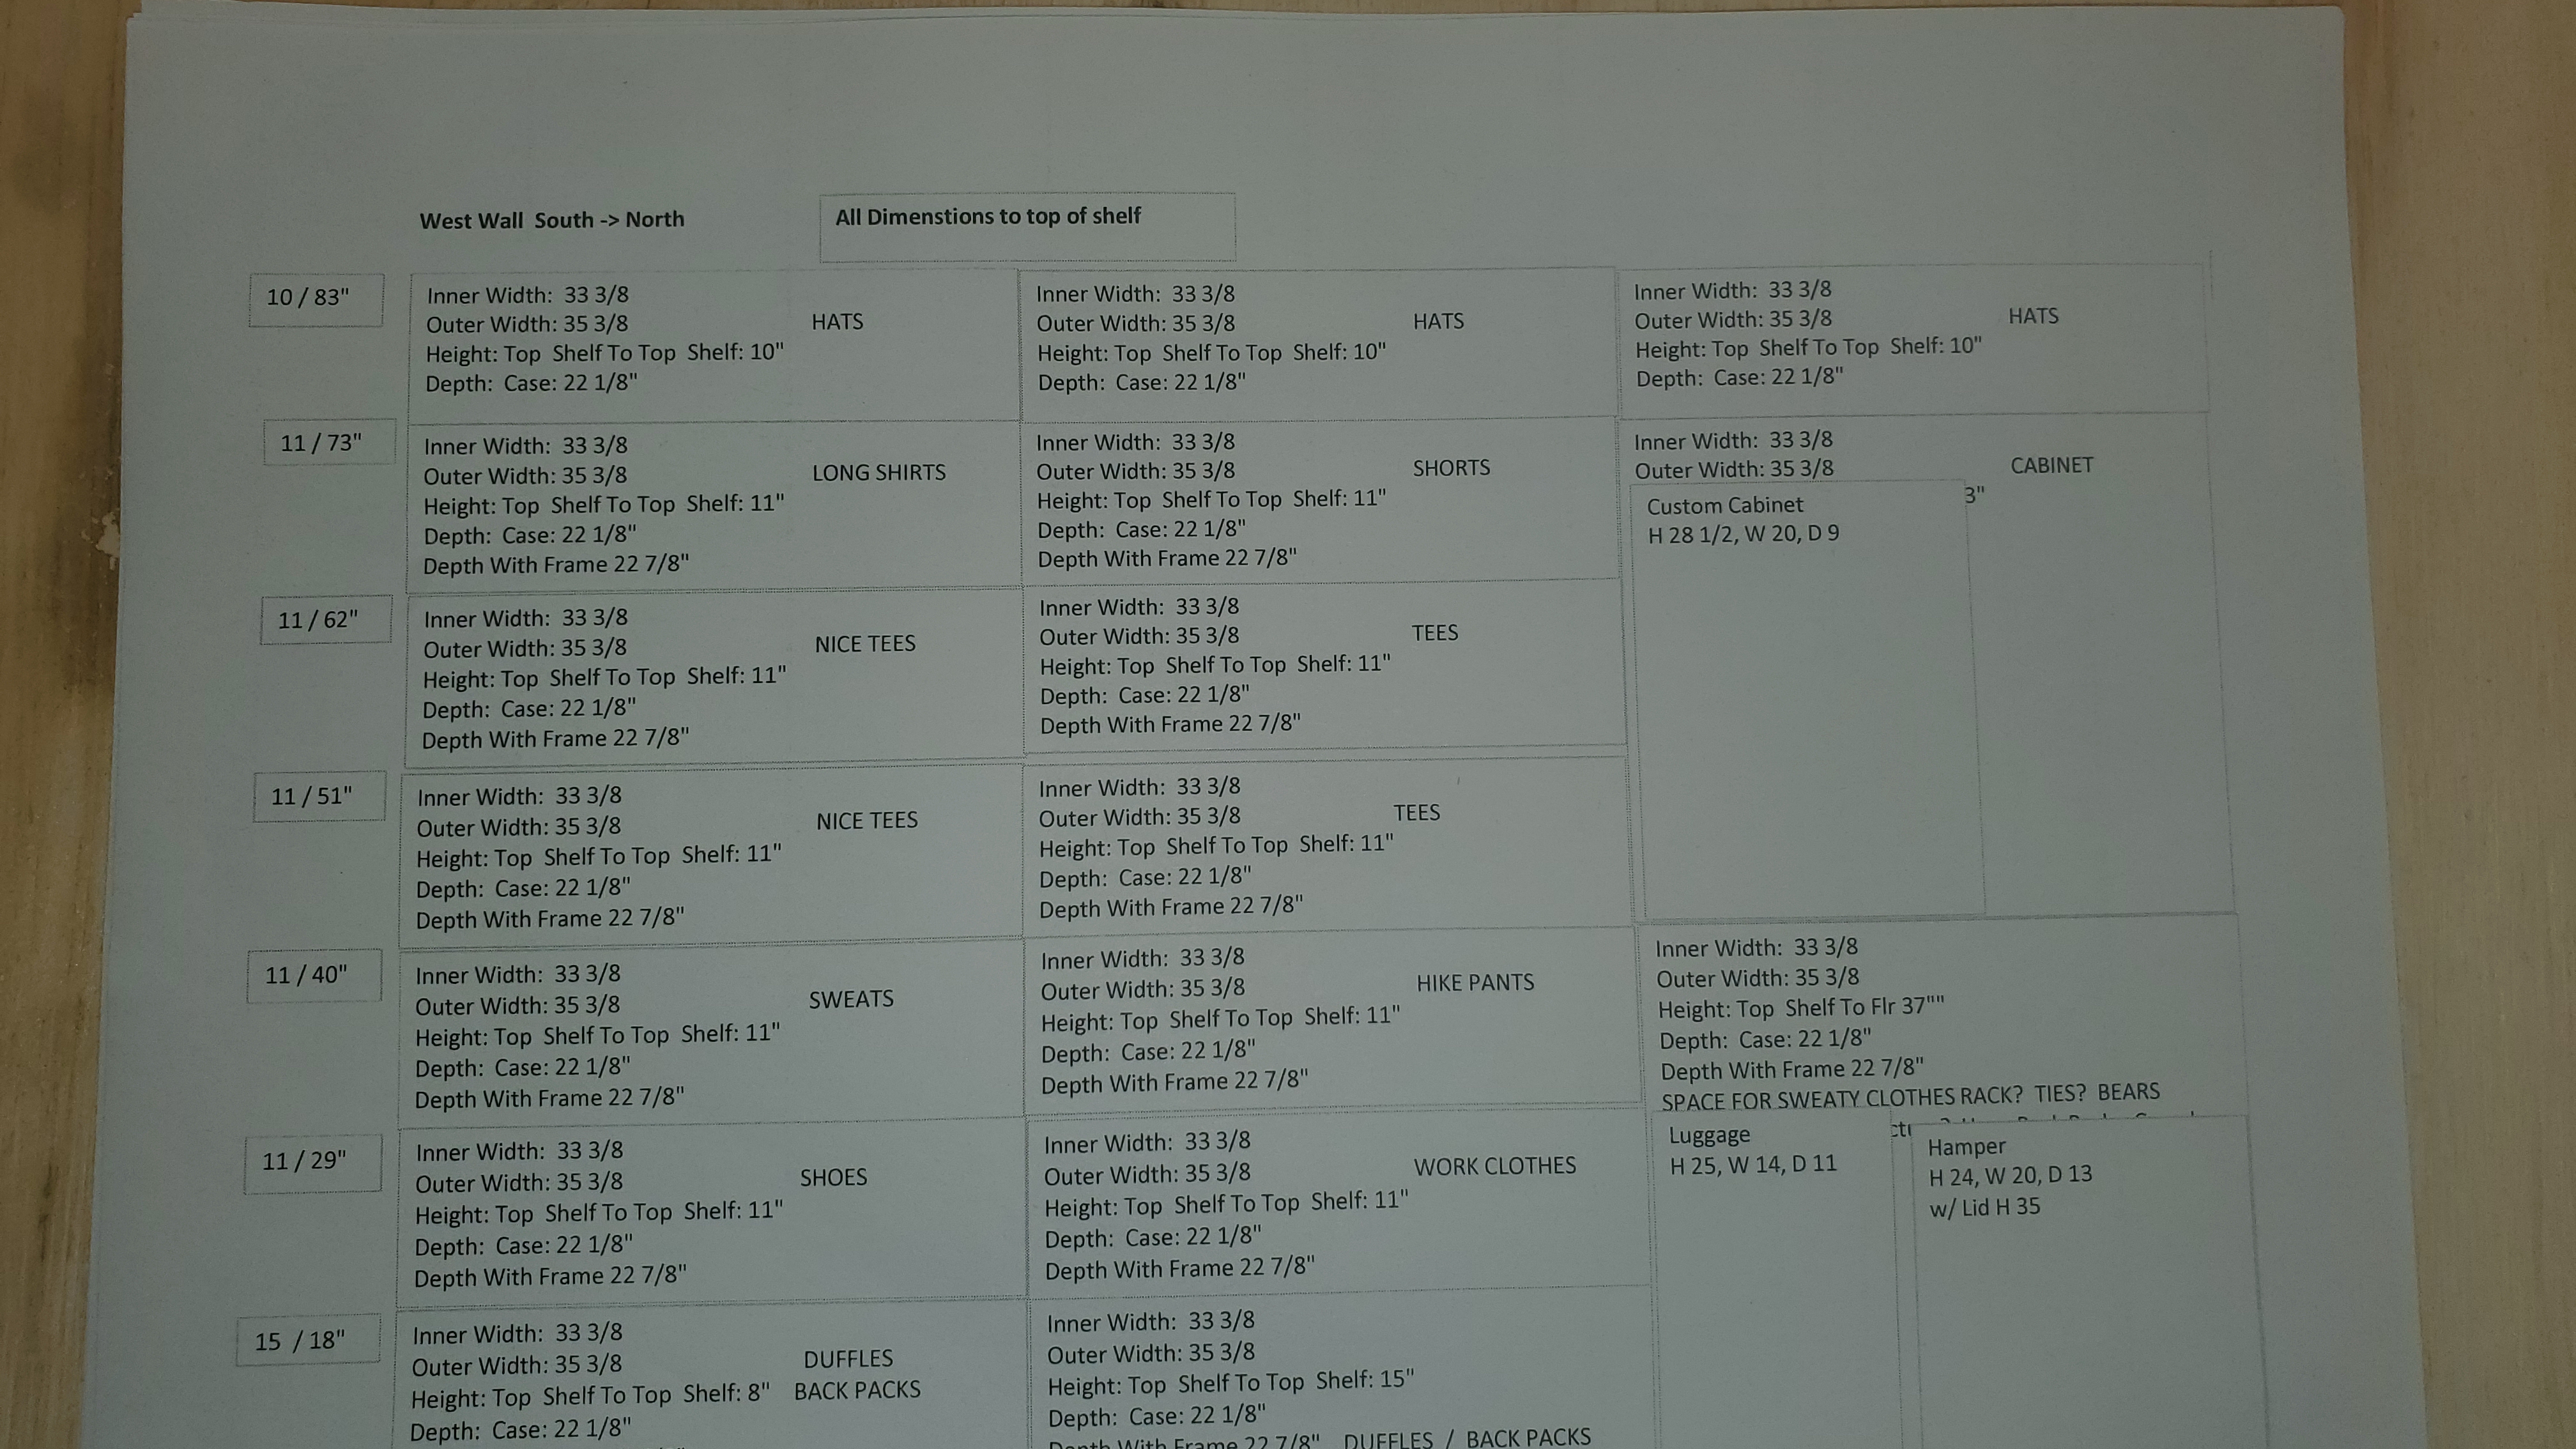
Sizing. For the East and West walls I sized the cabinets to be about a 1/2" less than the wall length on the South end. Because
of the South Cabinets you do not see the 1/2 gap and saved me countless time trying to get things exact. Turns out, it was a good thing as
during installation seems the 1/2" was used up I the cabinets barely fit! The only custom sizing was for the South Outer Cabinets. I cut them oversize
and re-cut the shelves once I had exact measurements after installing all the other cabinets.
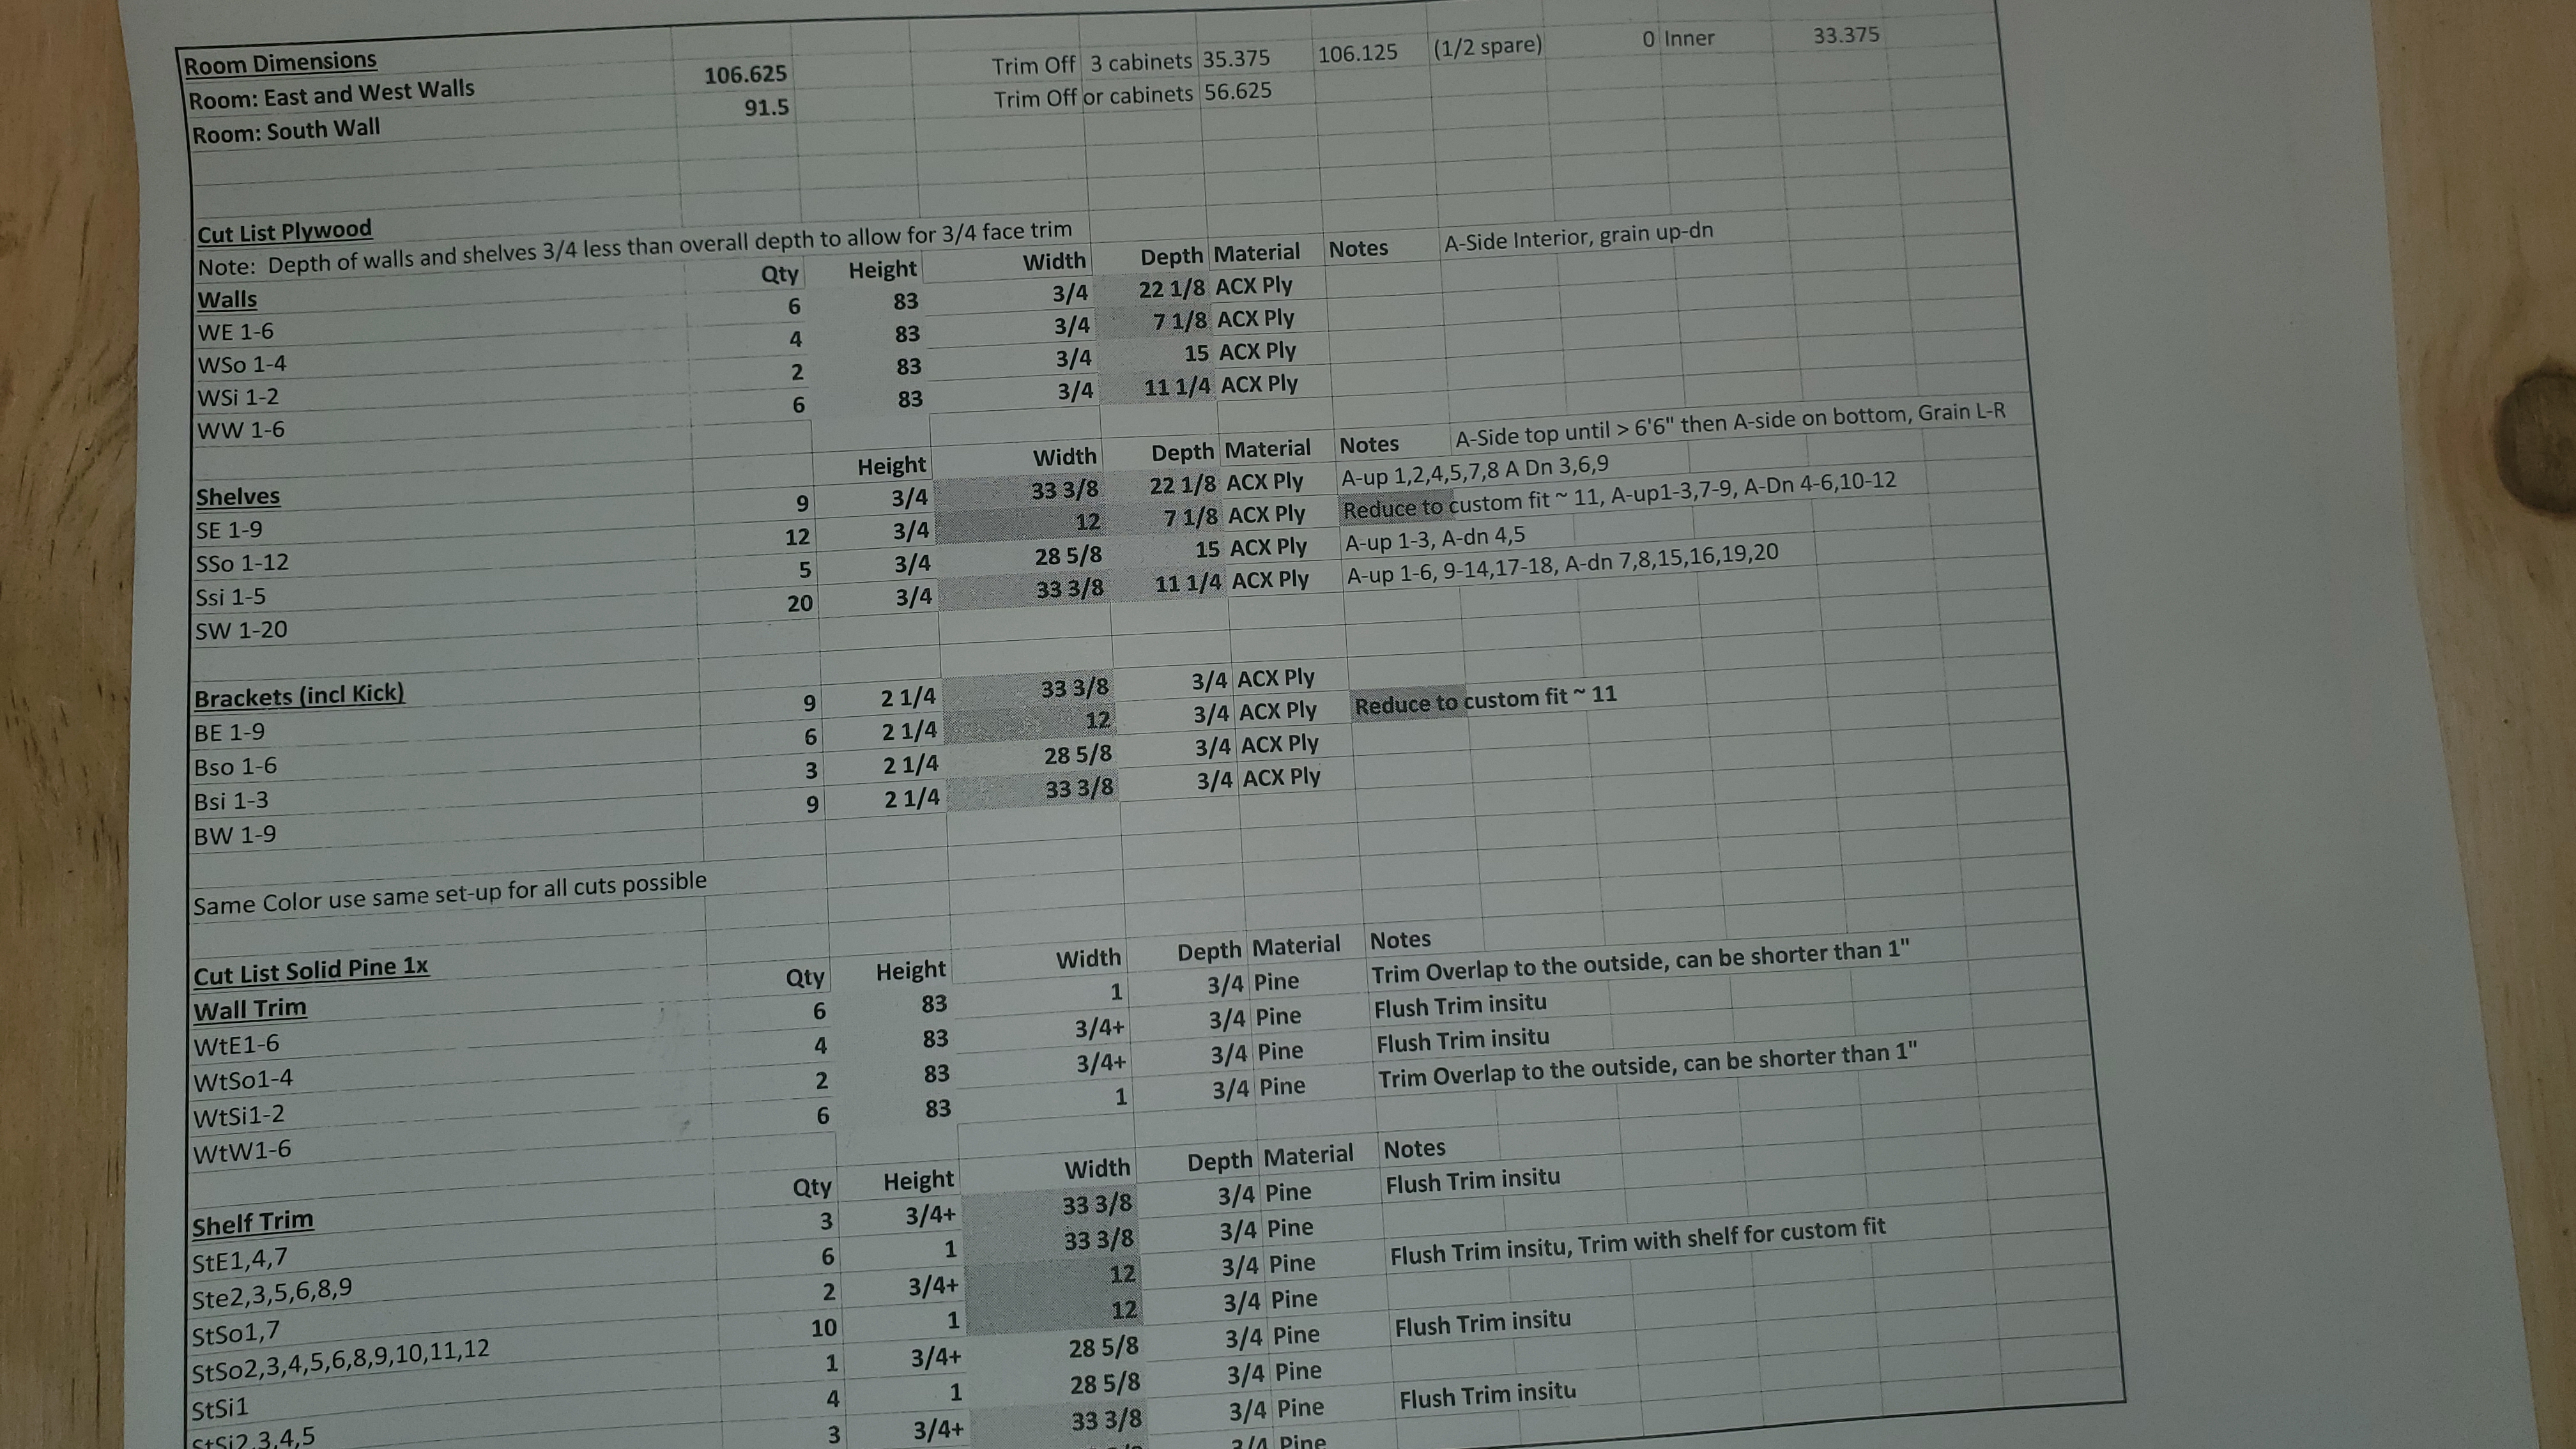

Materials
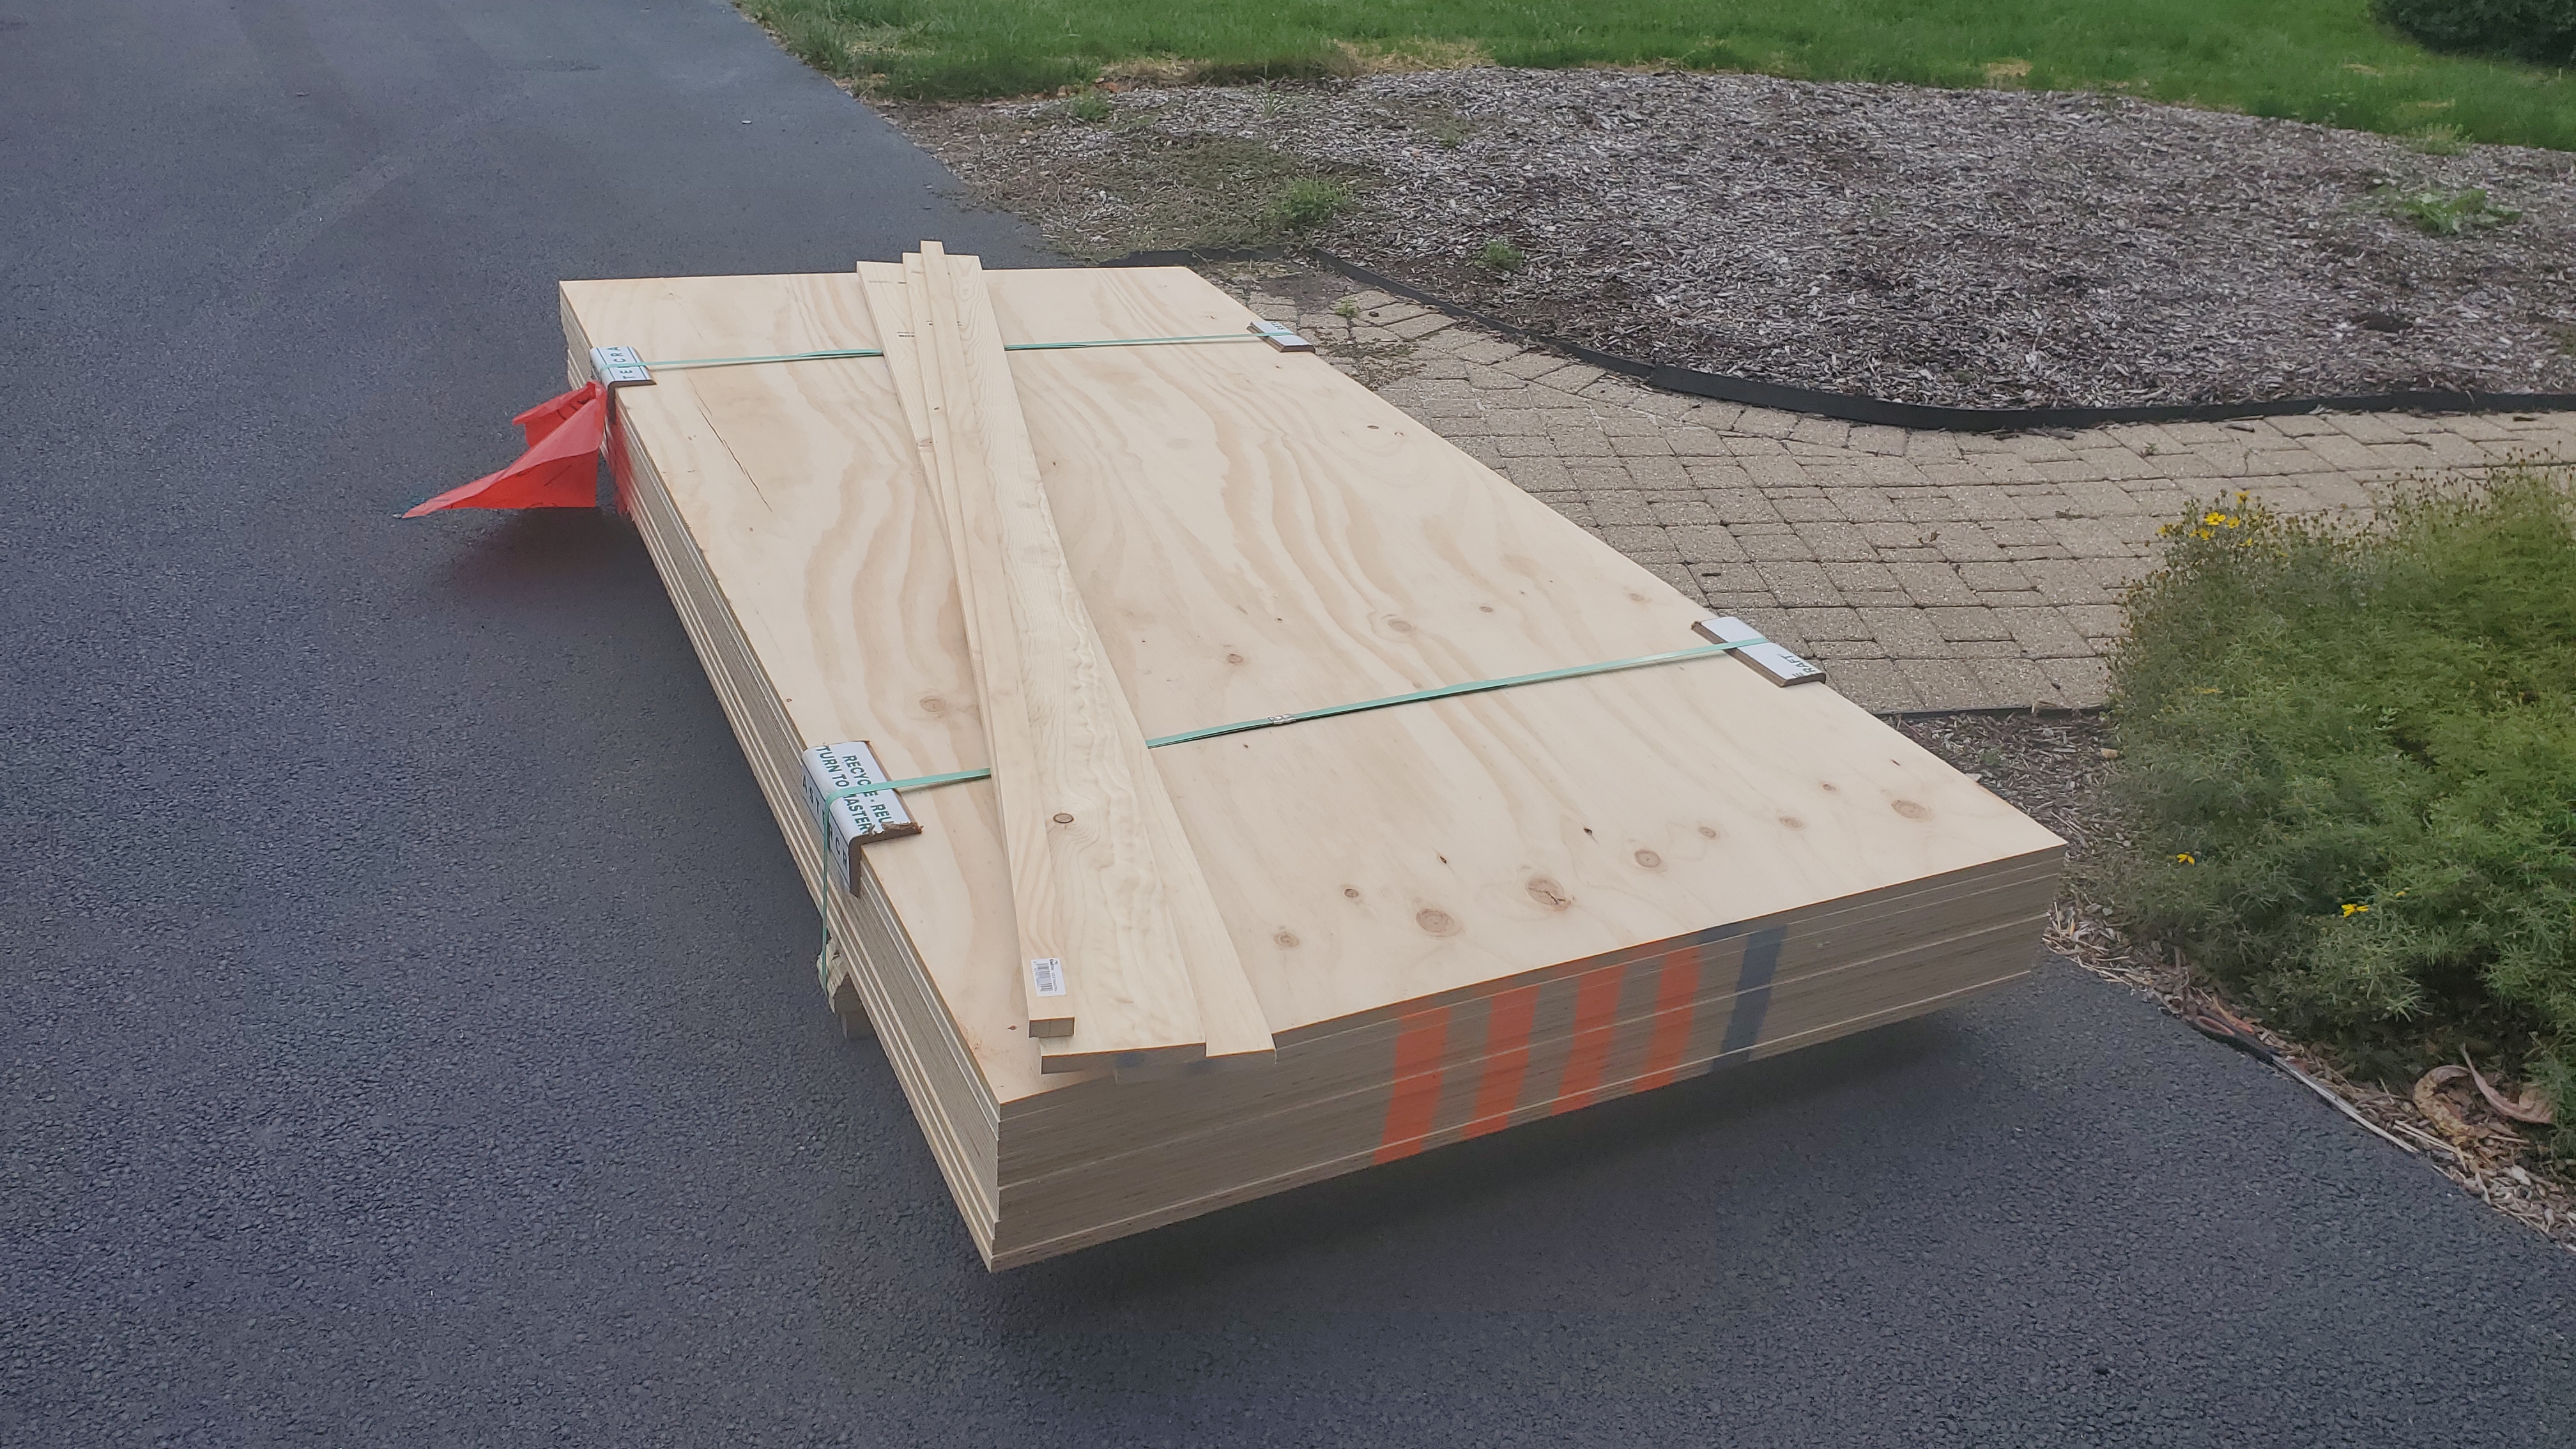
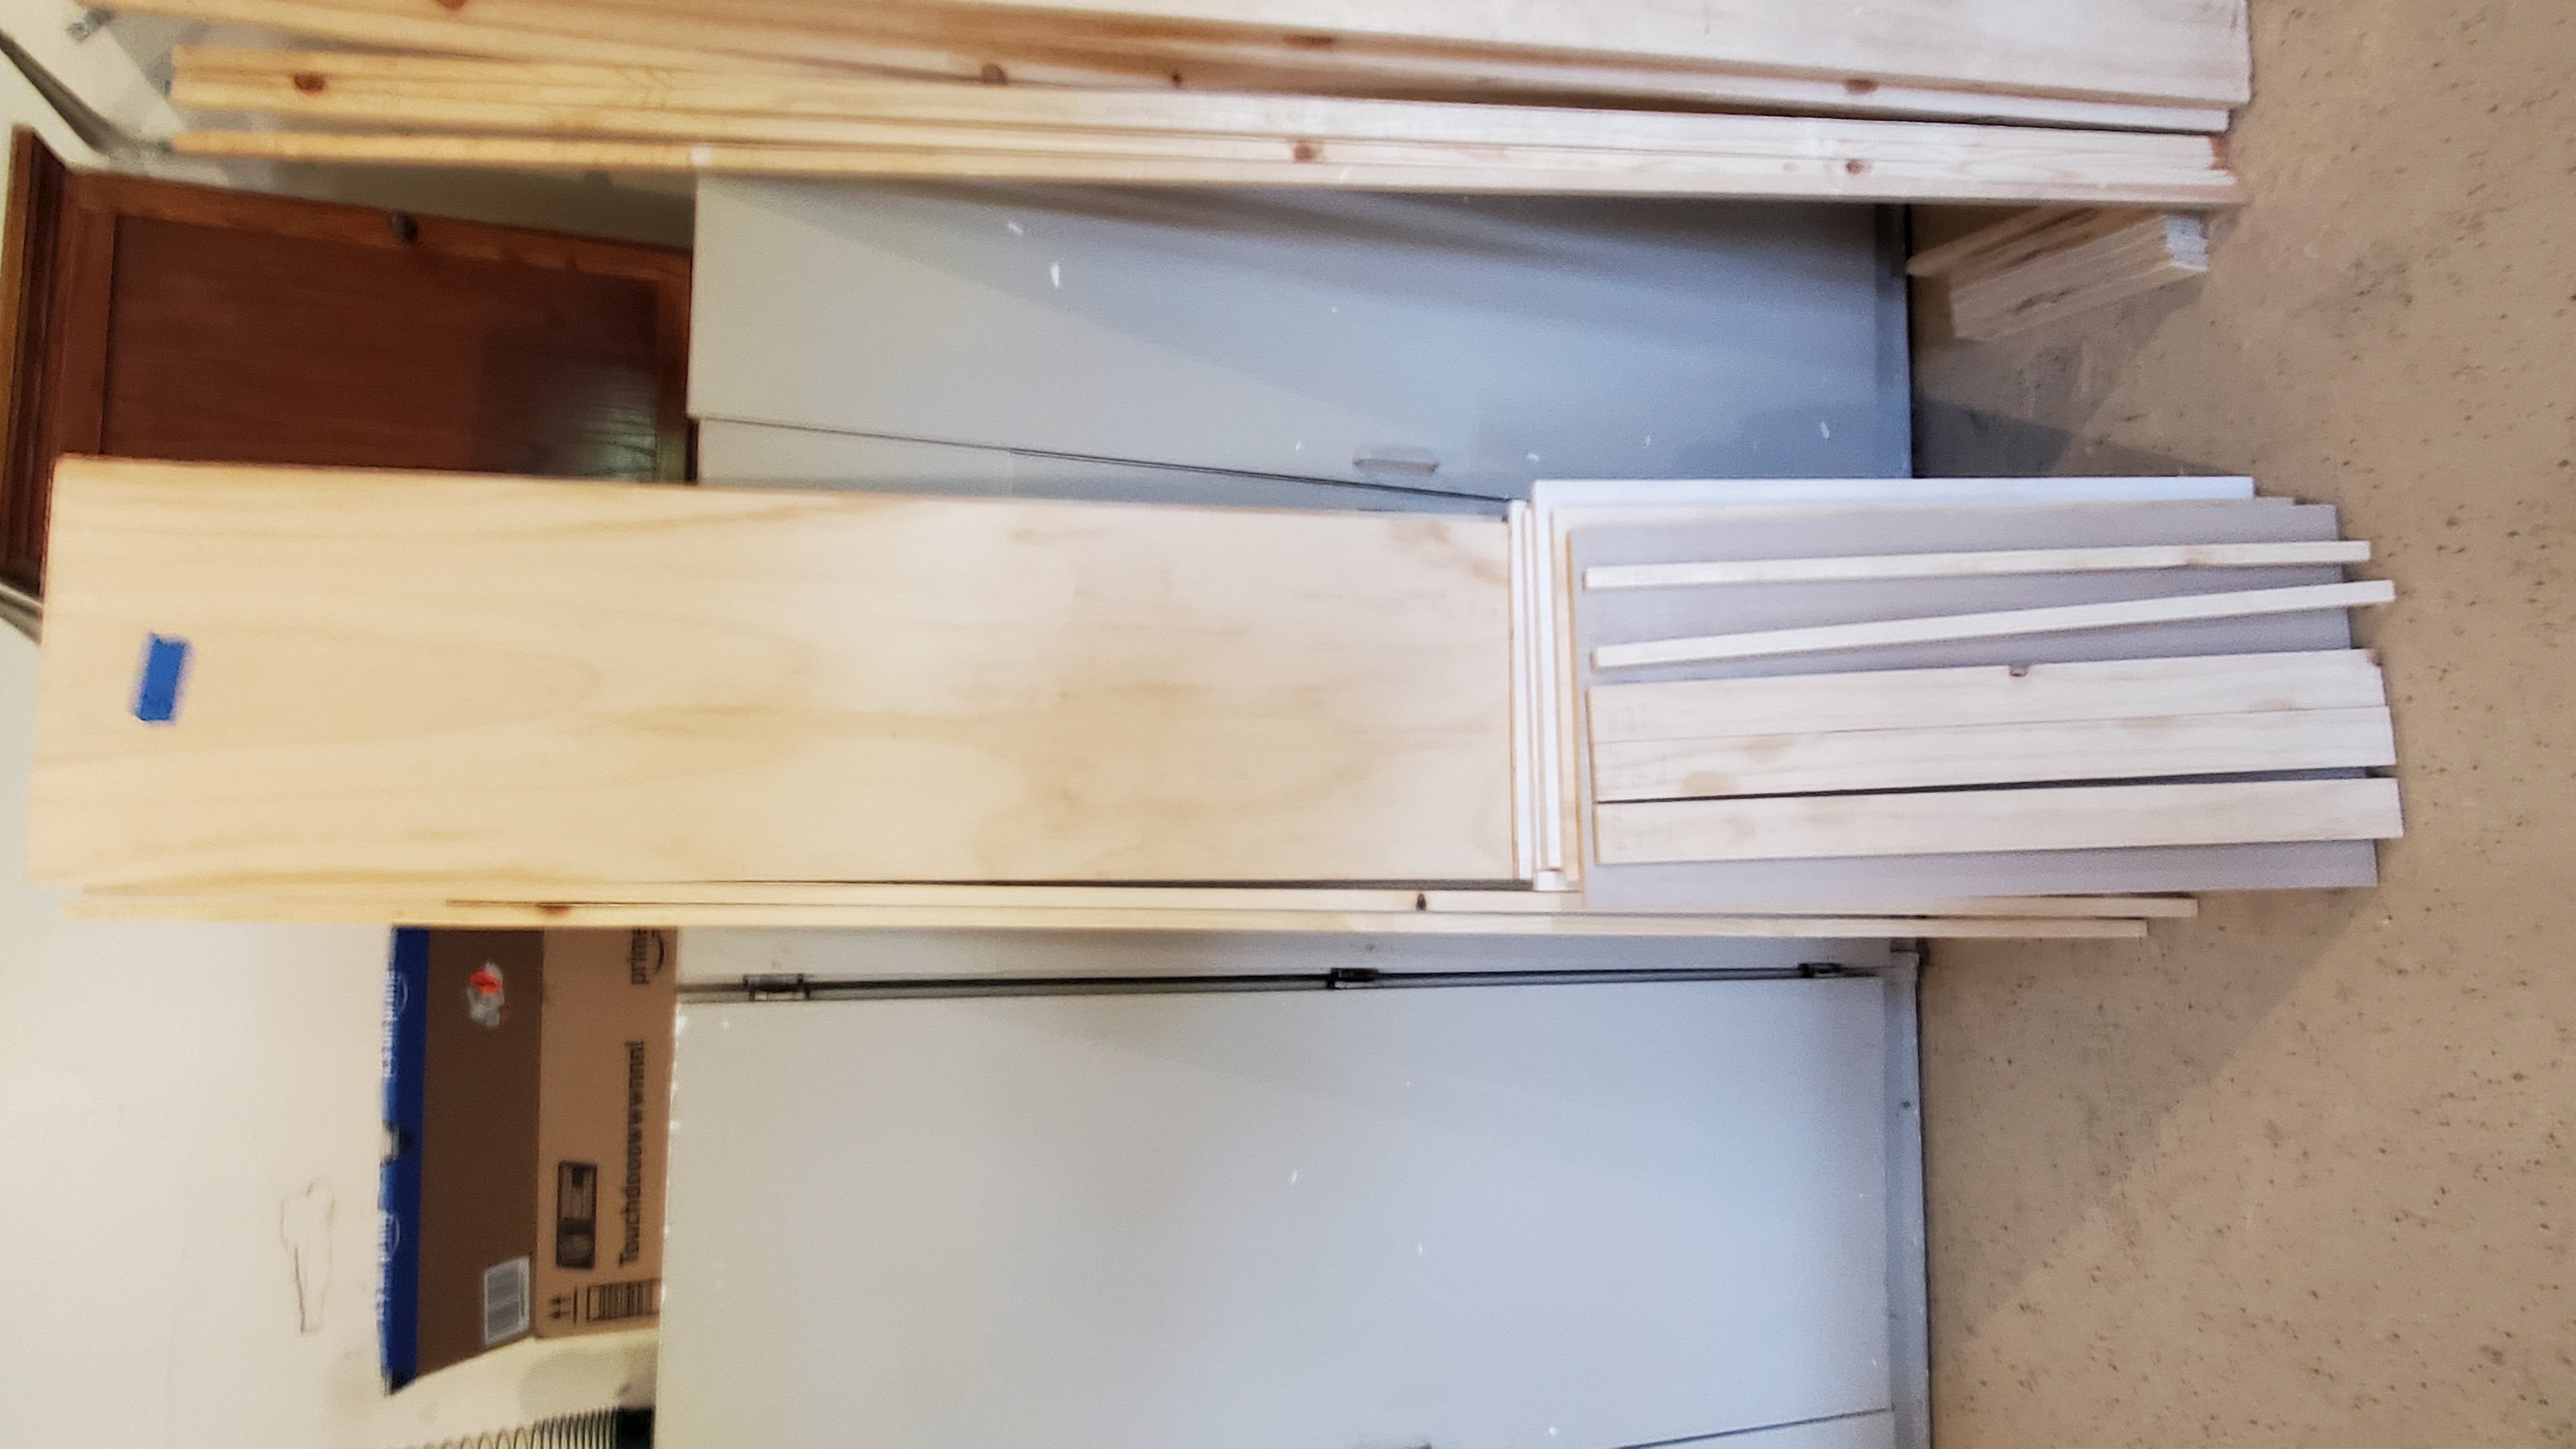
Plywood: Menards Pine ACX 4x8 Qty 10
Solid Pine: Menards 1x6-8' Qty 5
Various: Screws, closet rods (resized and refinished existing), Glue, Wood Putty
Finish: 1 Gal Zinsser Primer, 2 Gals Benjamin Moore Custom Satin Color
New Tools
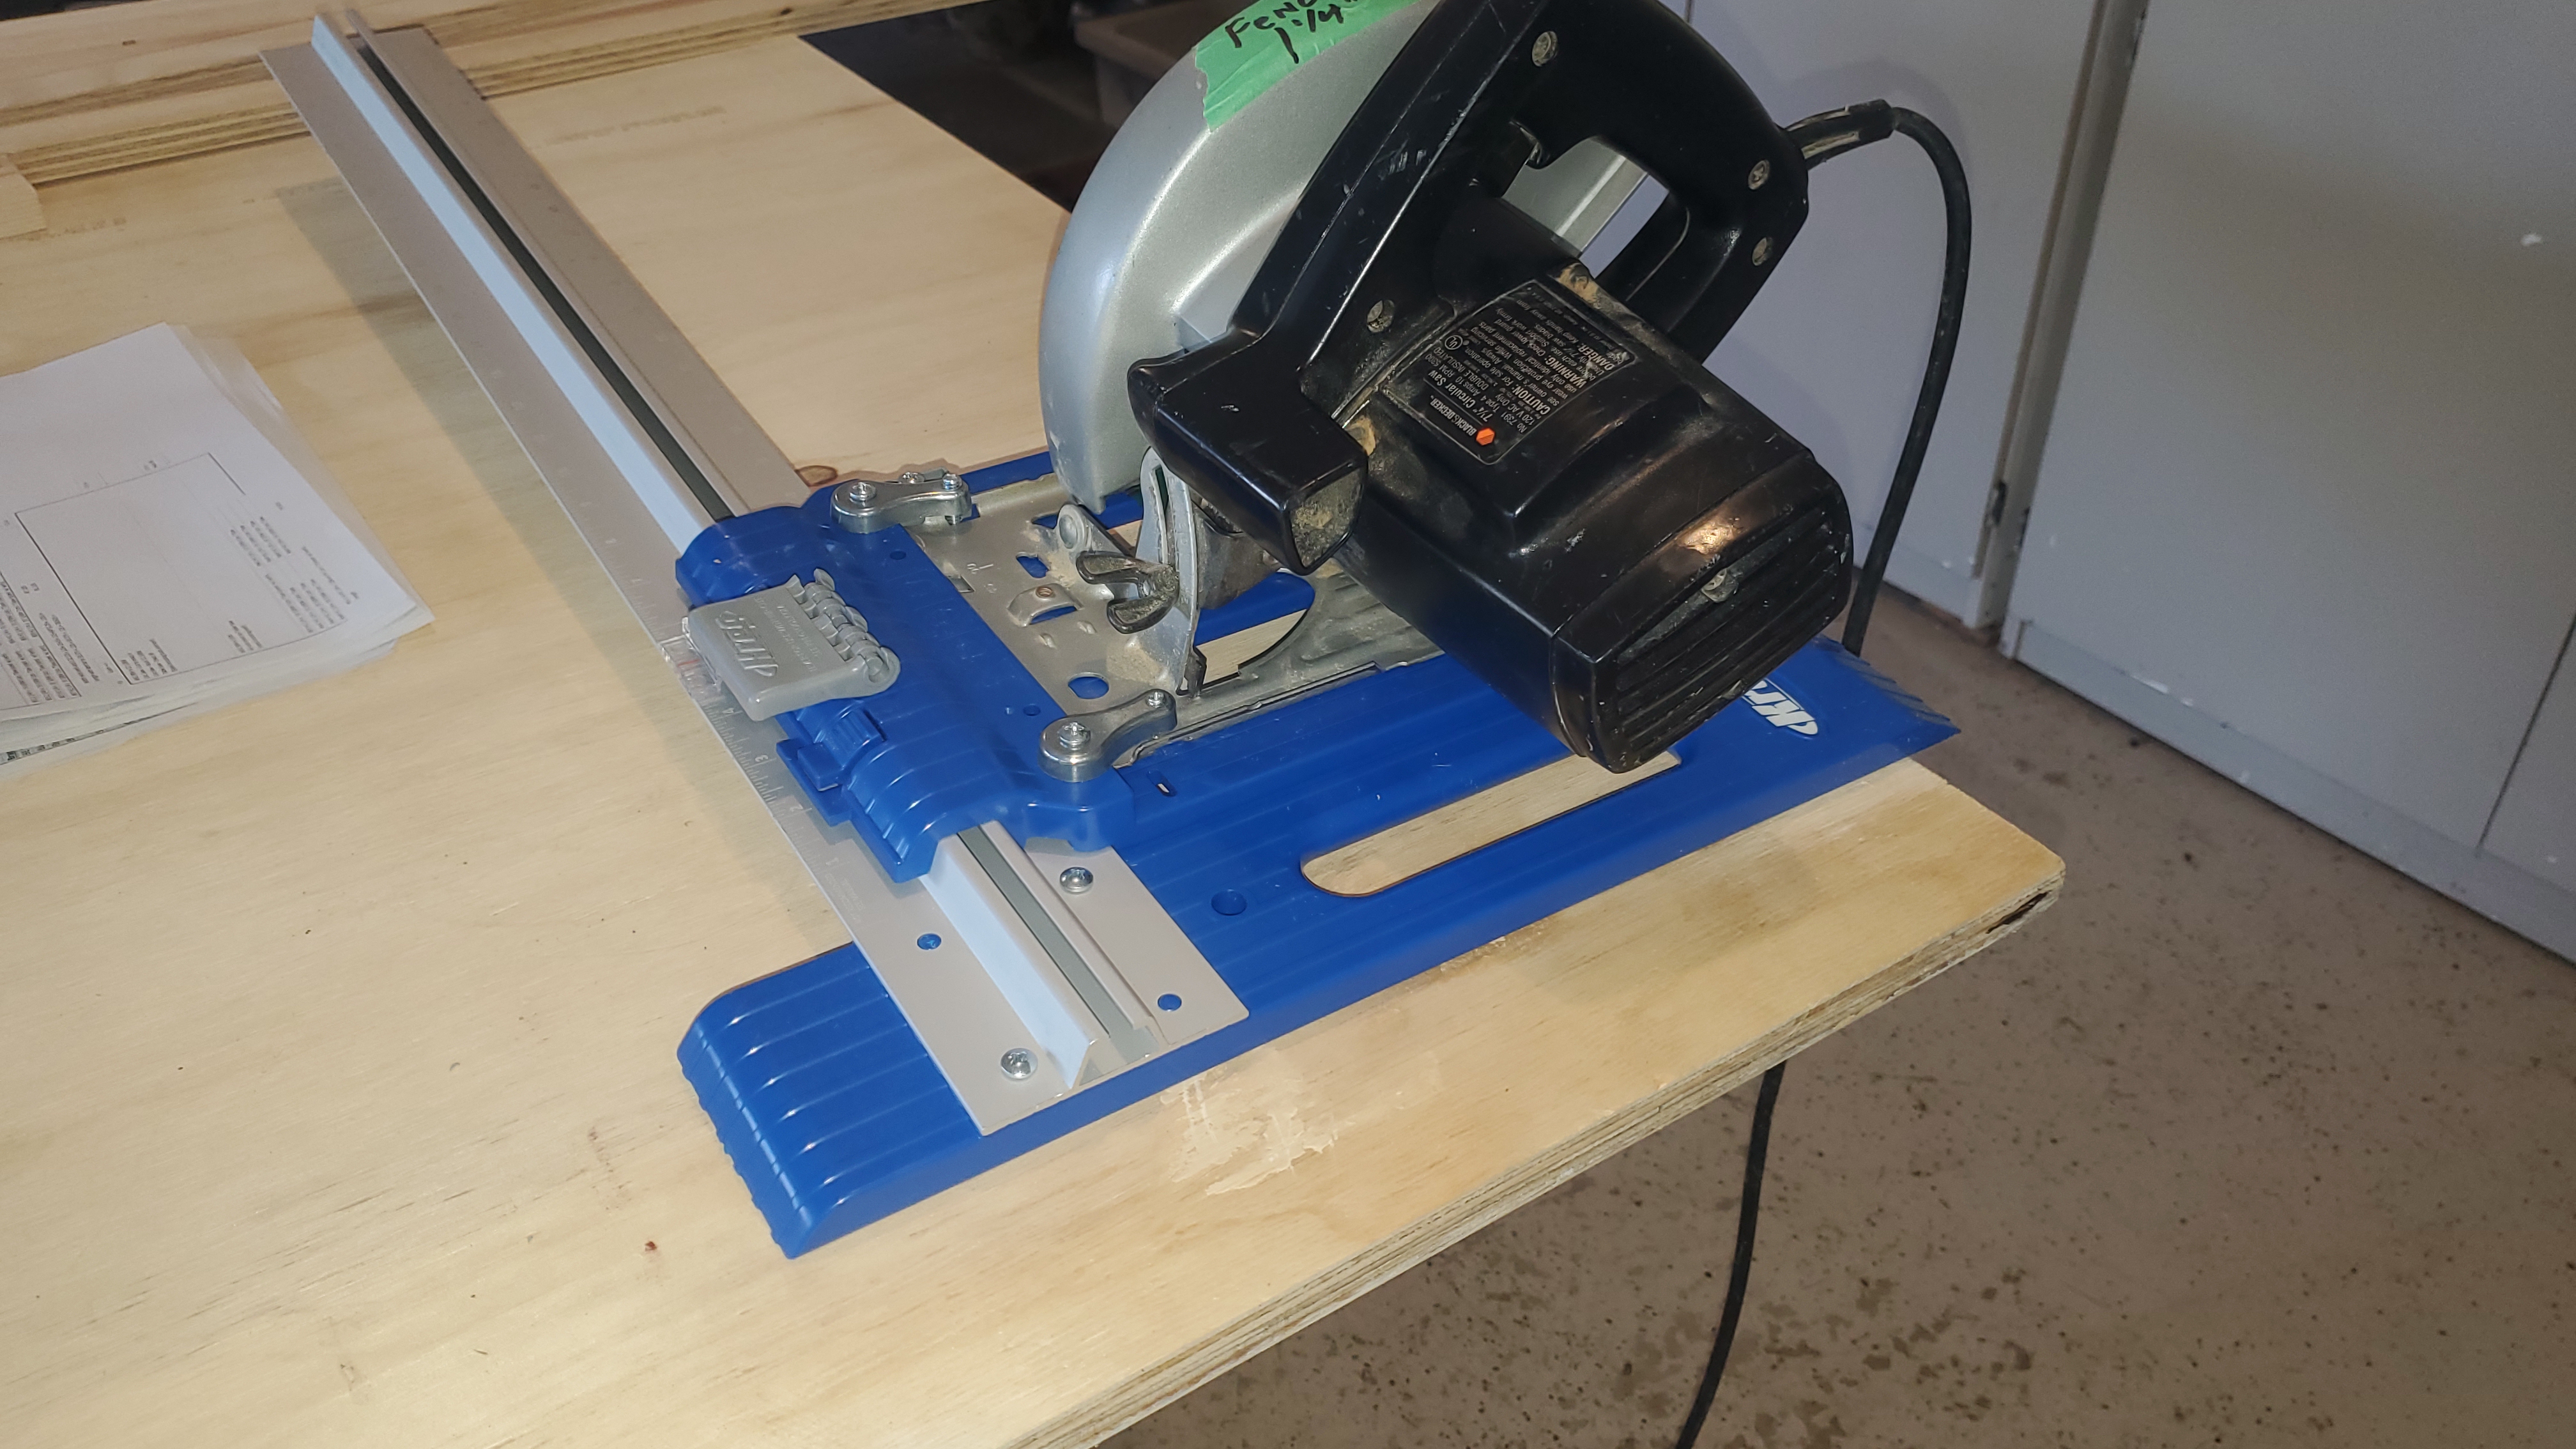
Every new project, of course, needs at least one new tool! I bought a large (4' T-Square - Menards $13) and a Kreg Circular Saw Guide ($38) is all. The circular saw guide saved a lot of set up time and made nice square cuts. The large T helped mark shelf alignments faster and more accurate. I also bought a Wagner spray tent ($135) which was just big enough to fit the big walls and so much easier to assemble vs. last year using our big display tent.
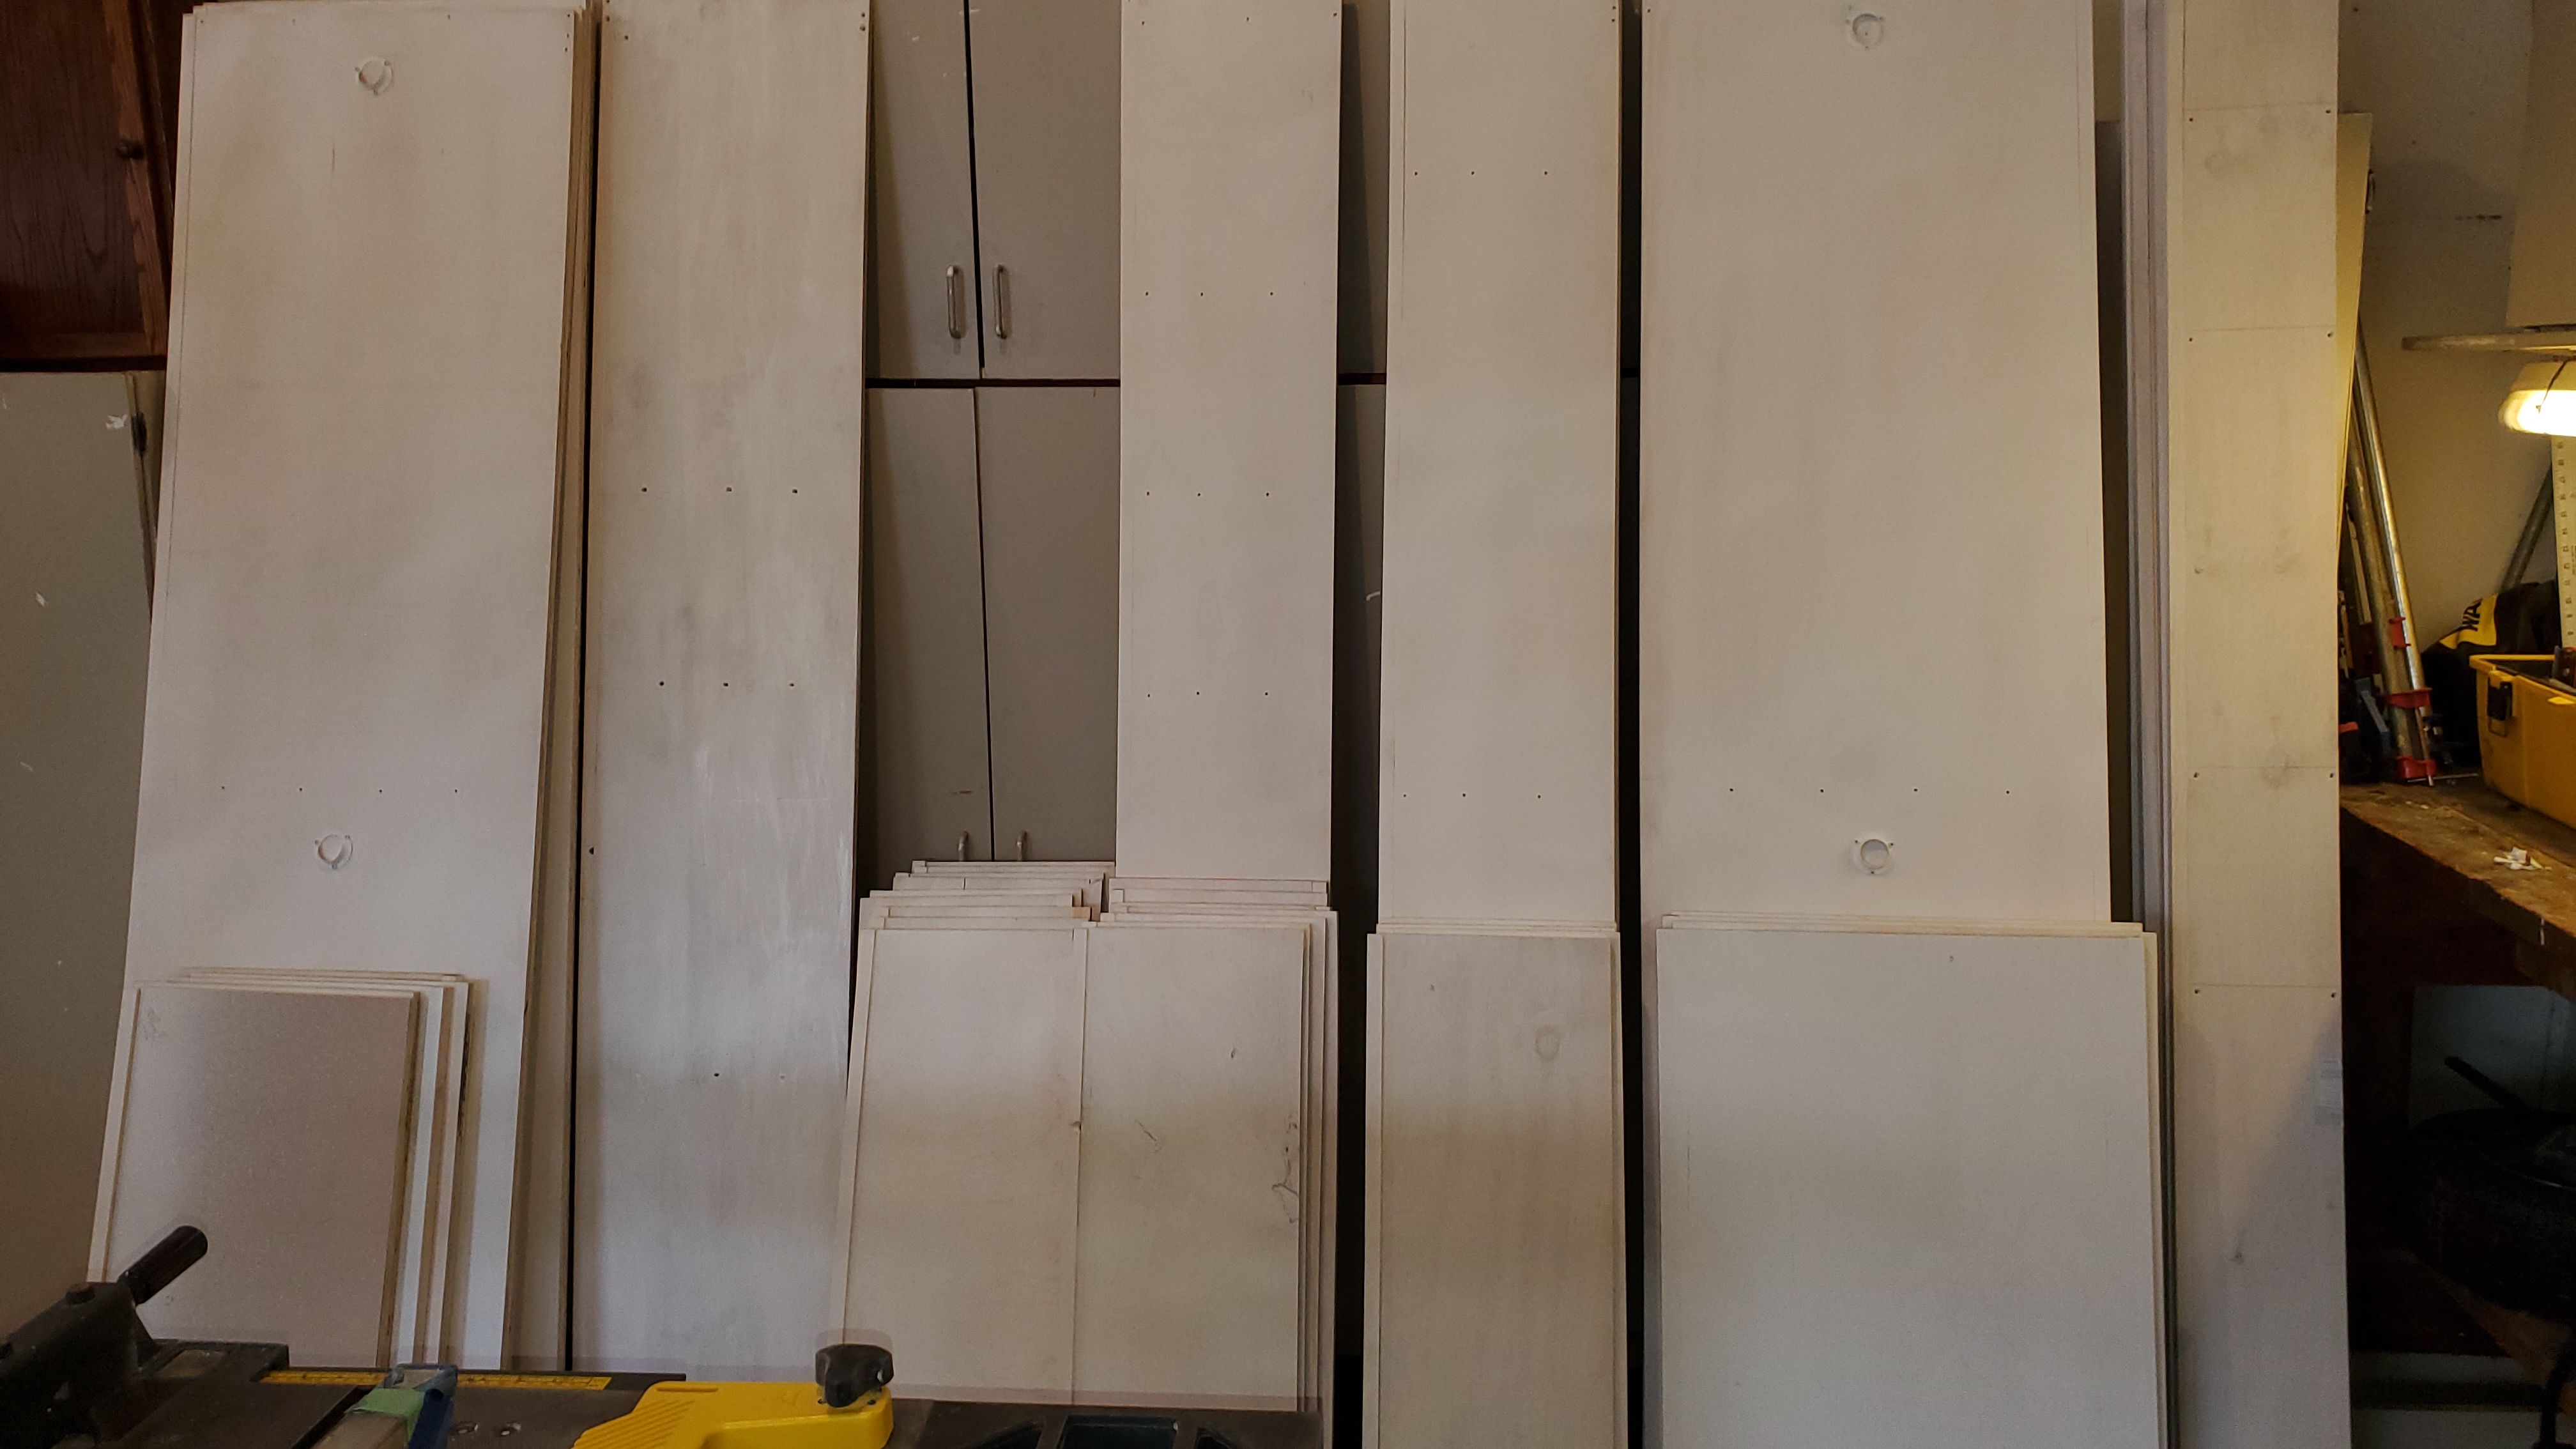
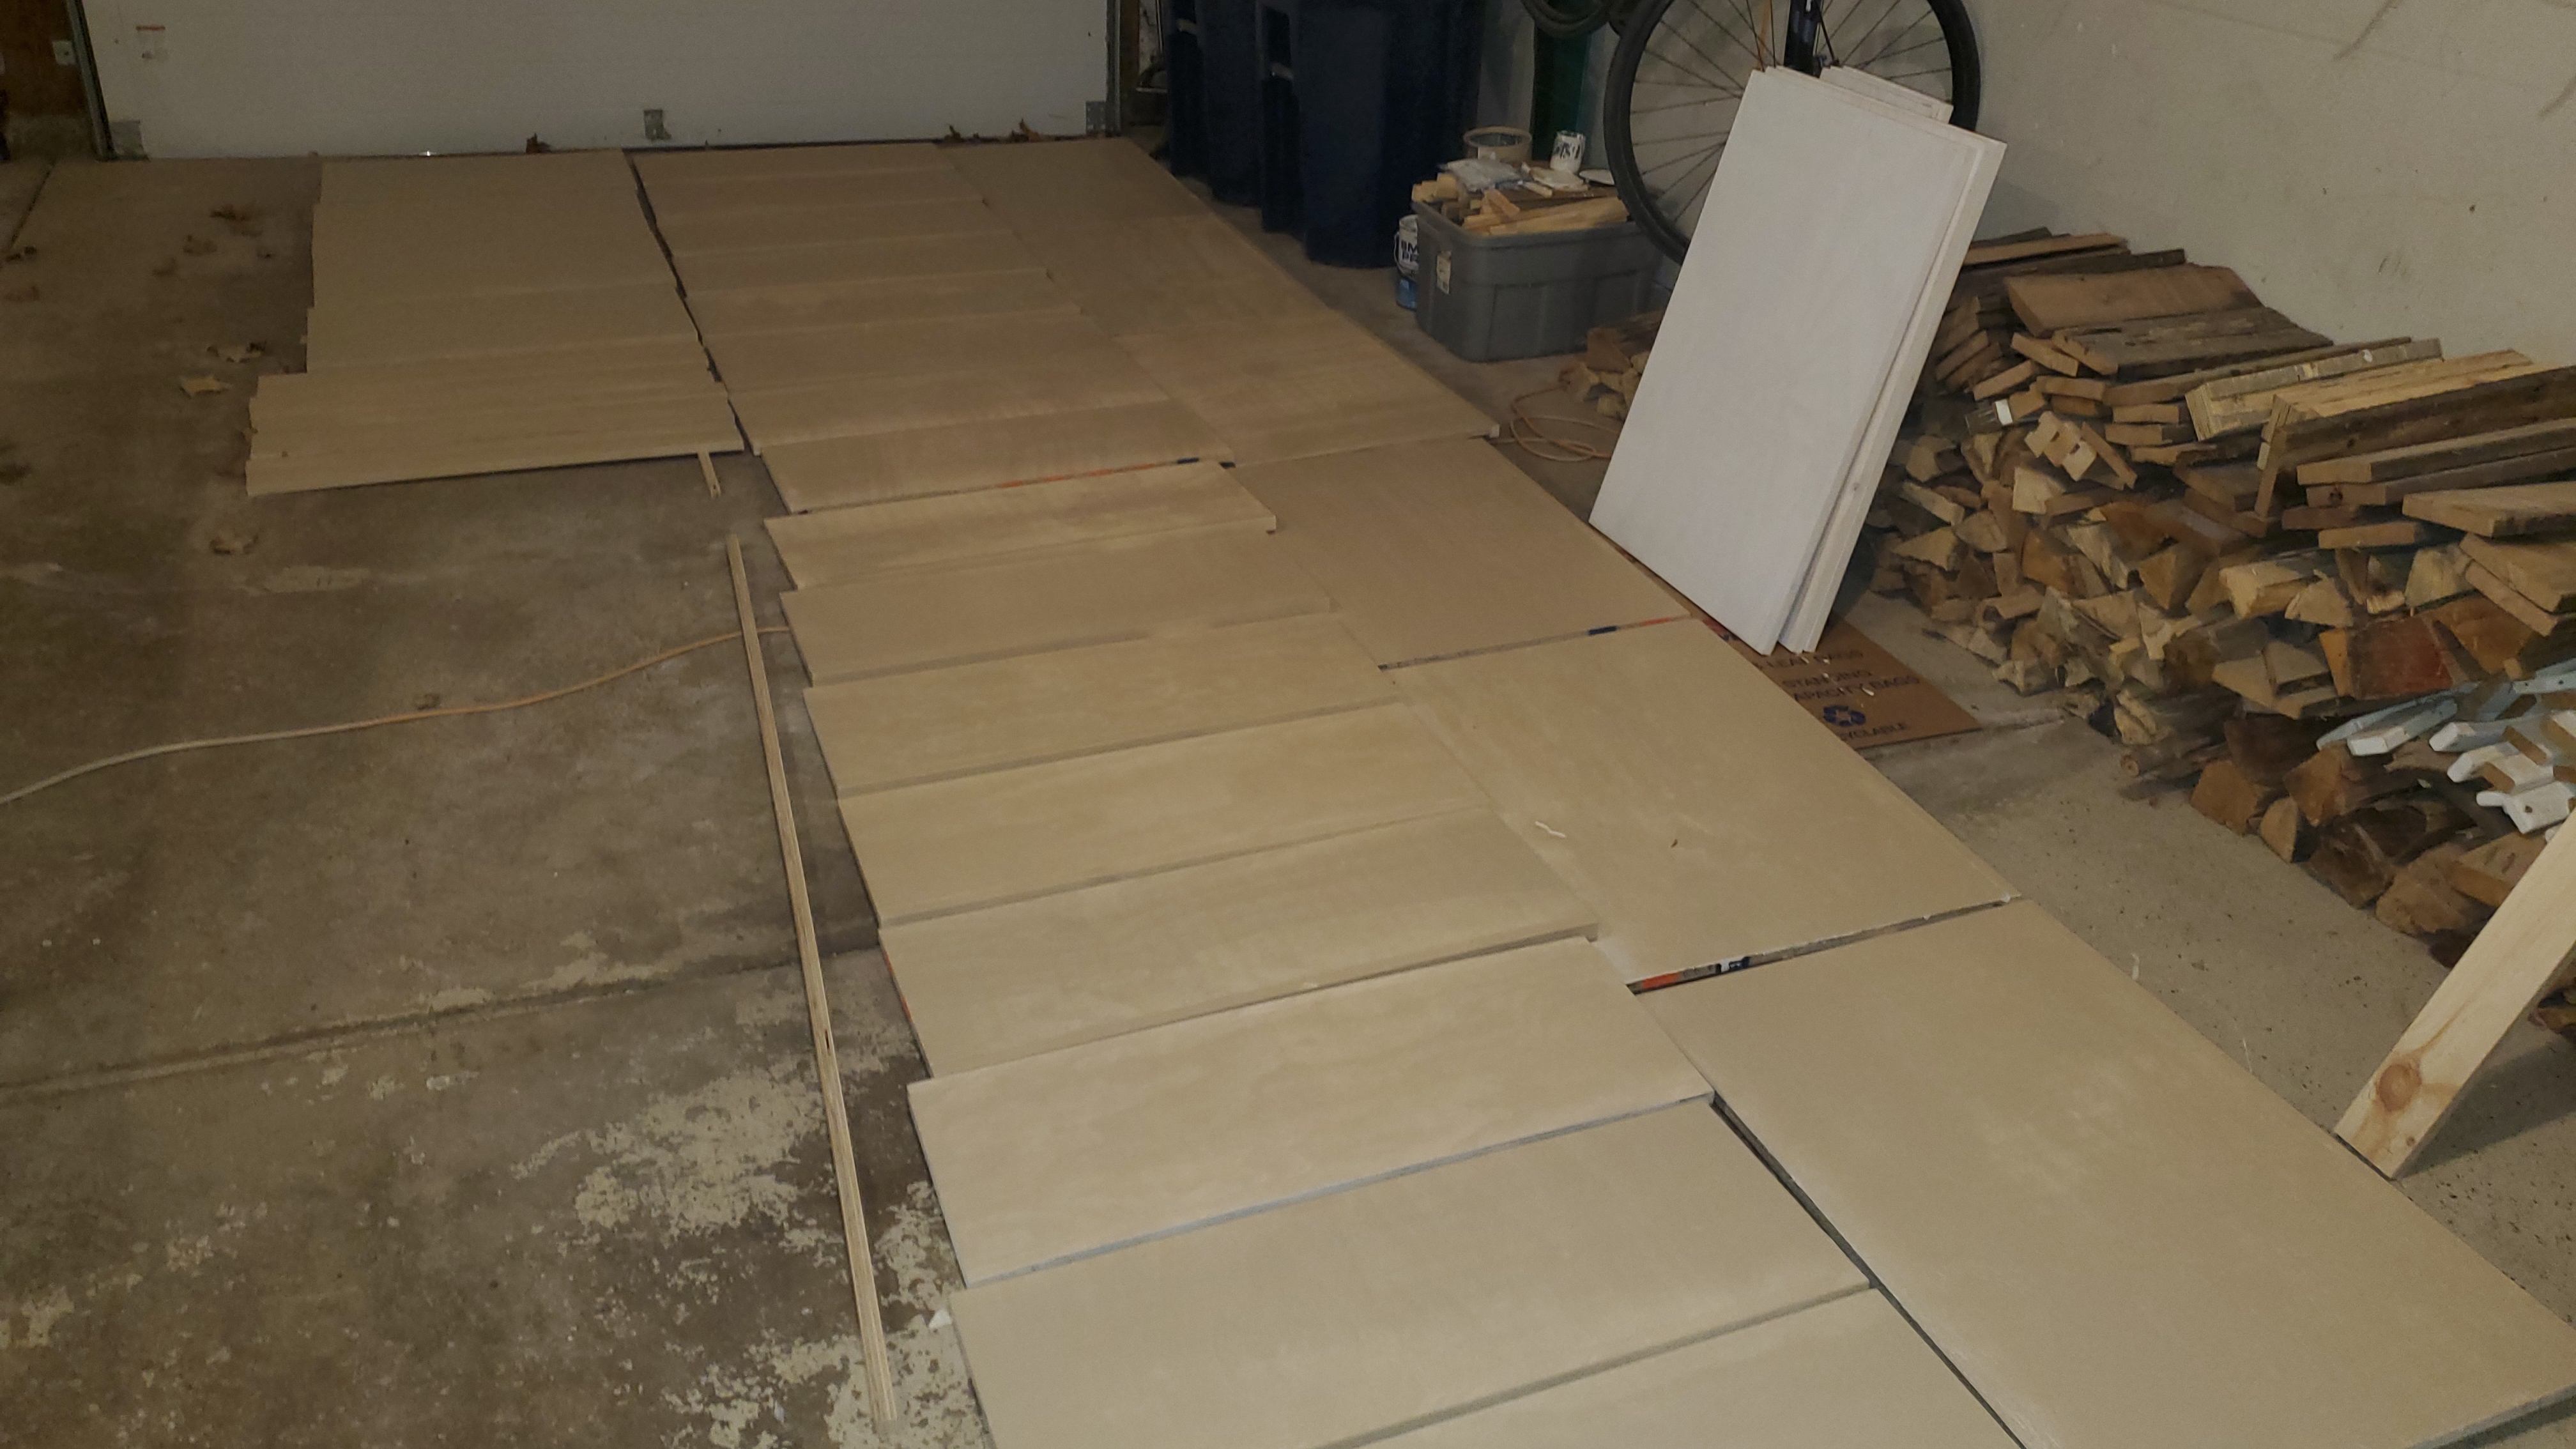
Fabrication
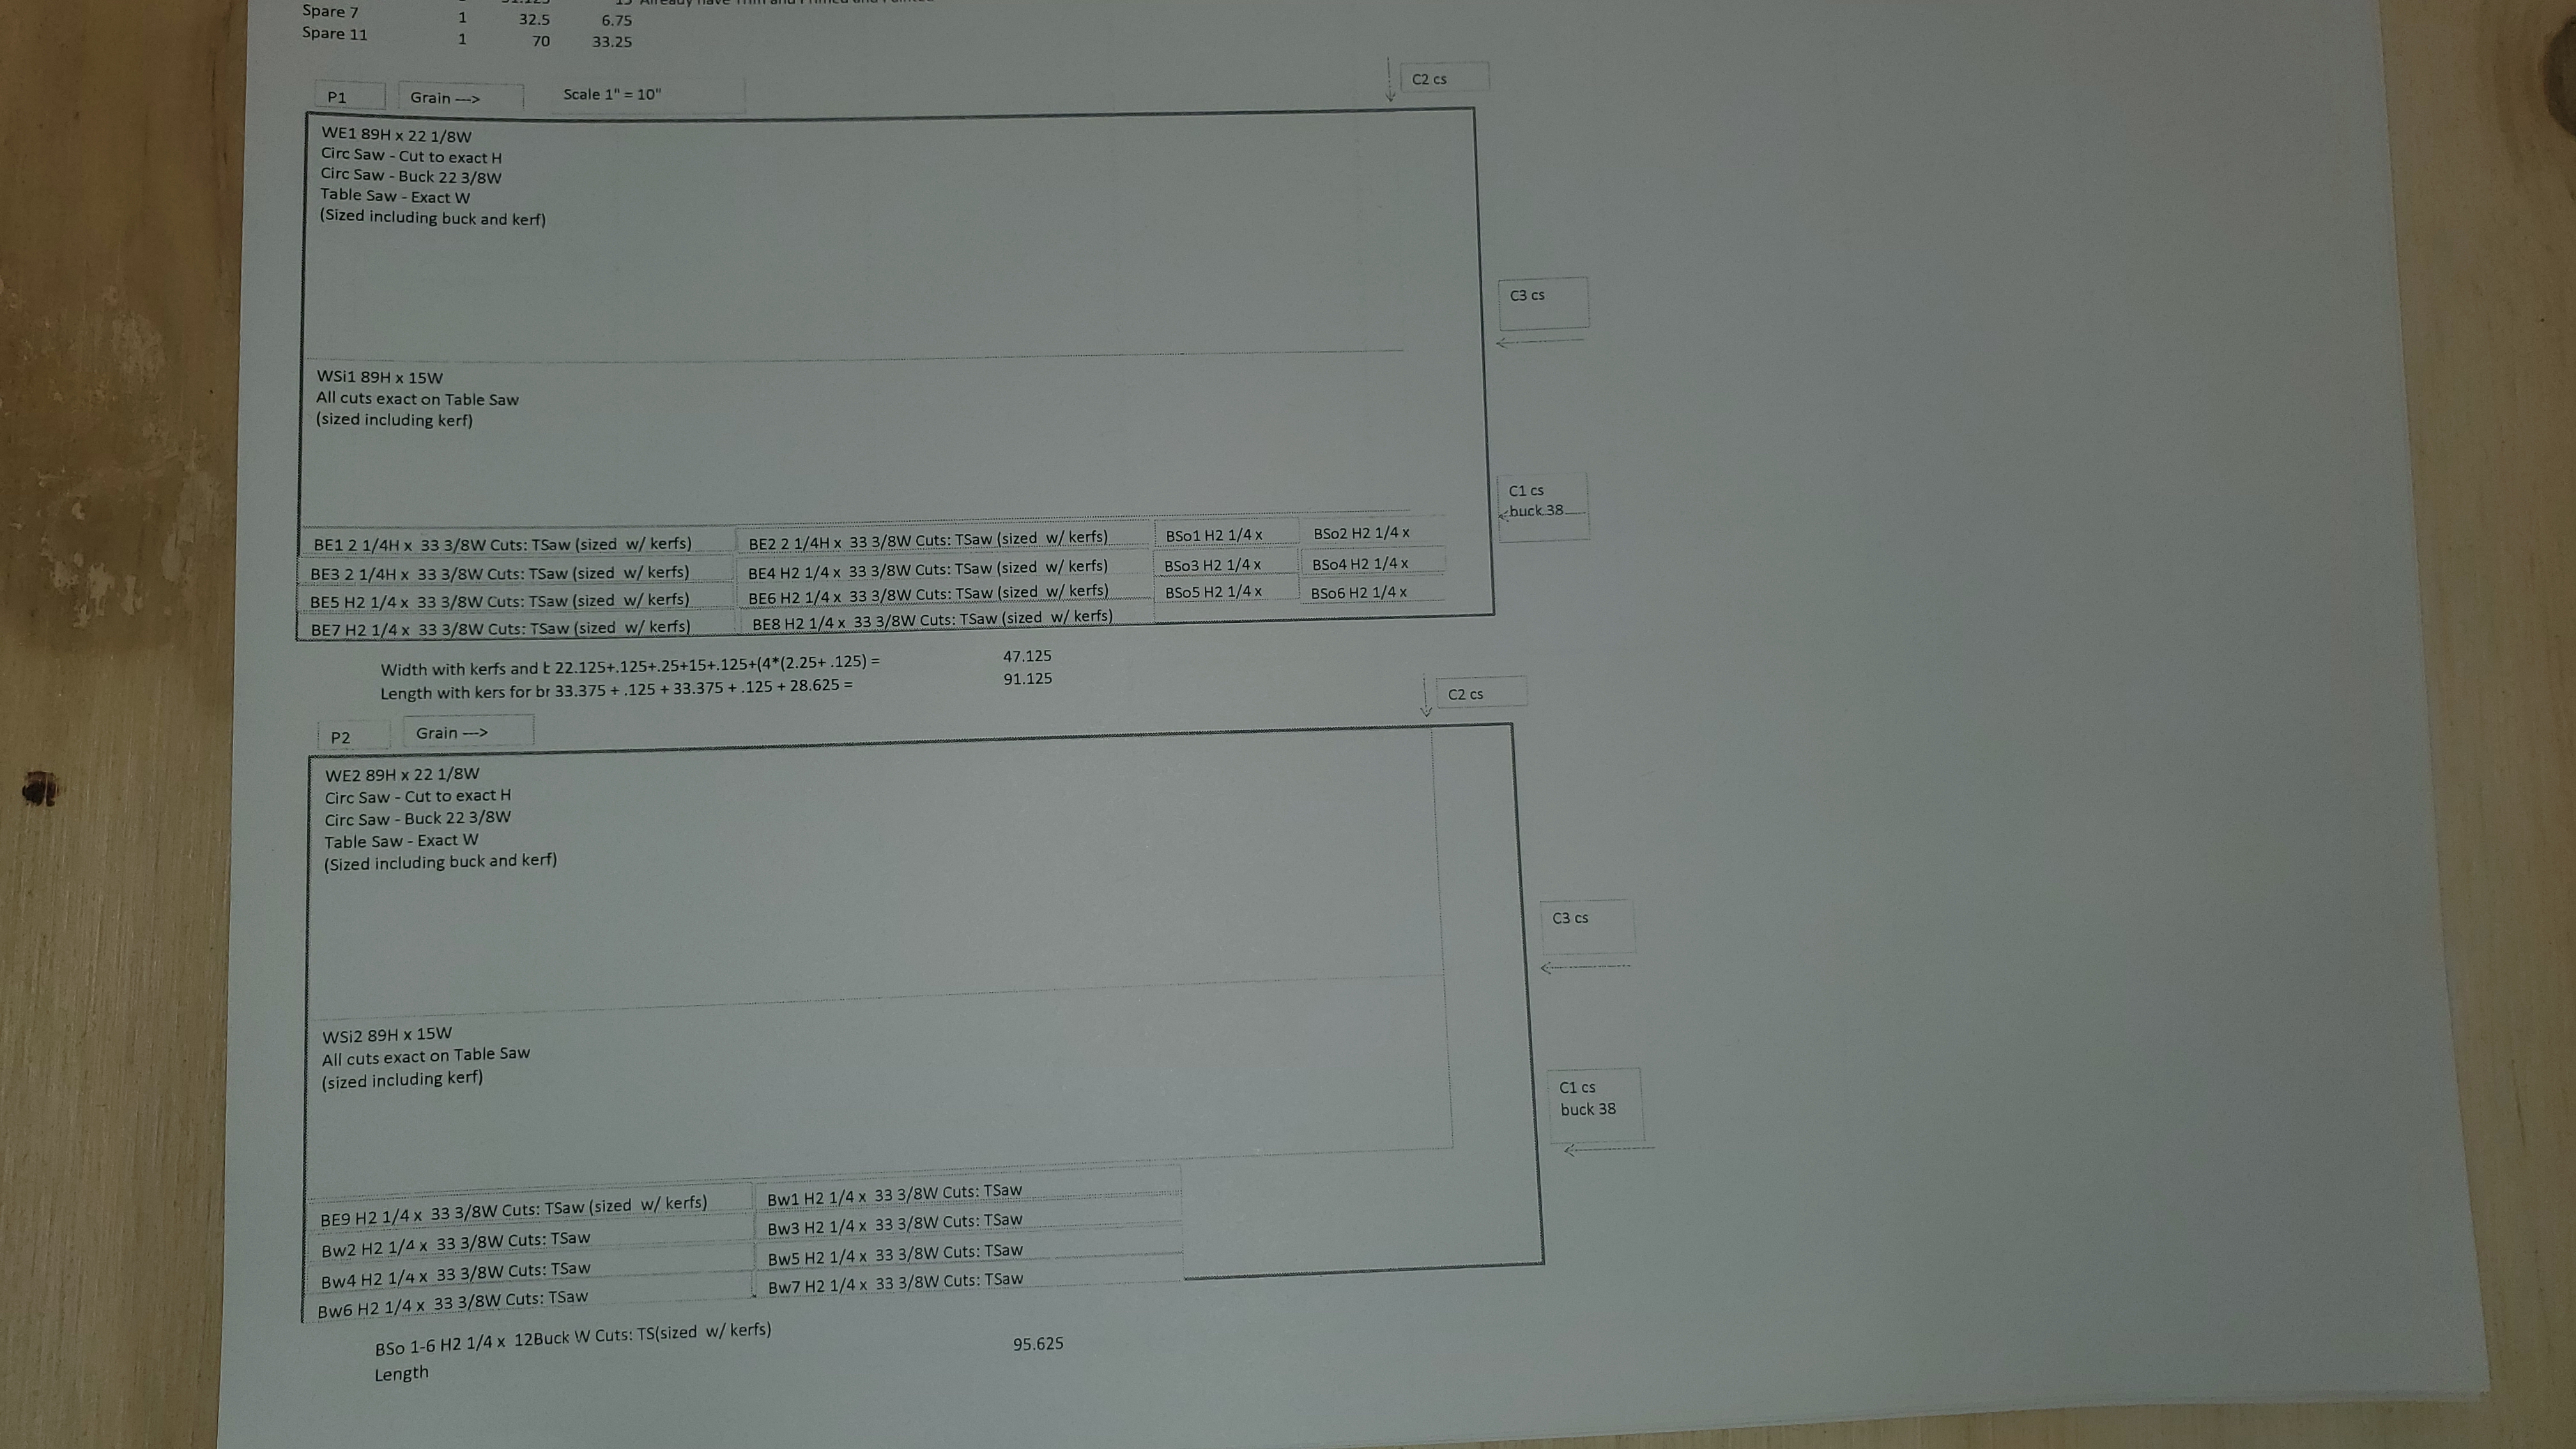
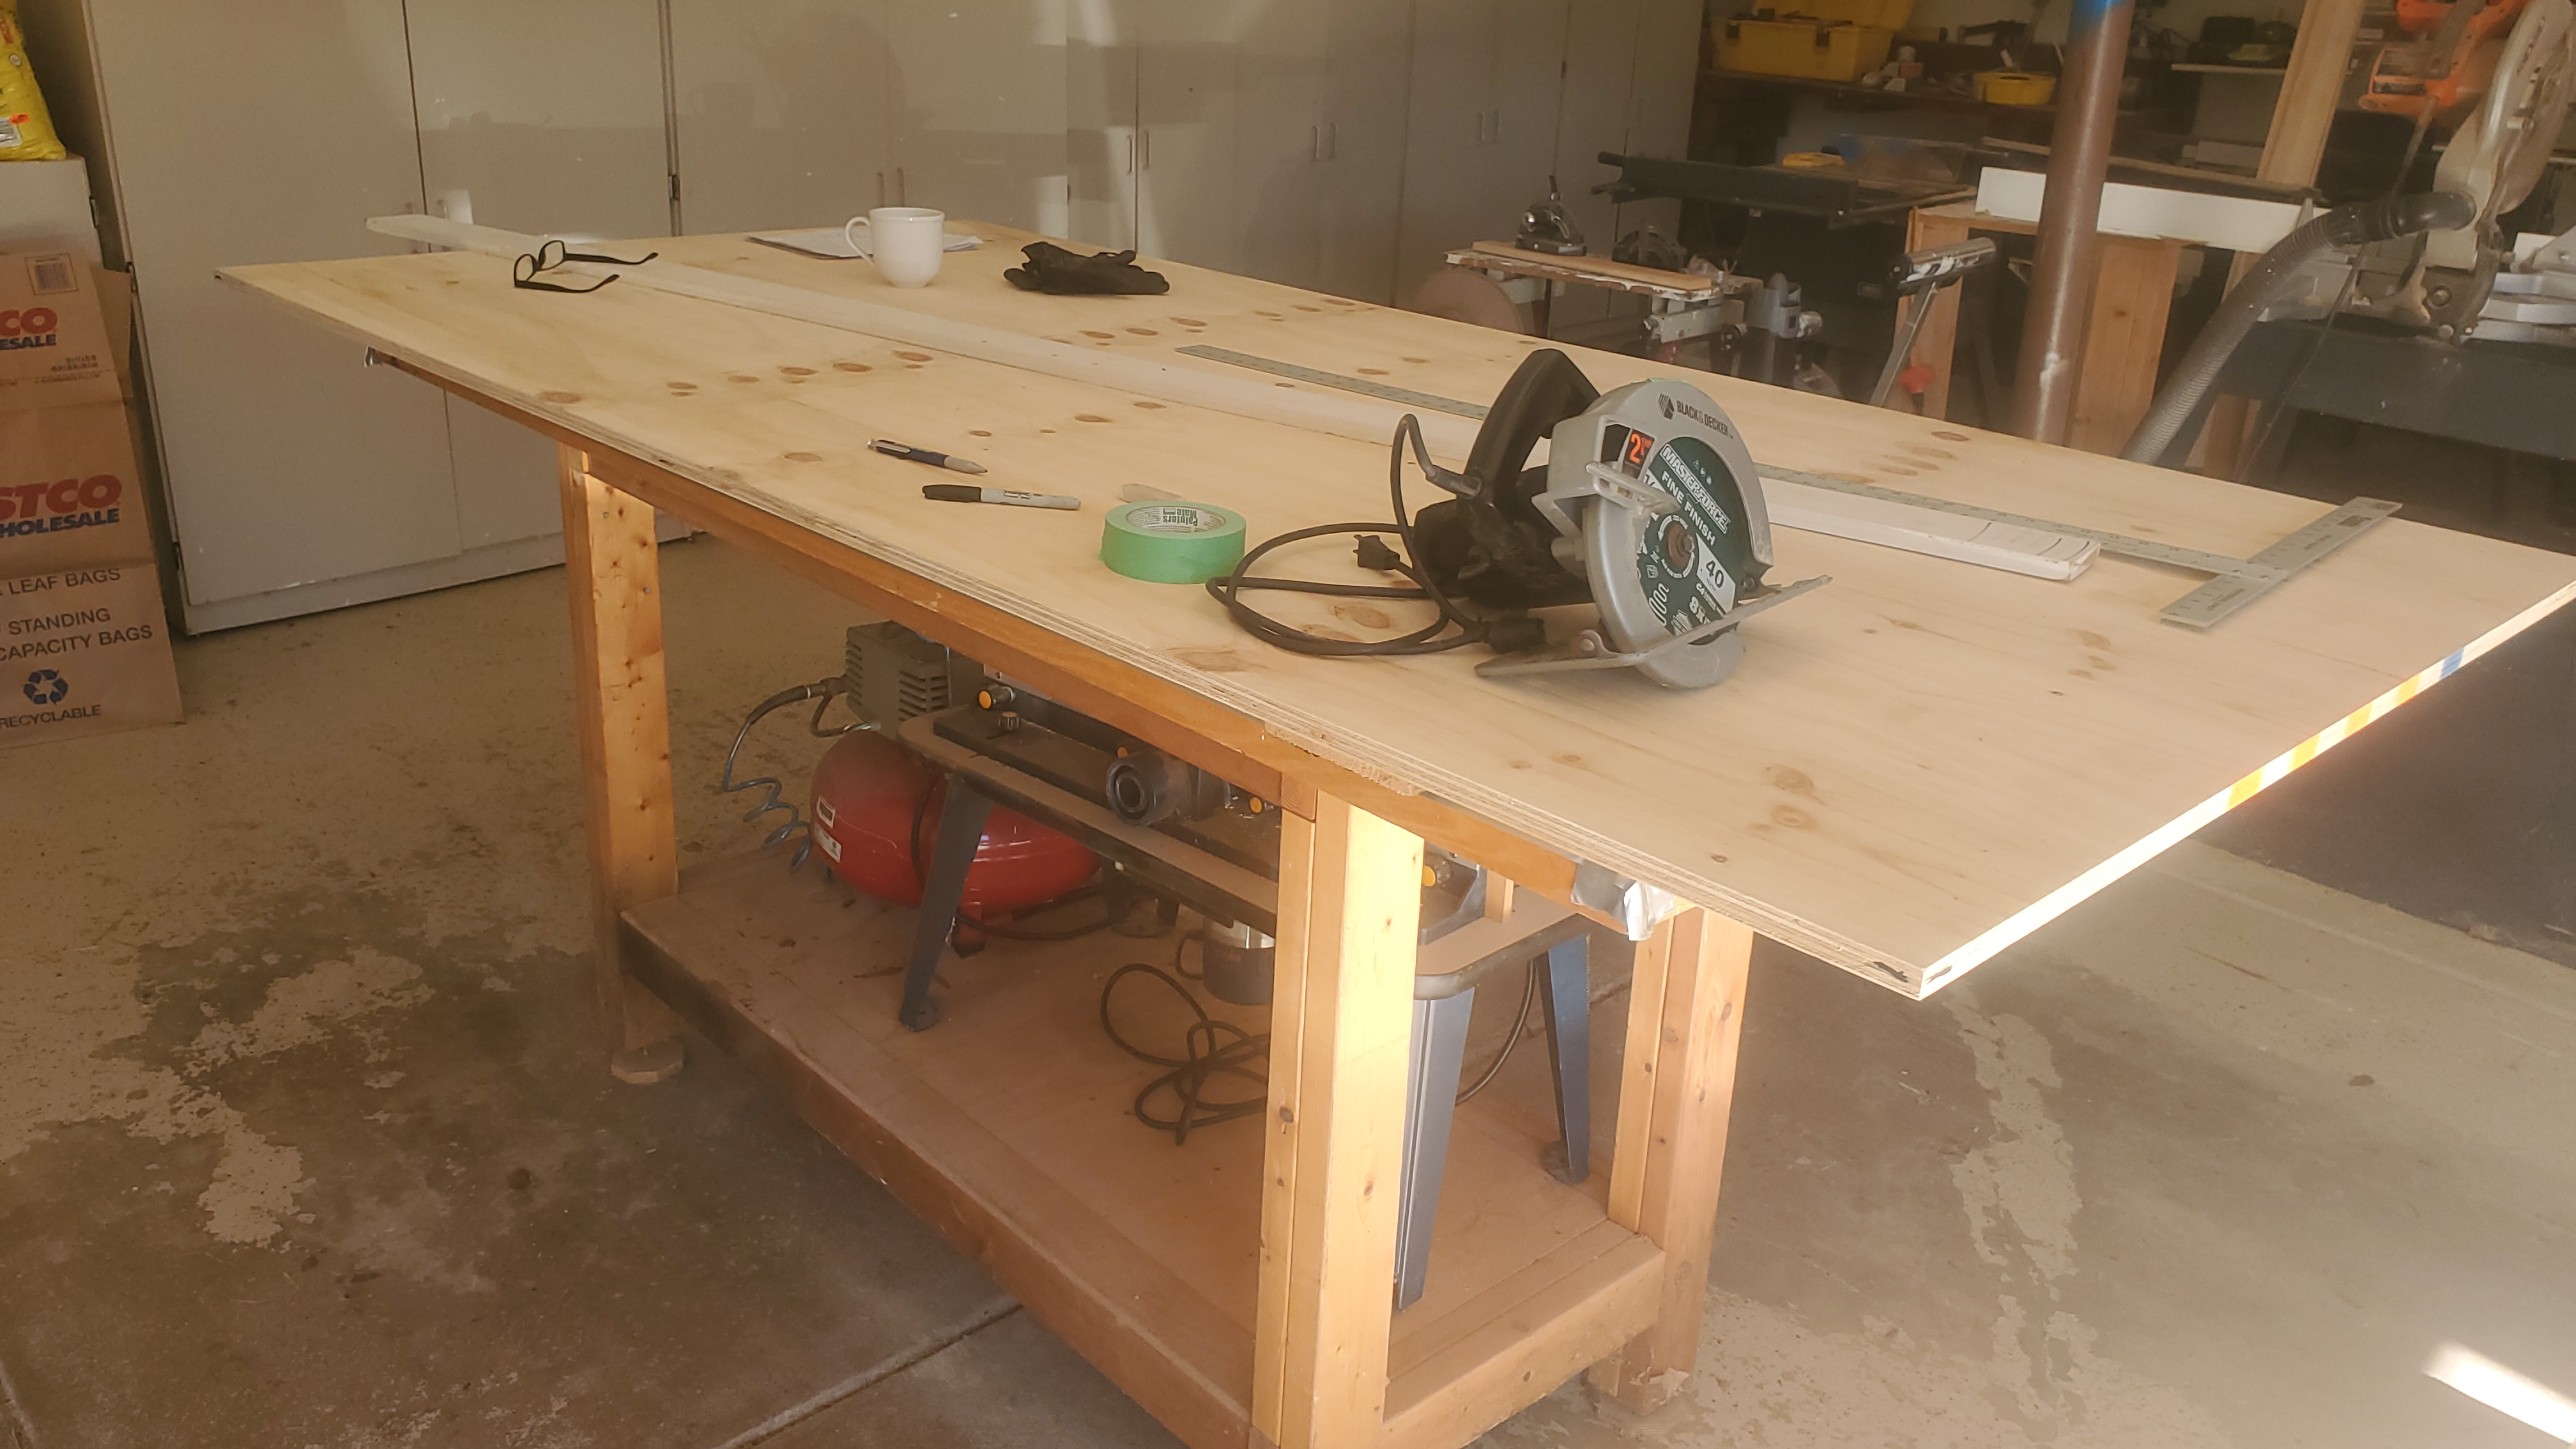
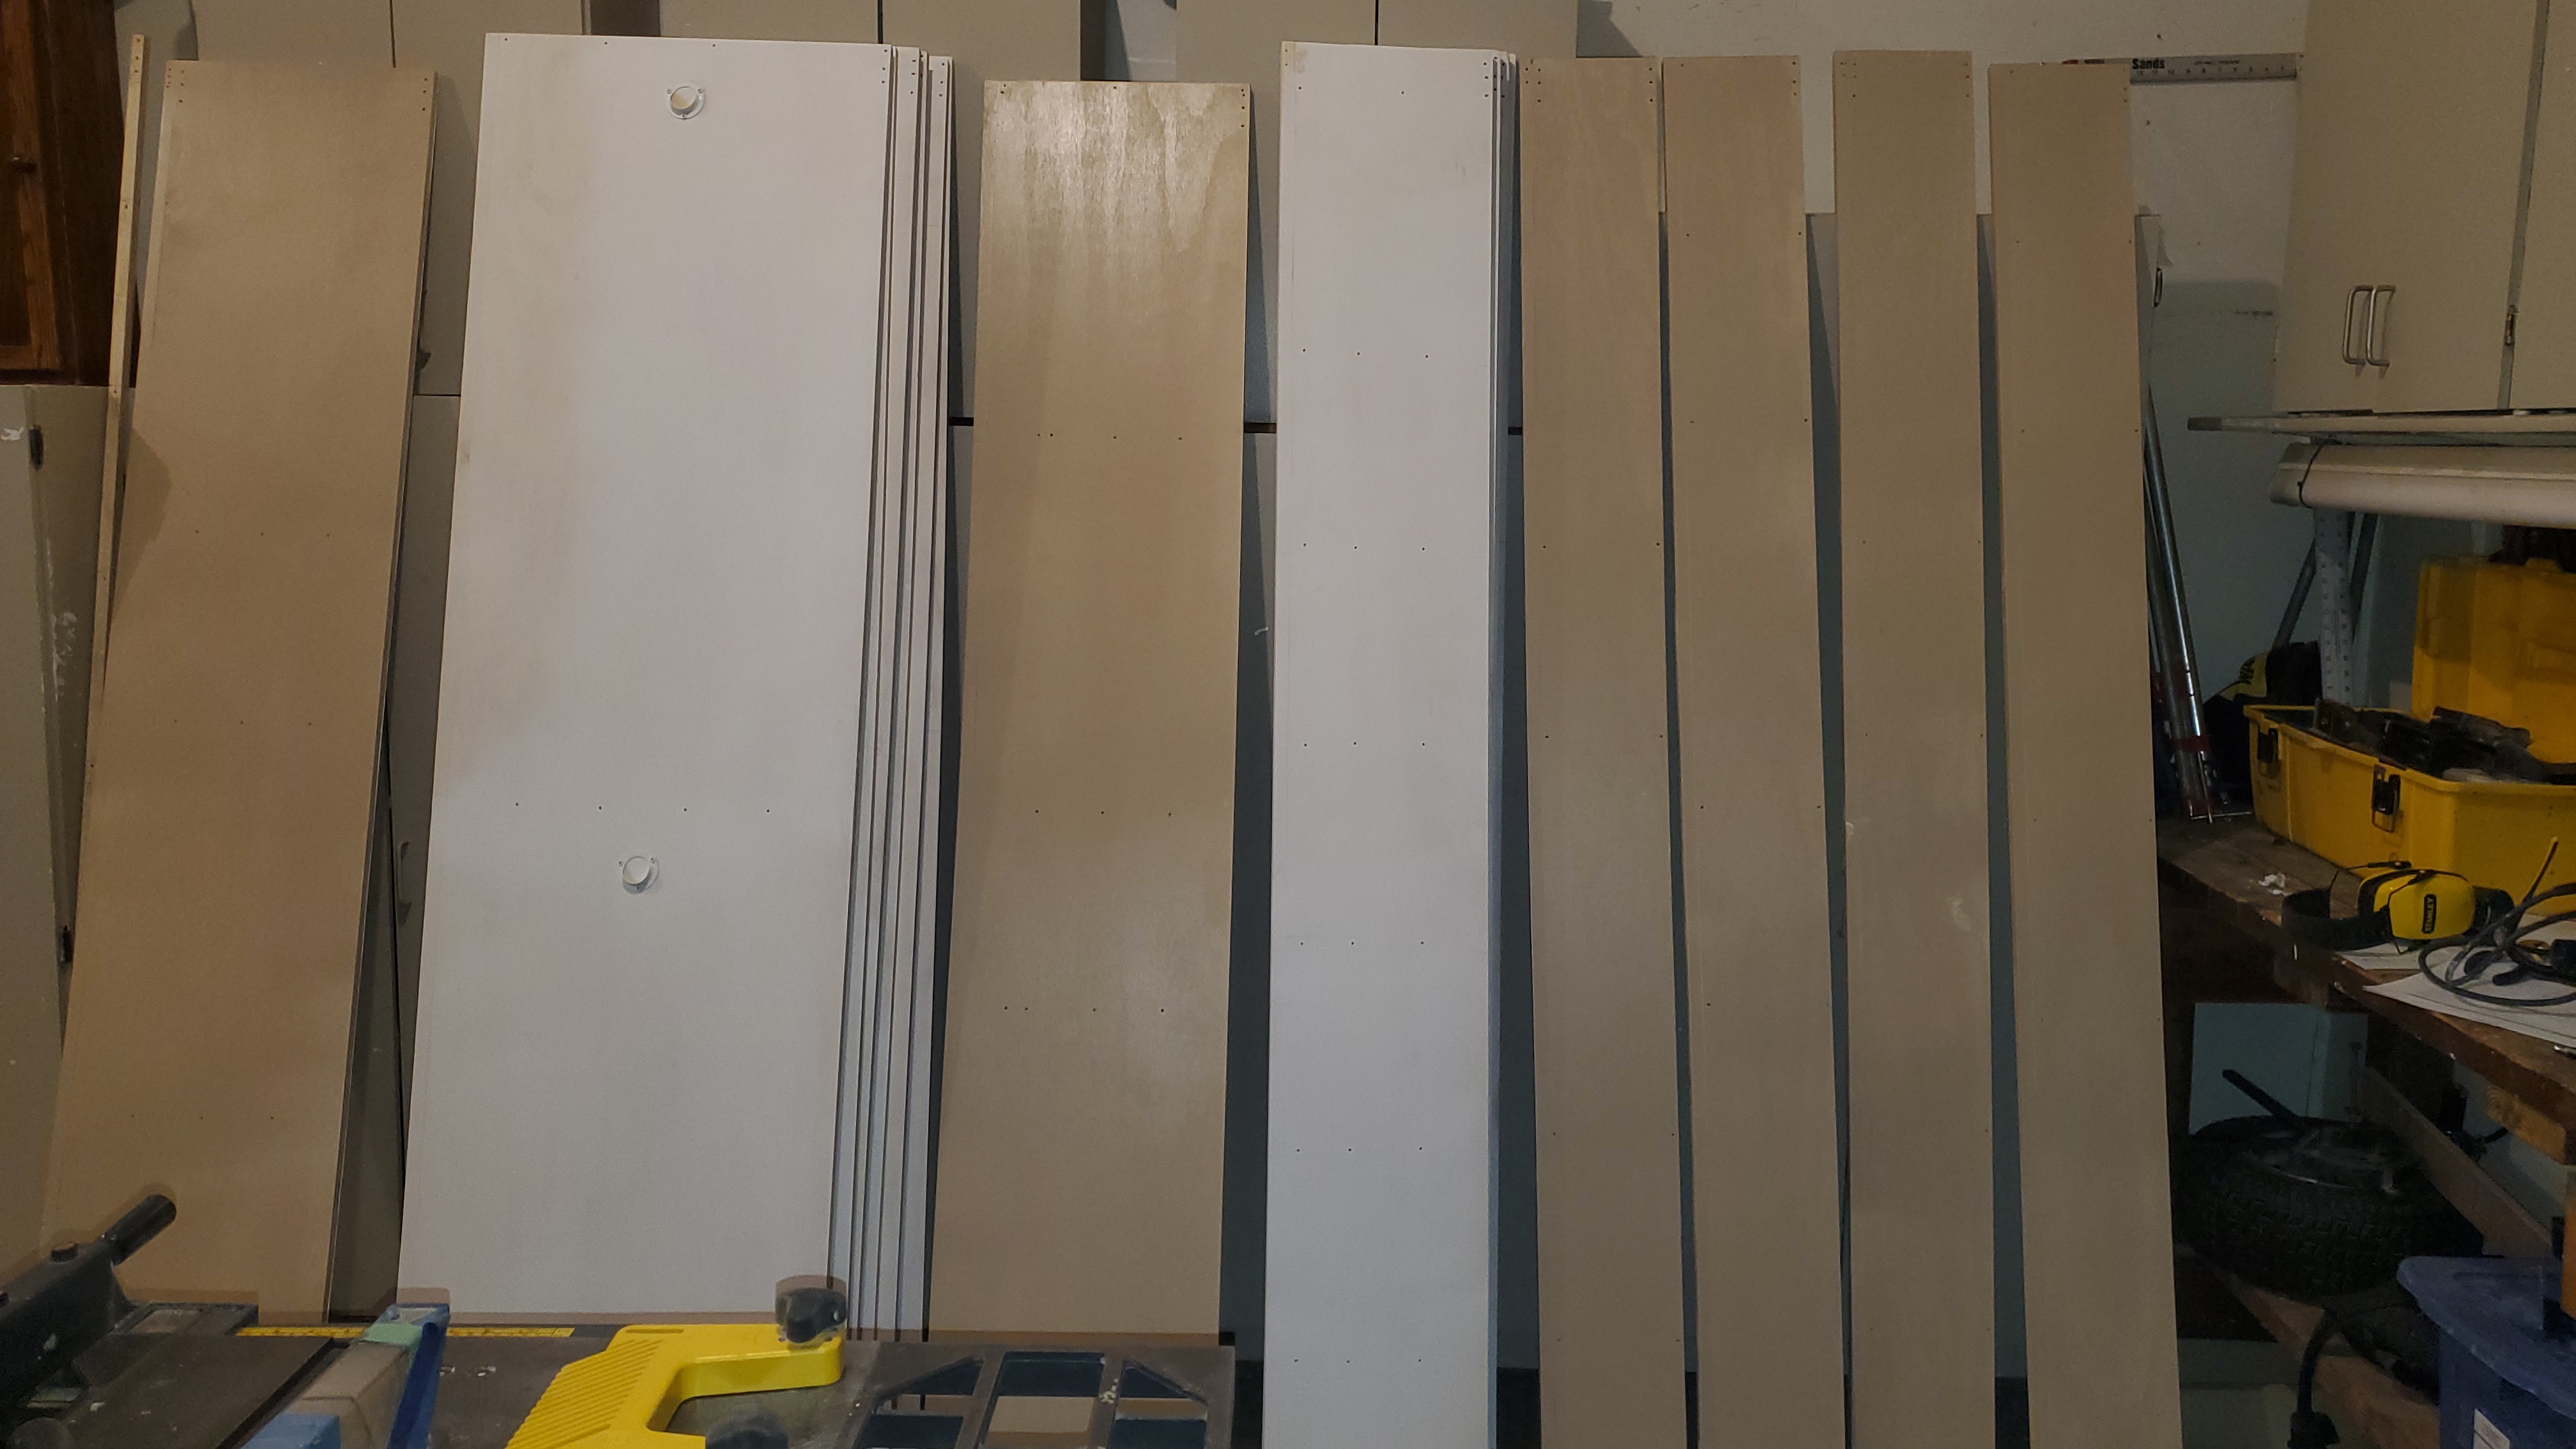
Circular Saw and Guide Cuts
This first milling was to cut the large pieces (Walls and East Shelves) using the circular saw and guide. These I cut to finished width because the cuts were nice and accurate with the guide. On Kathryn's closet I bucked a lot of the pieces and cut to final on the table saw which took more time. I did buck some of the pieces to be finished on the table saw.
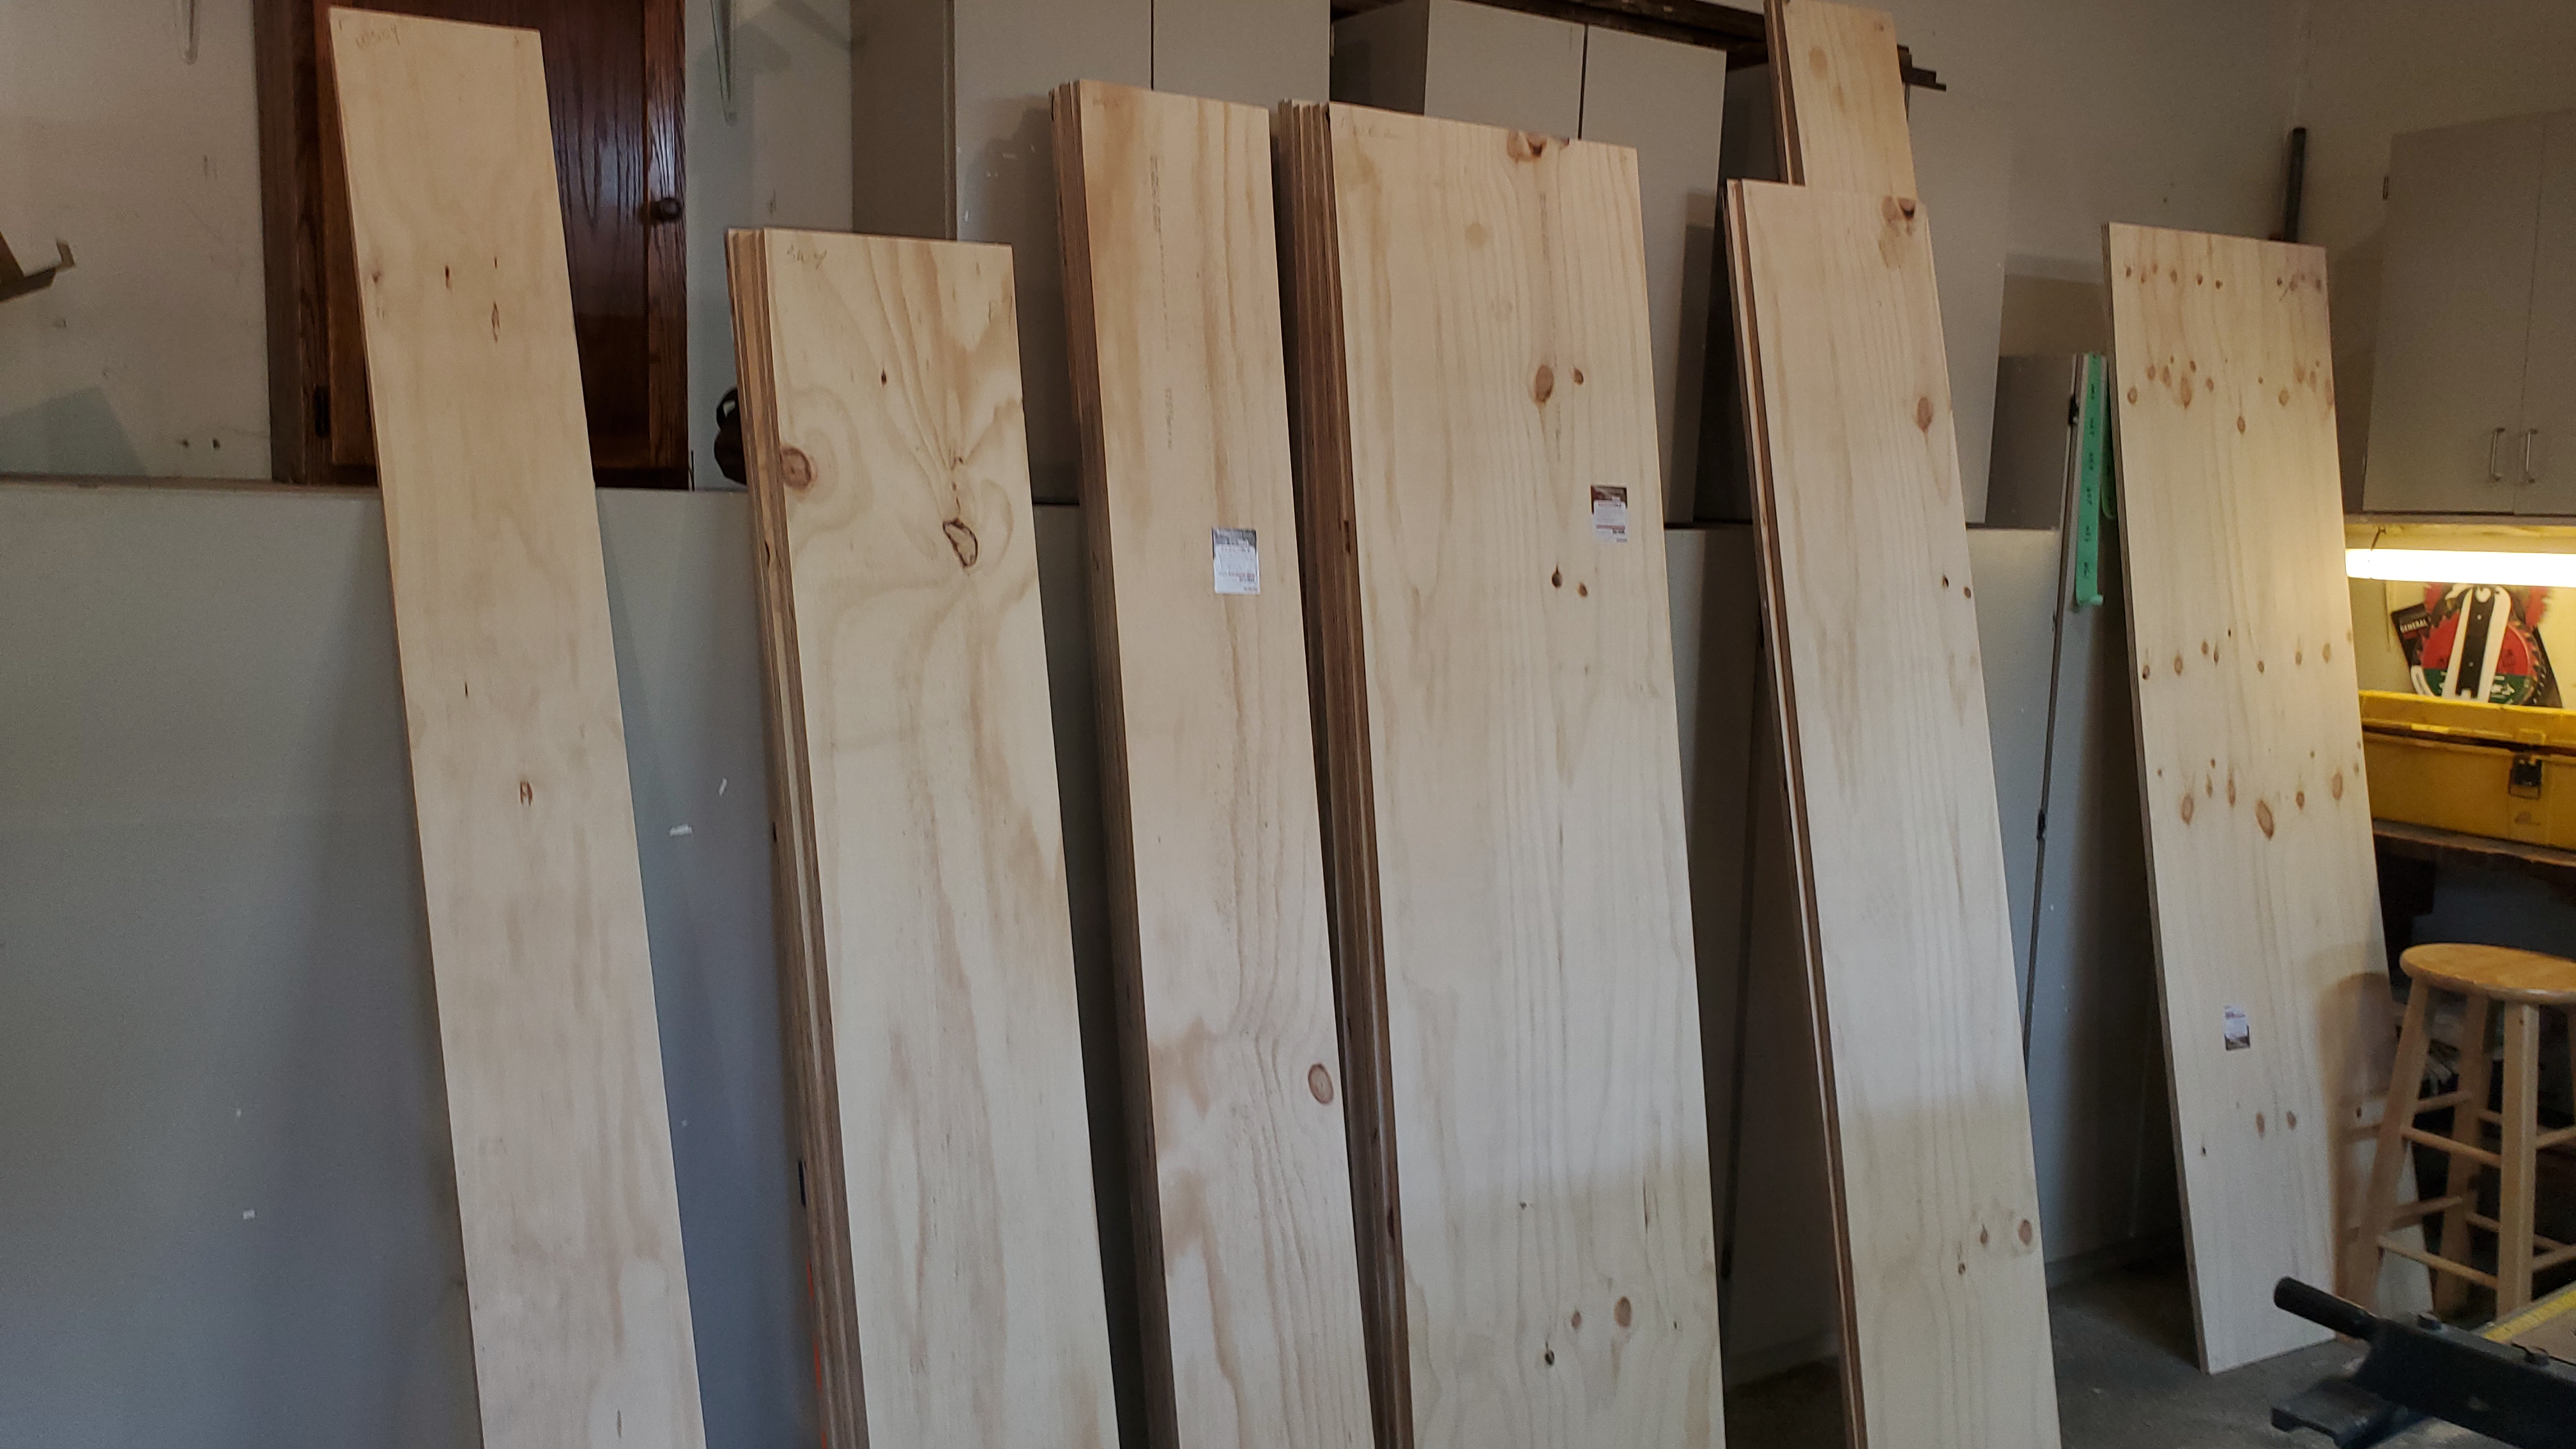
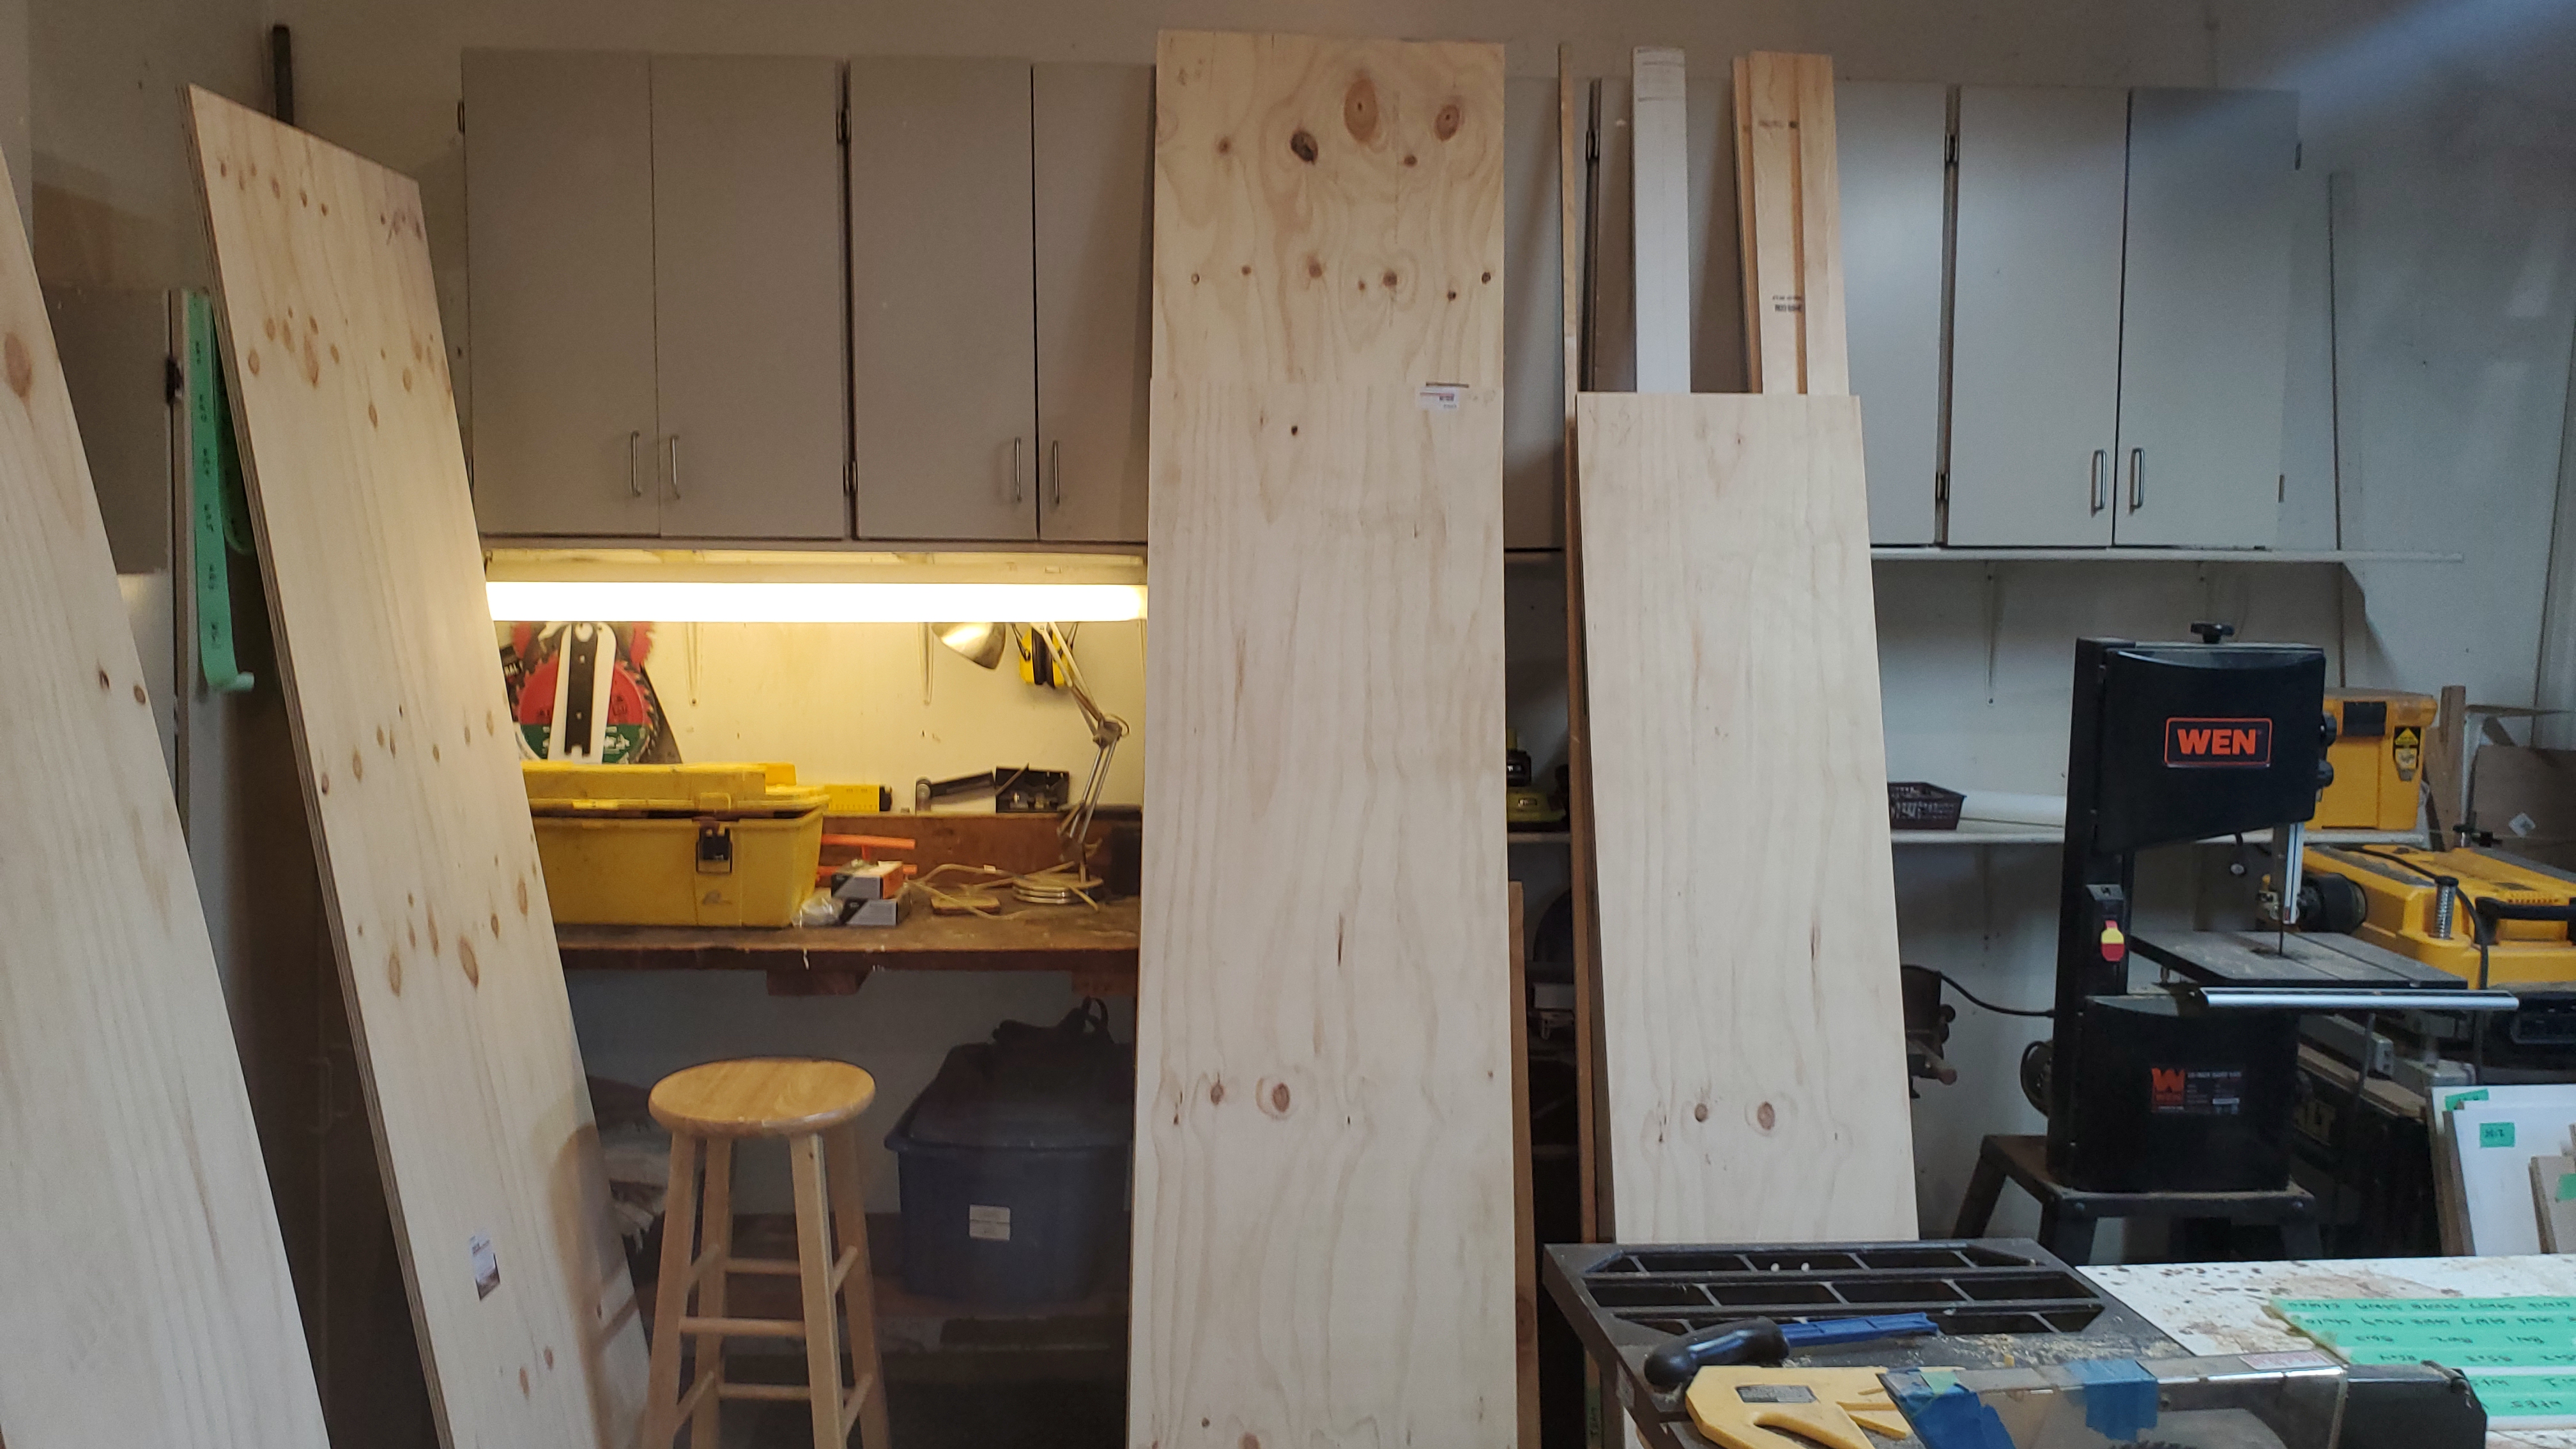
Table Saw Cuts
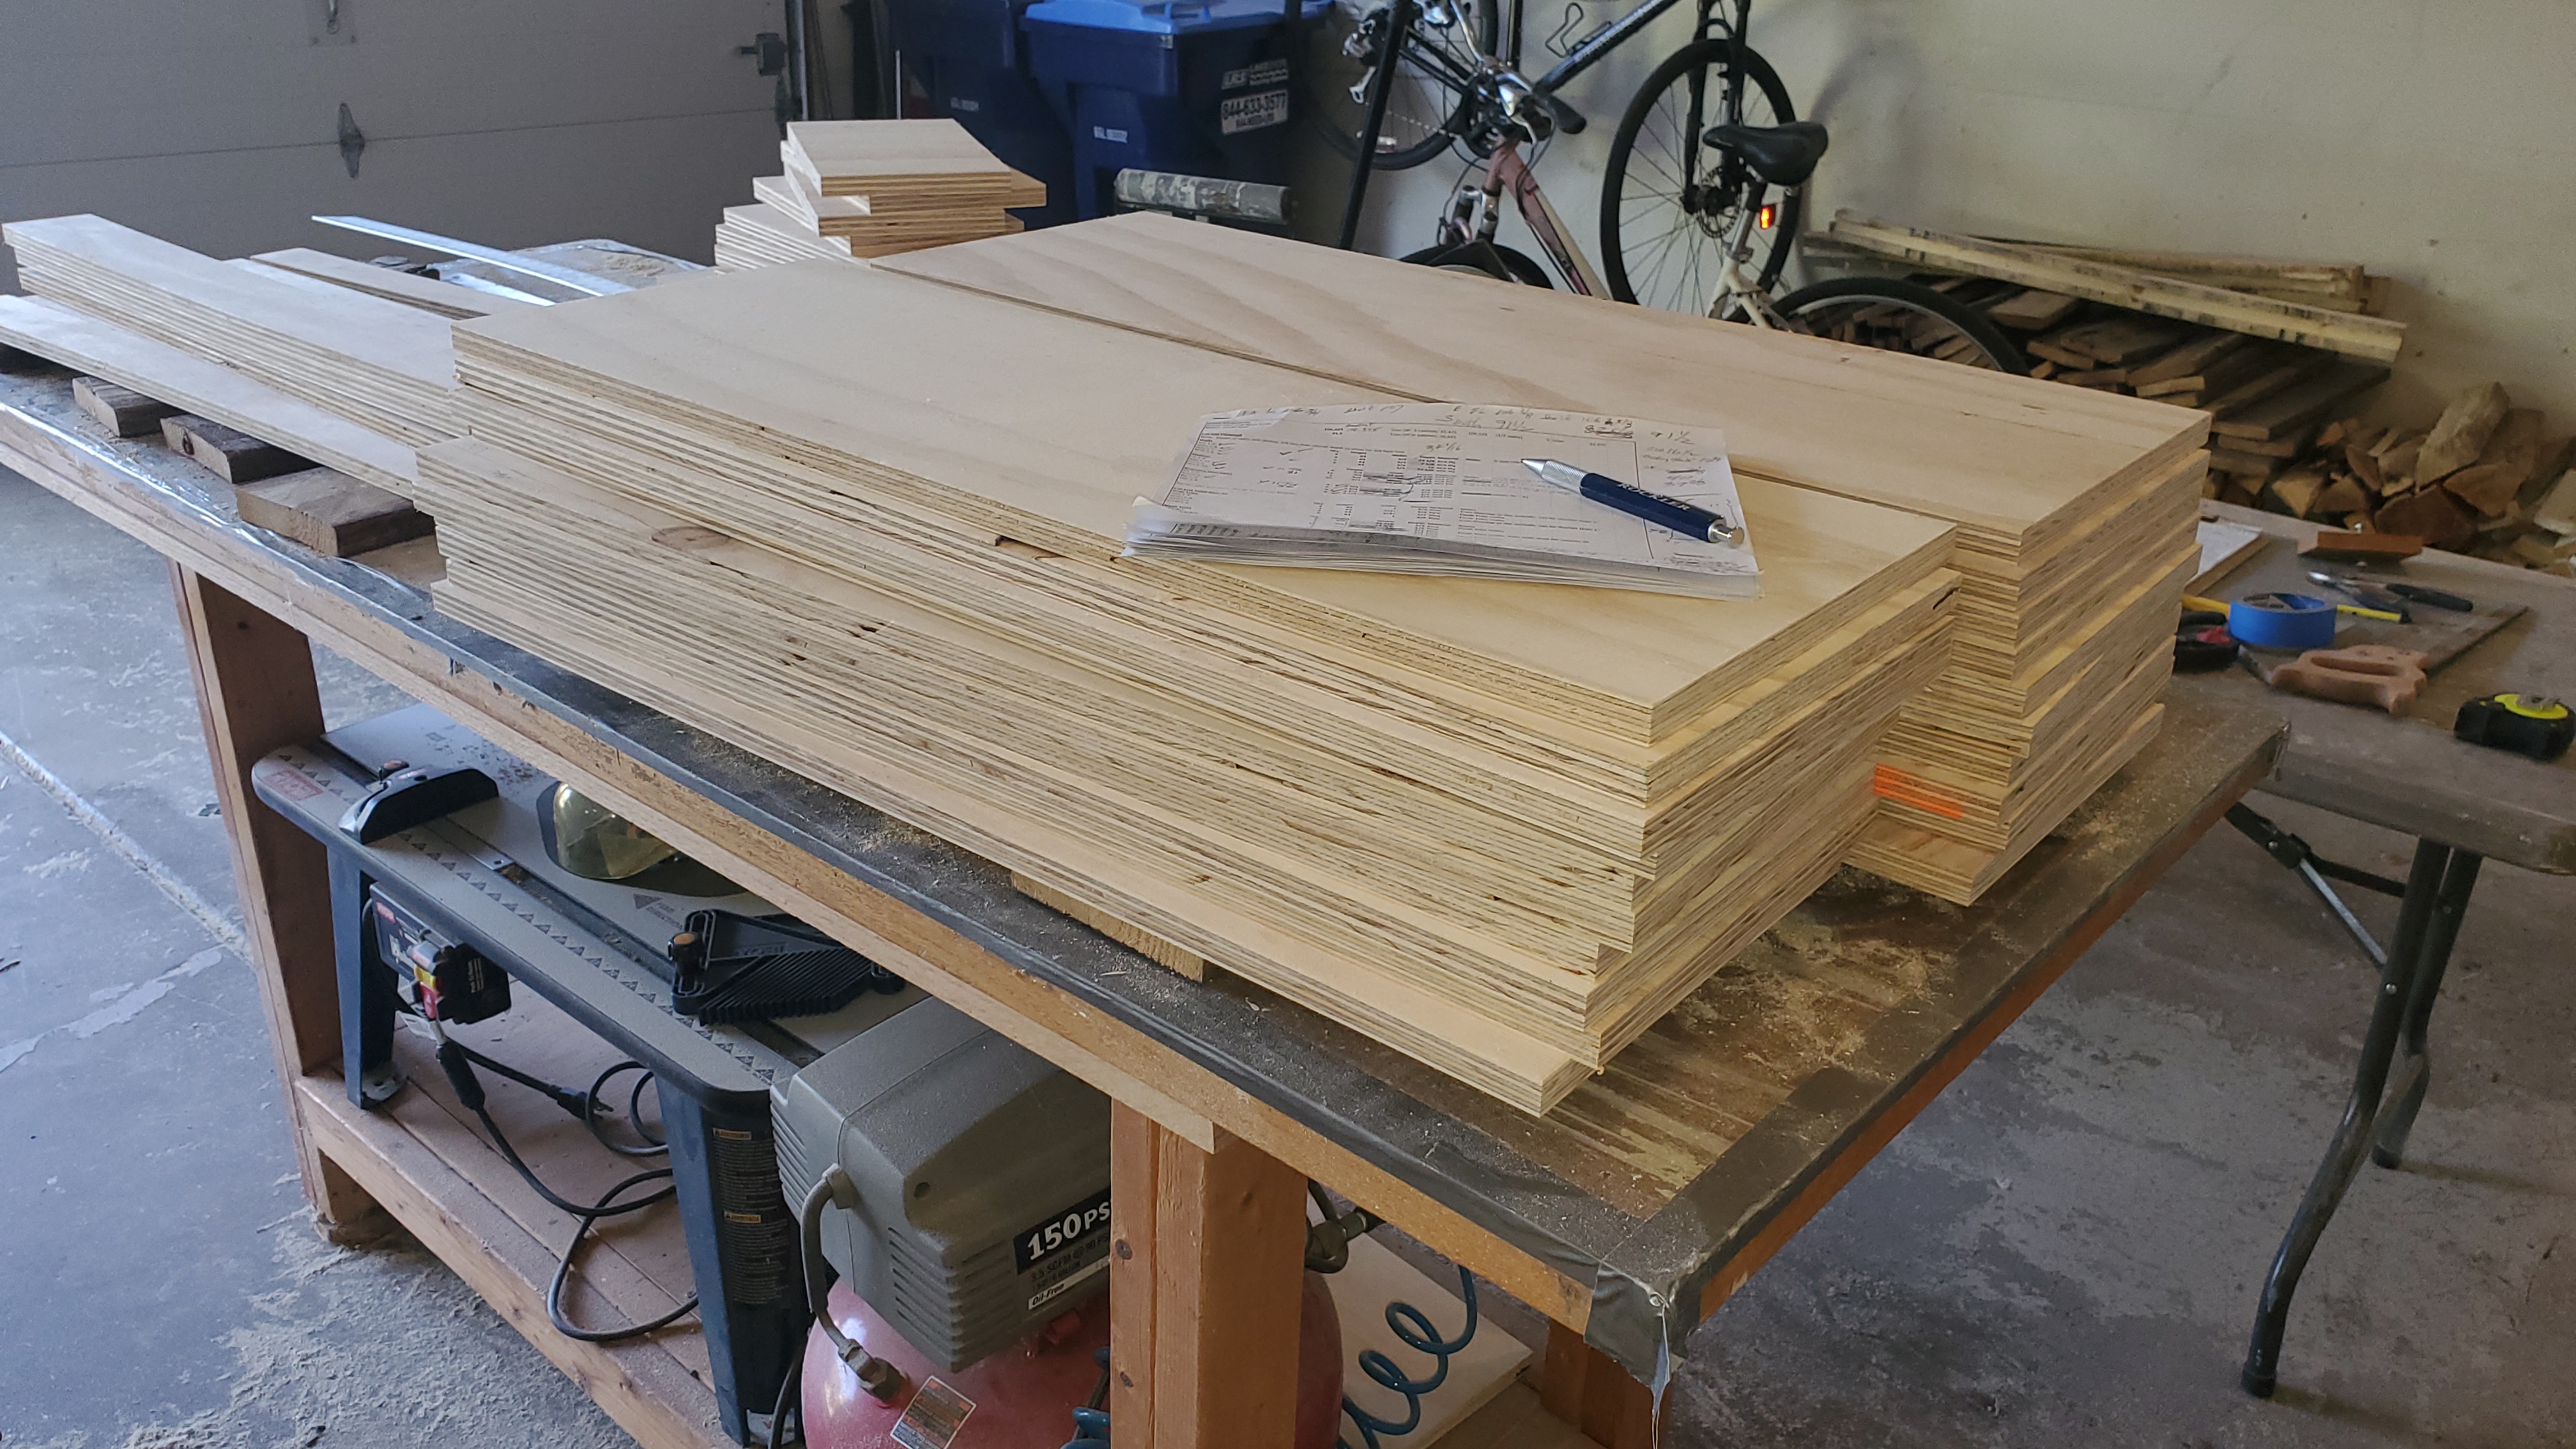
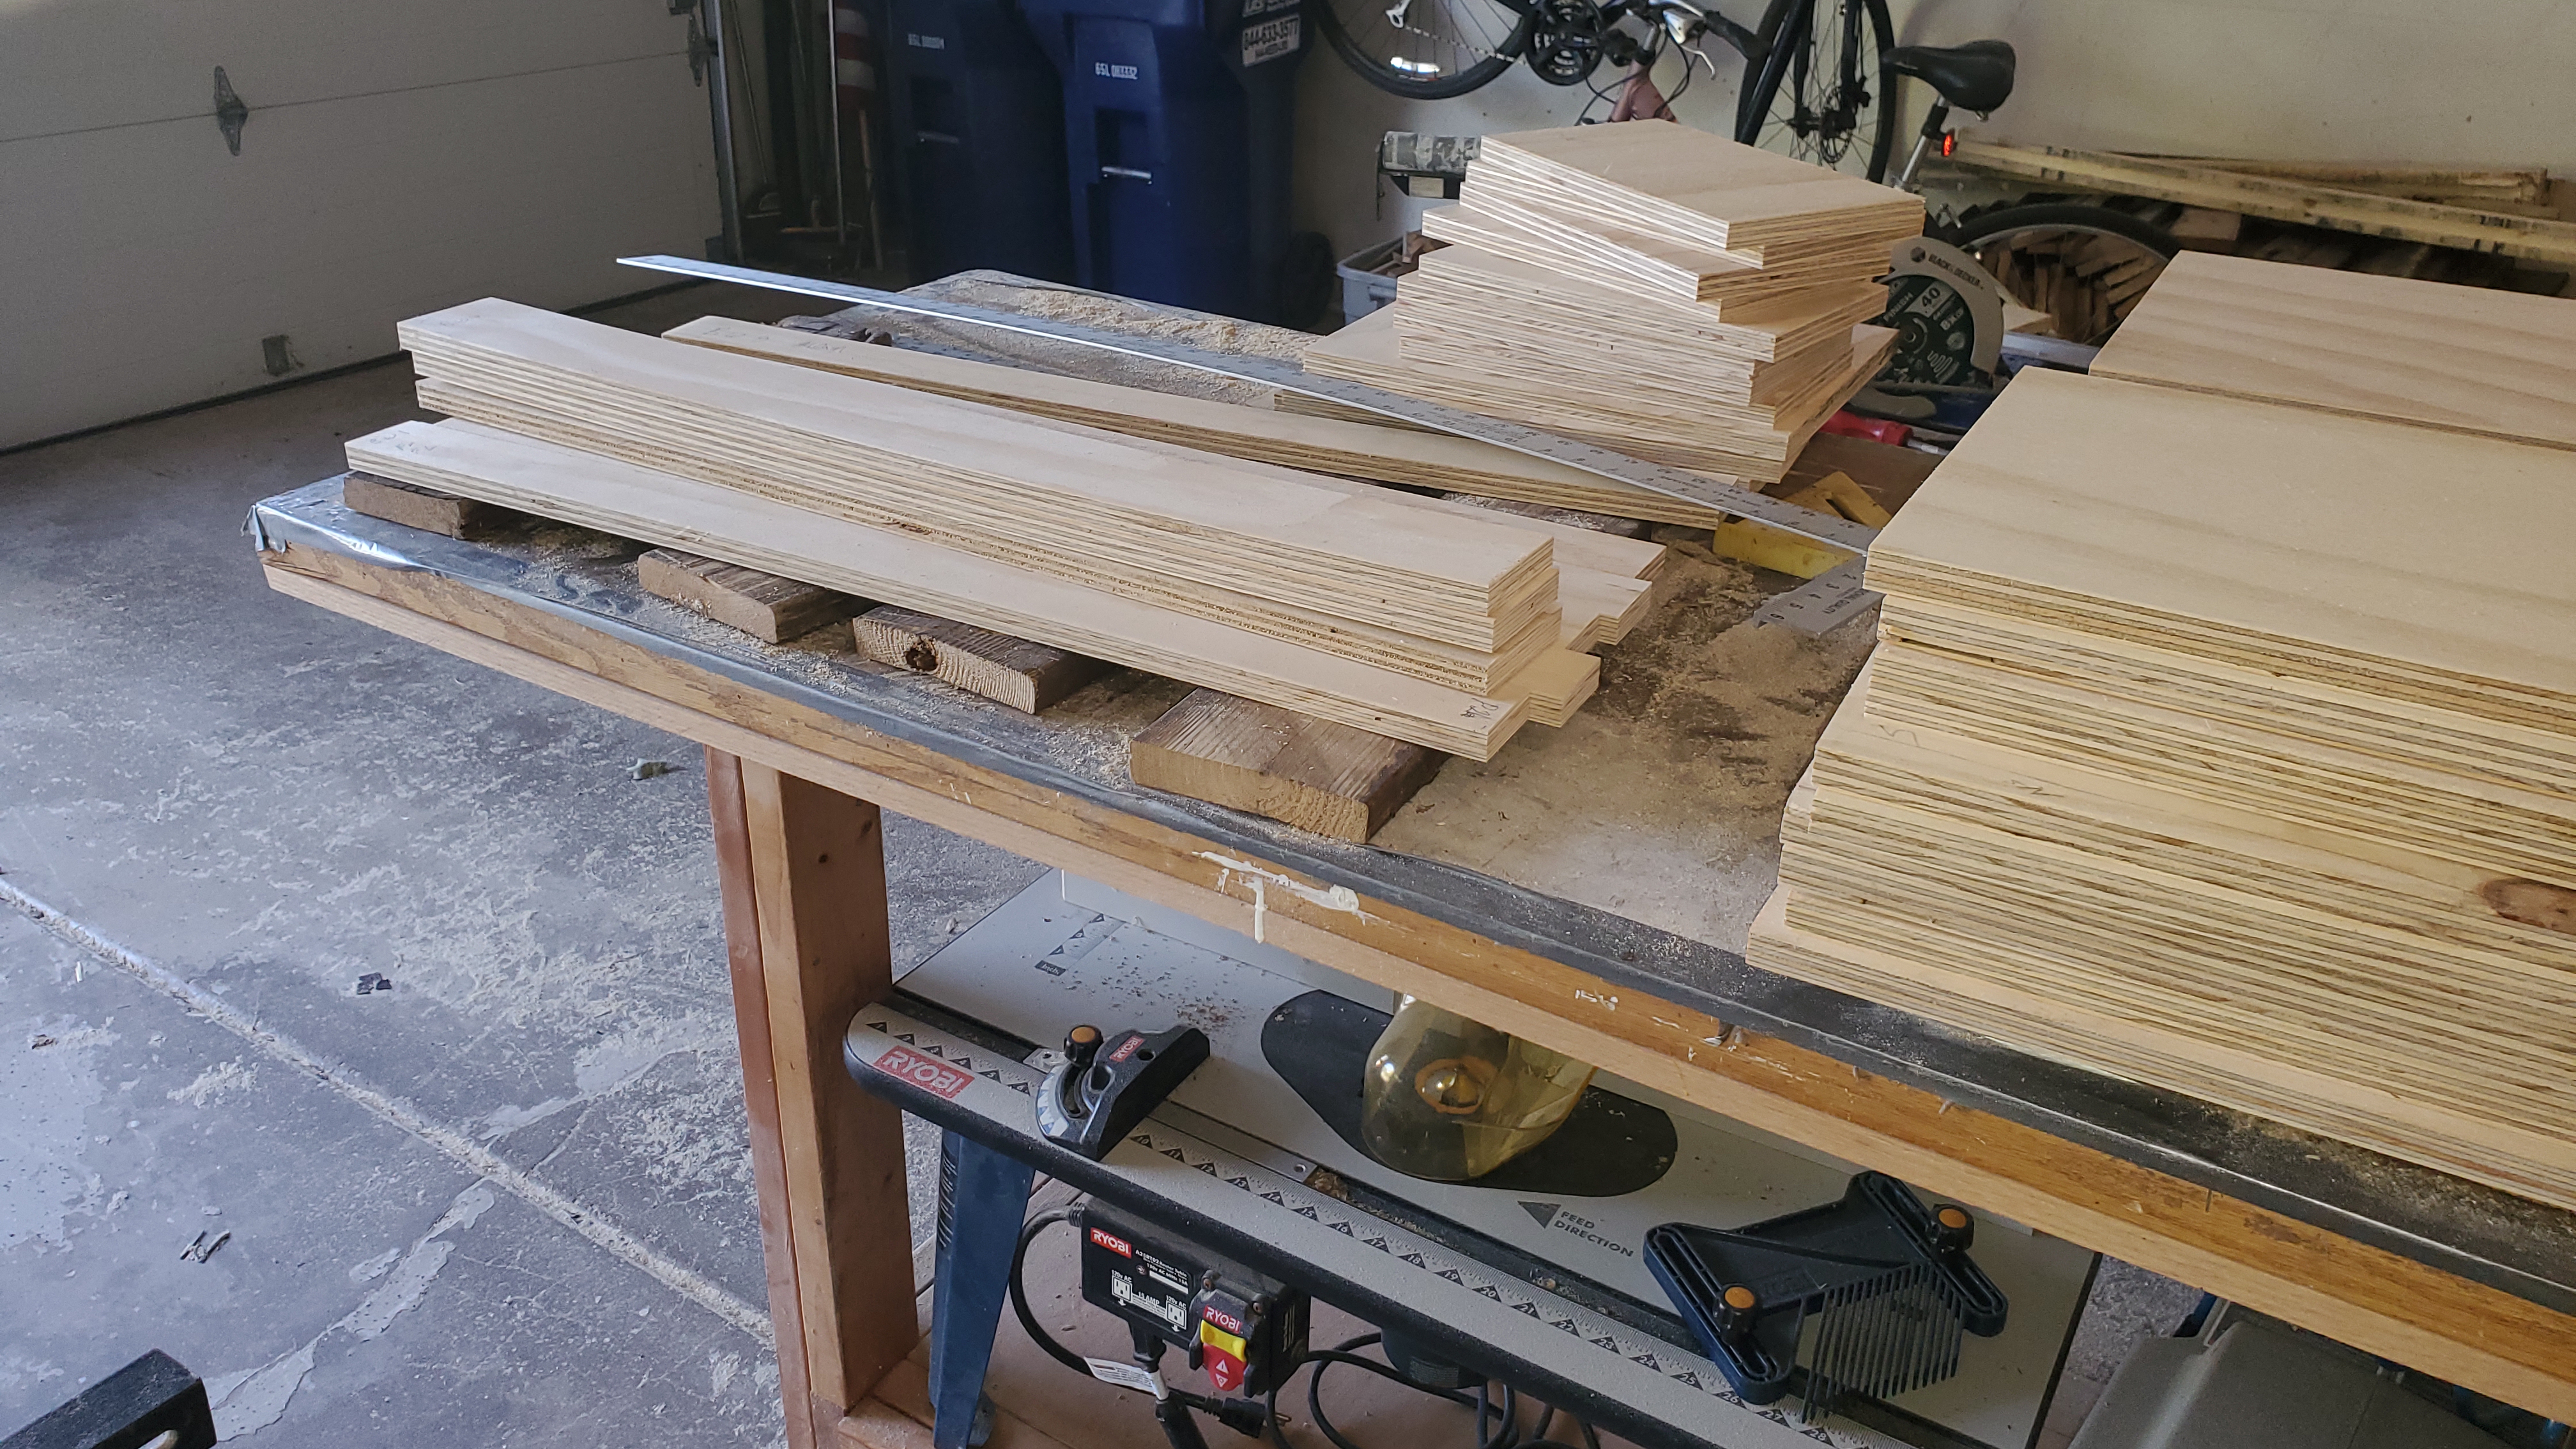
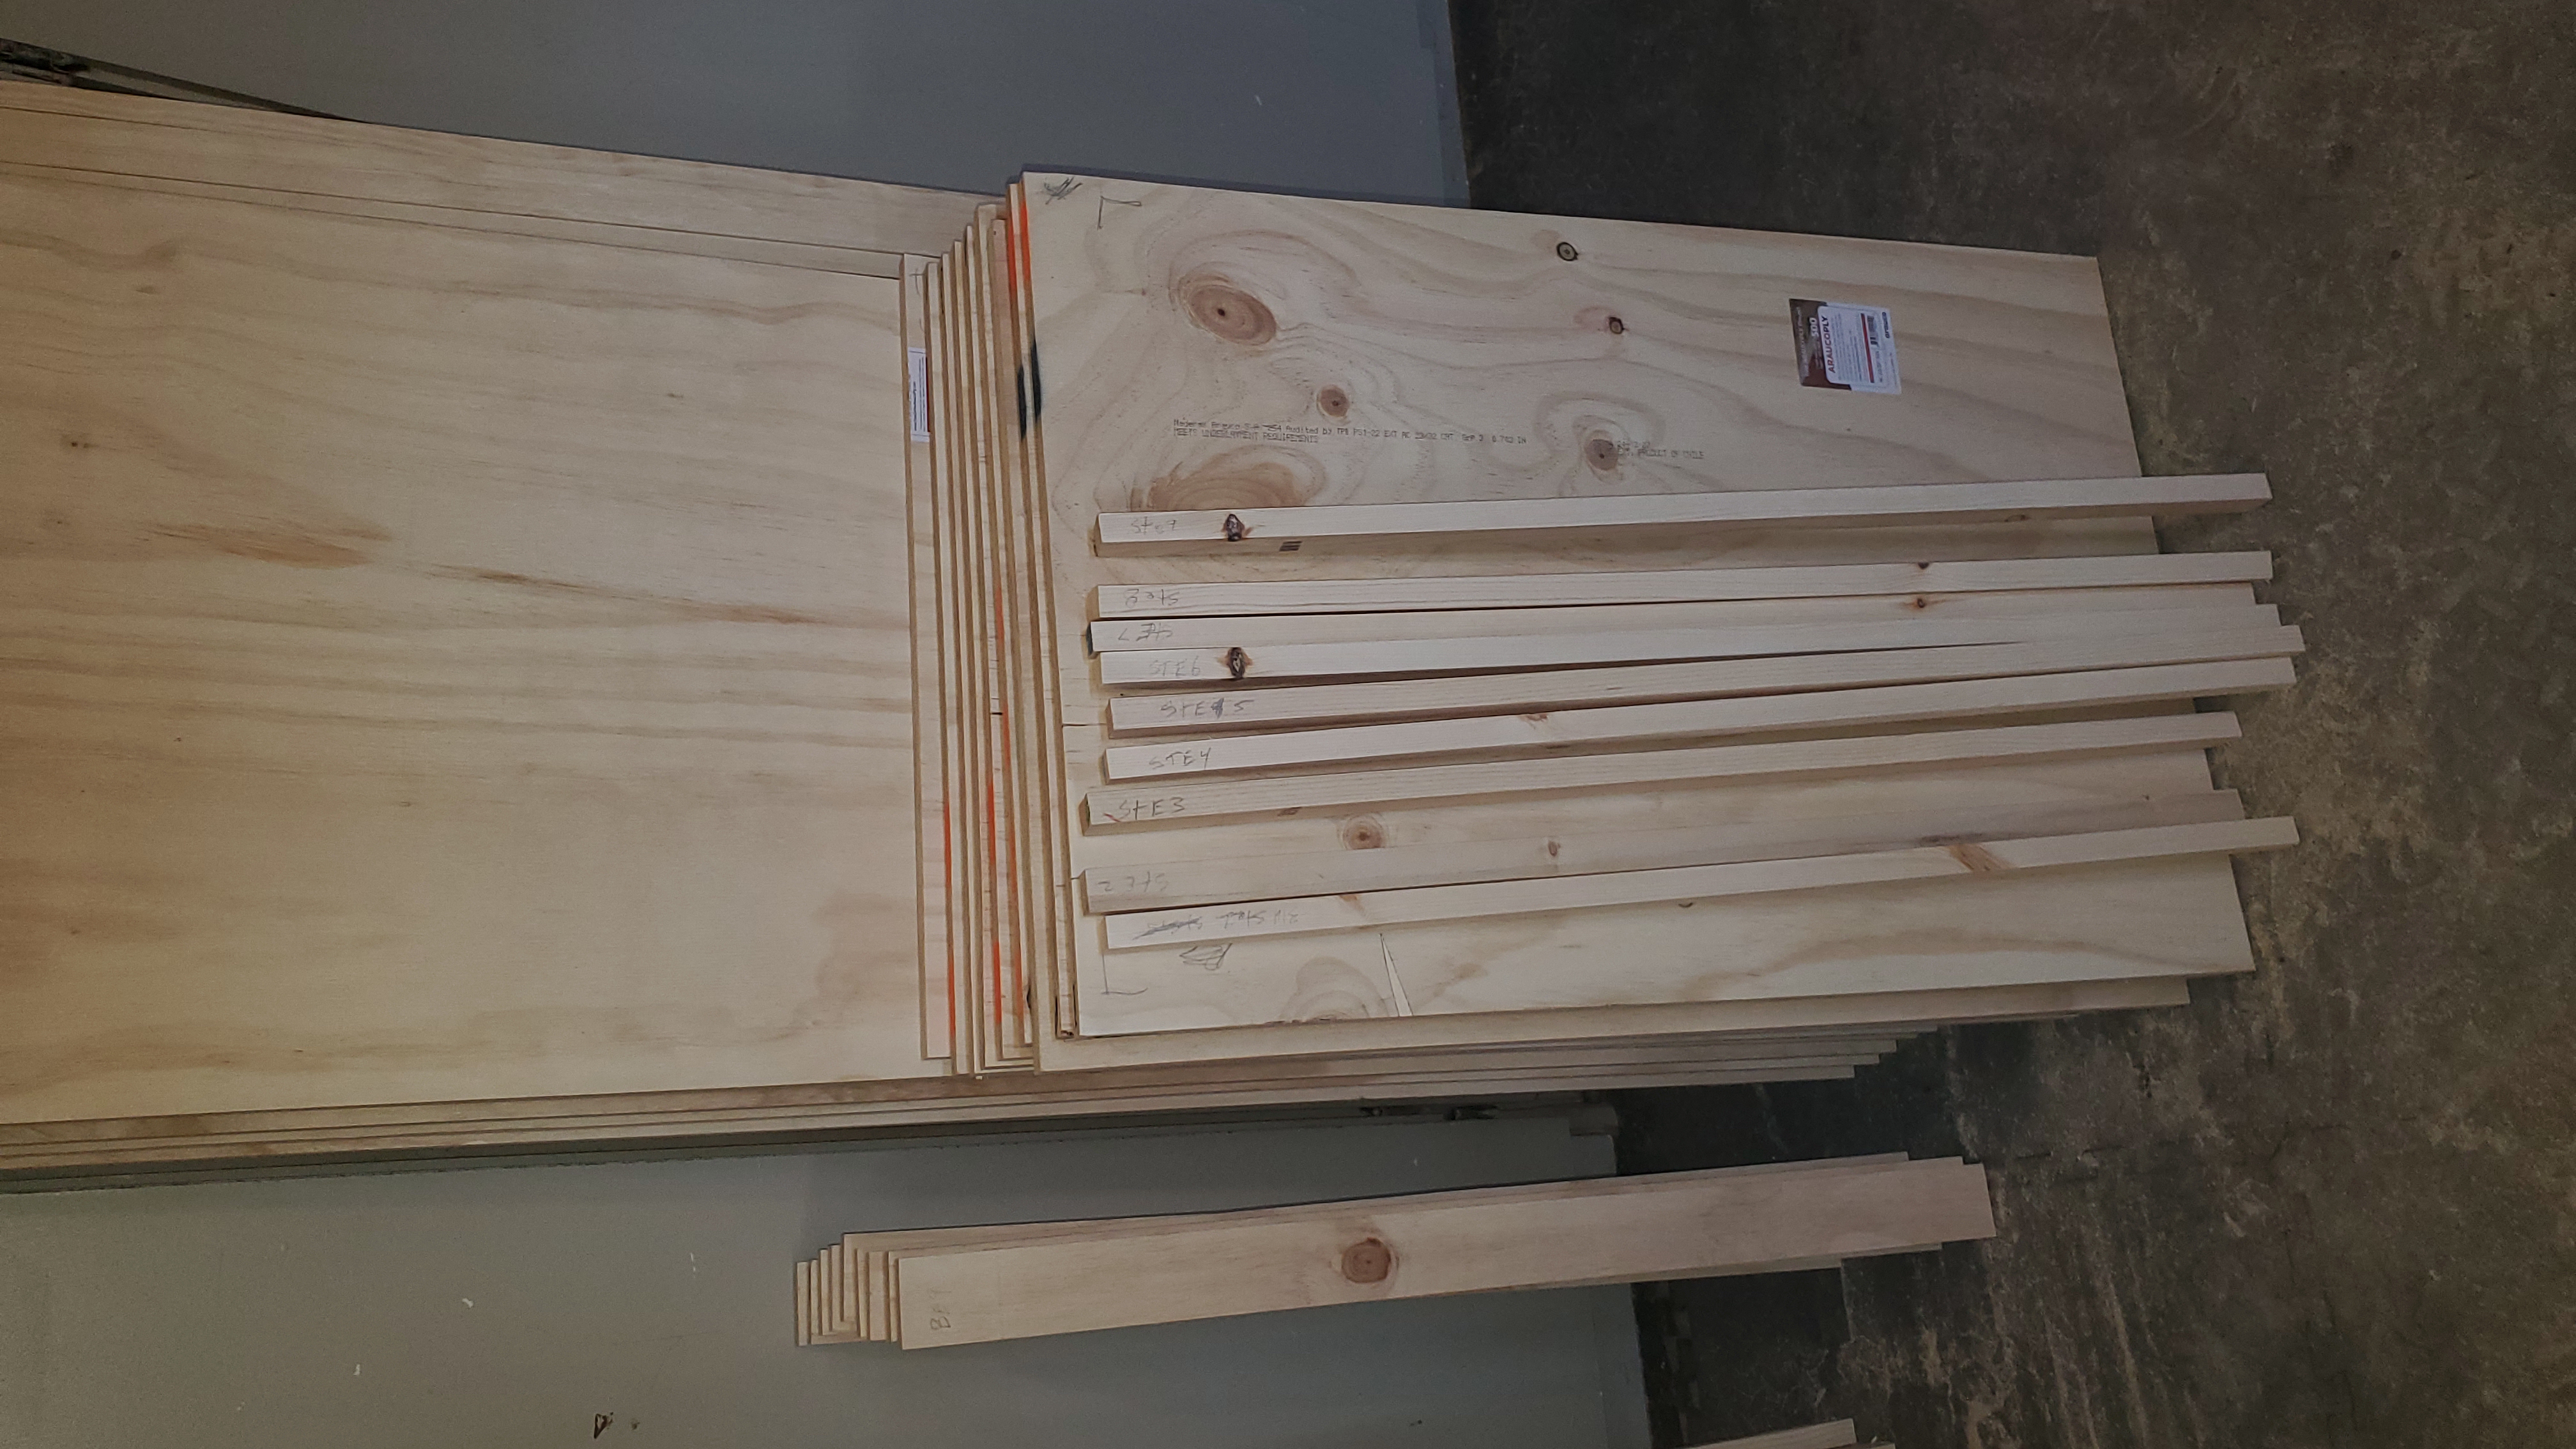
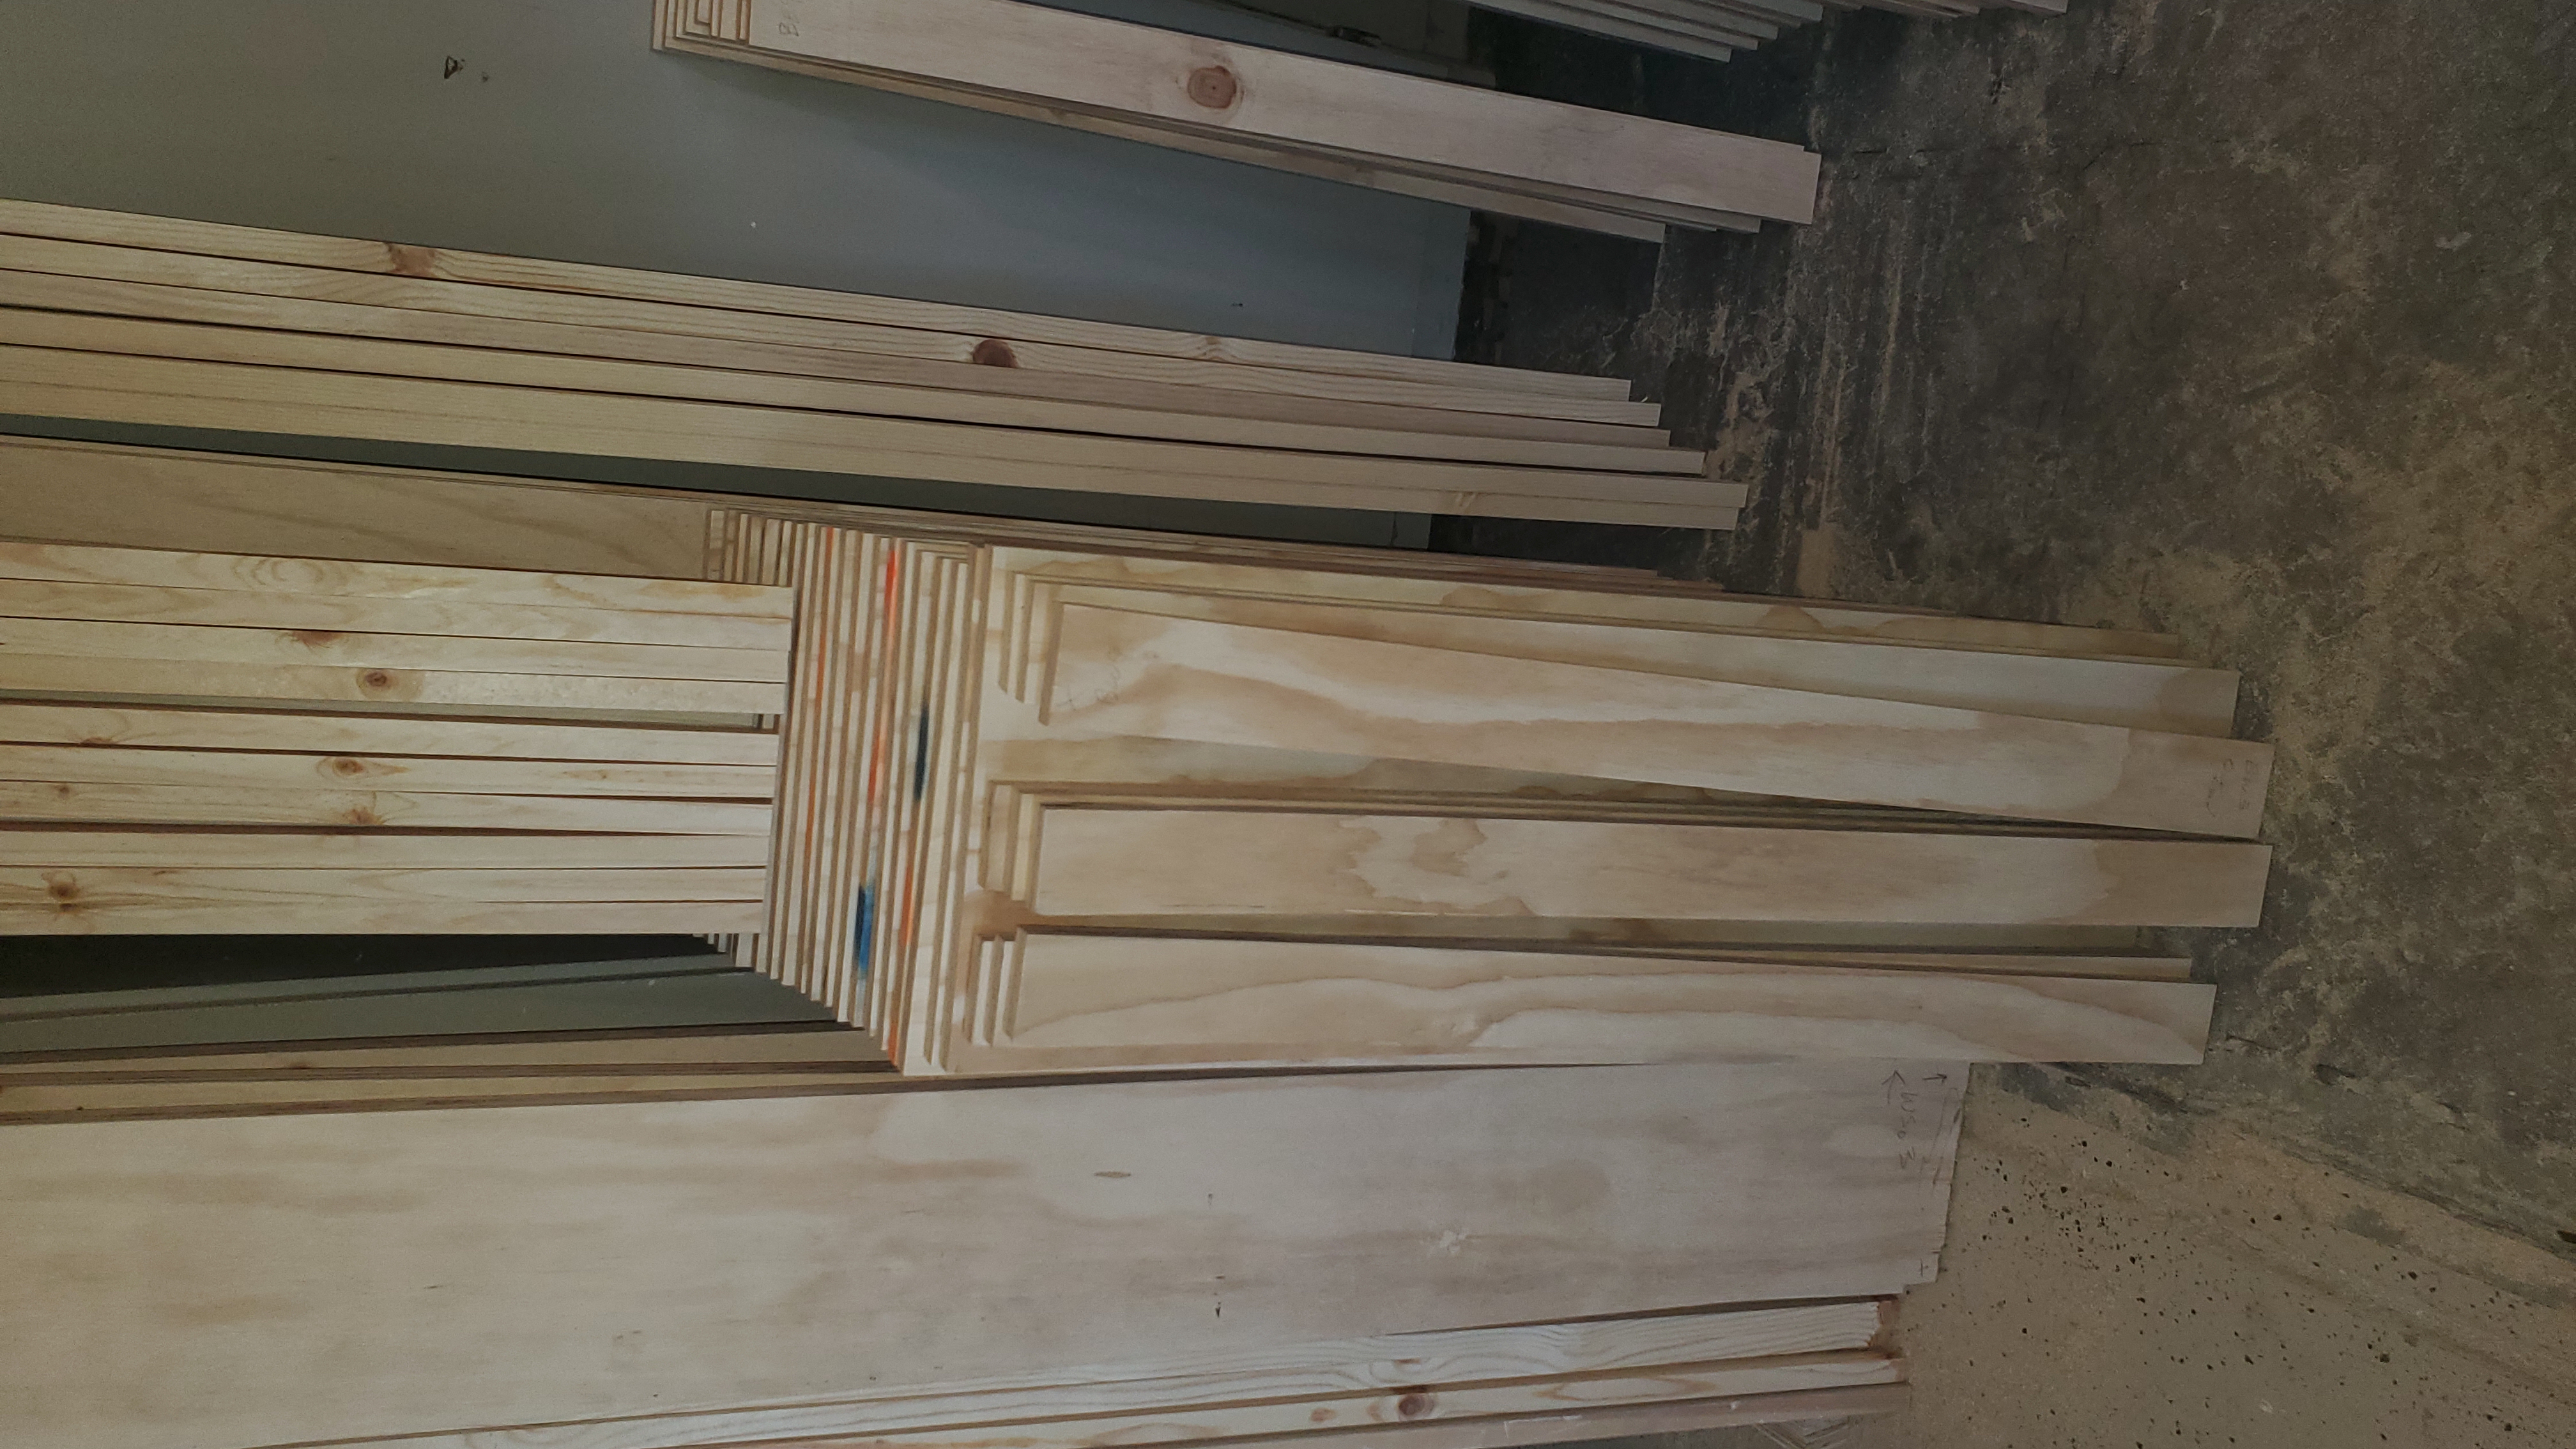
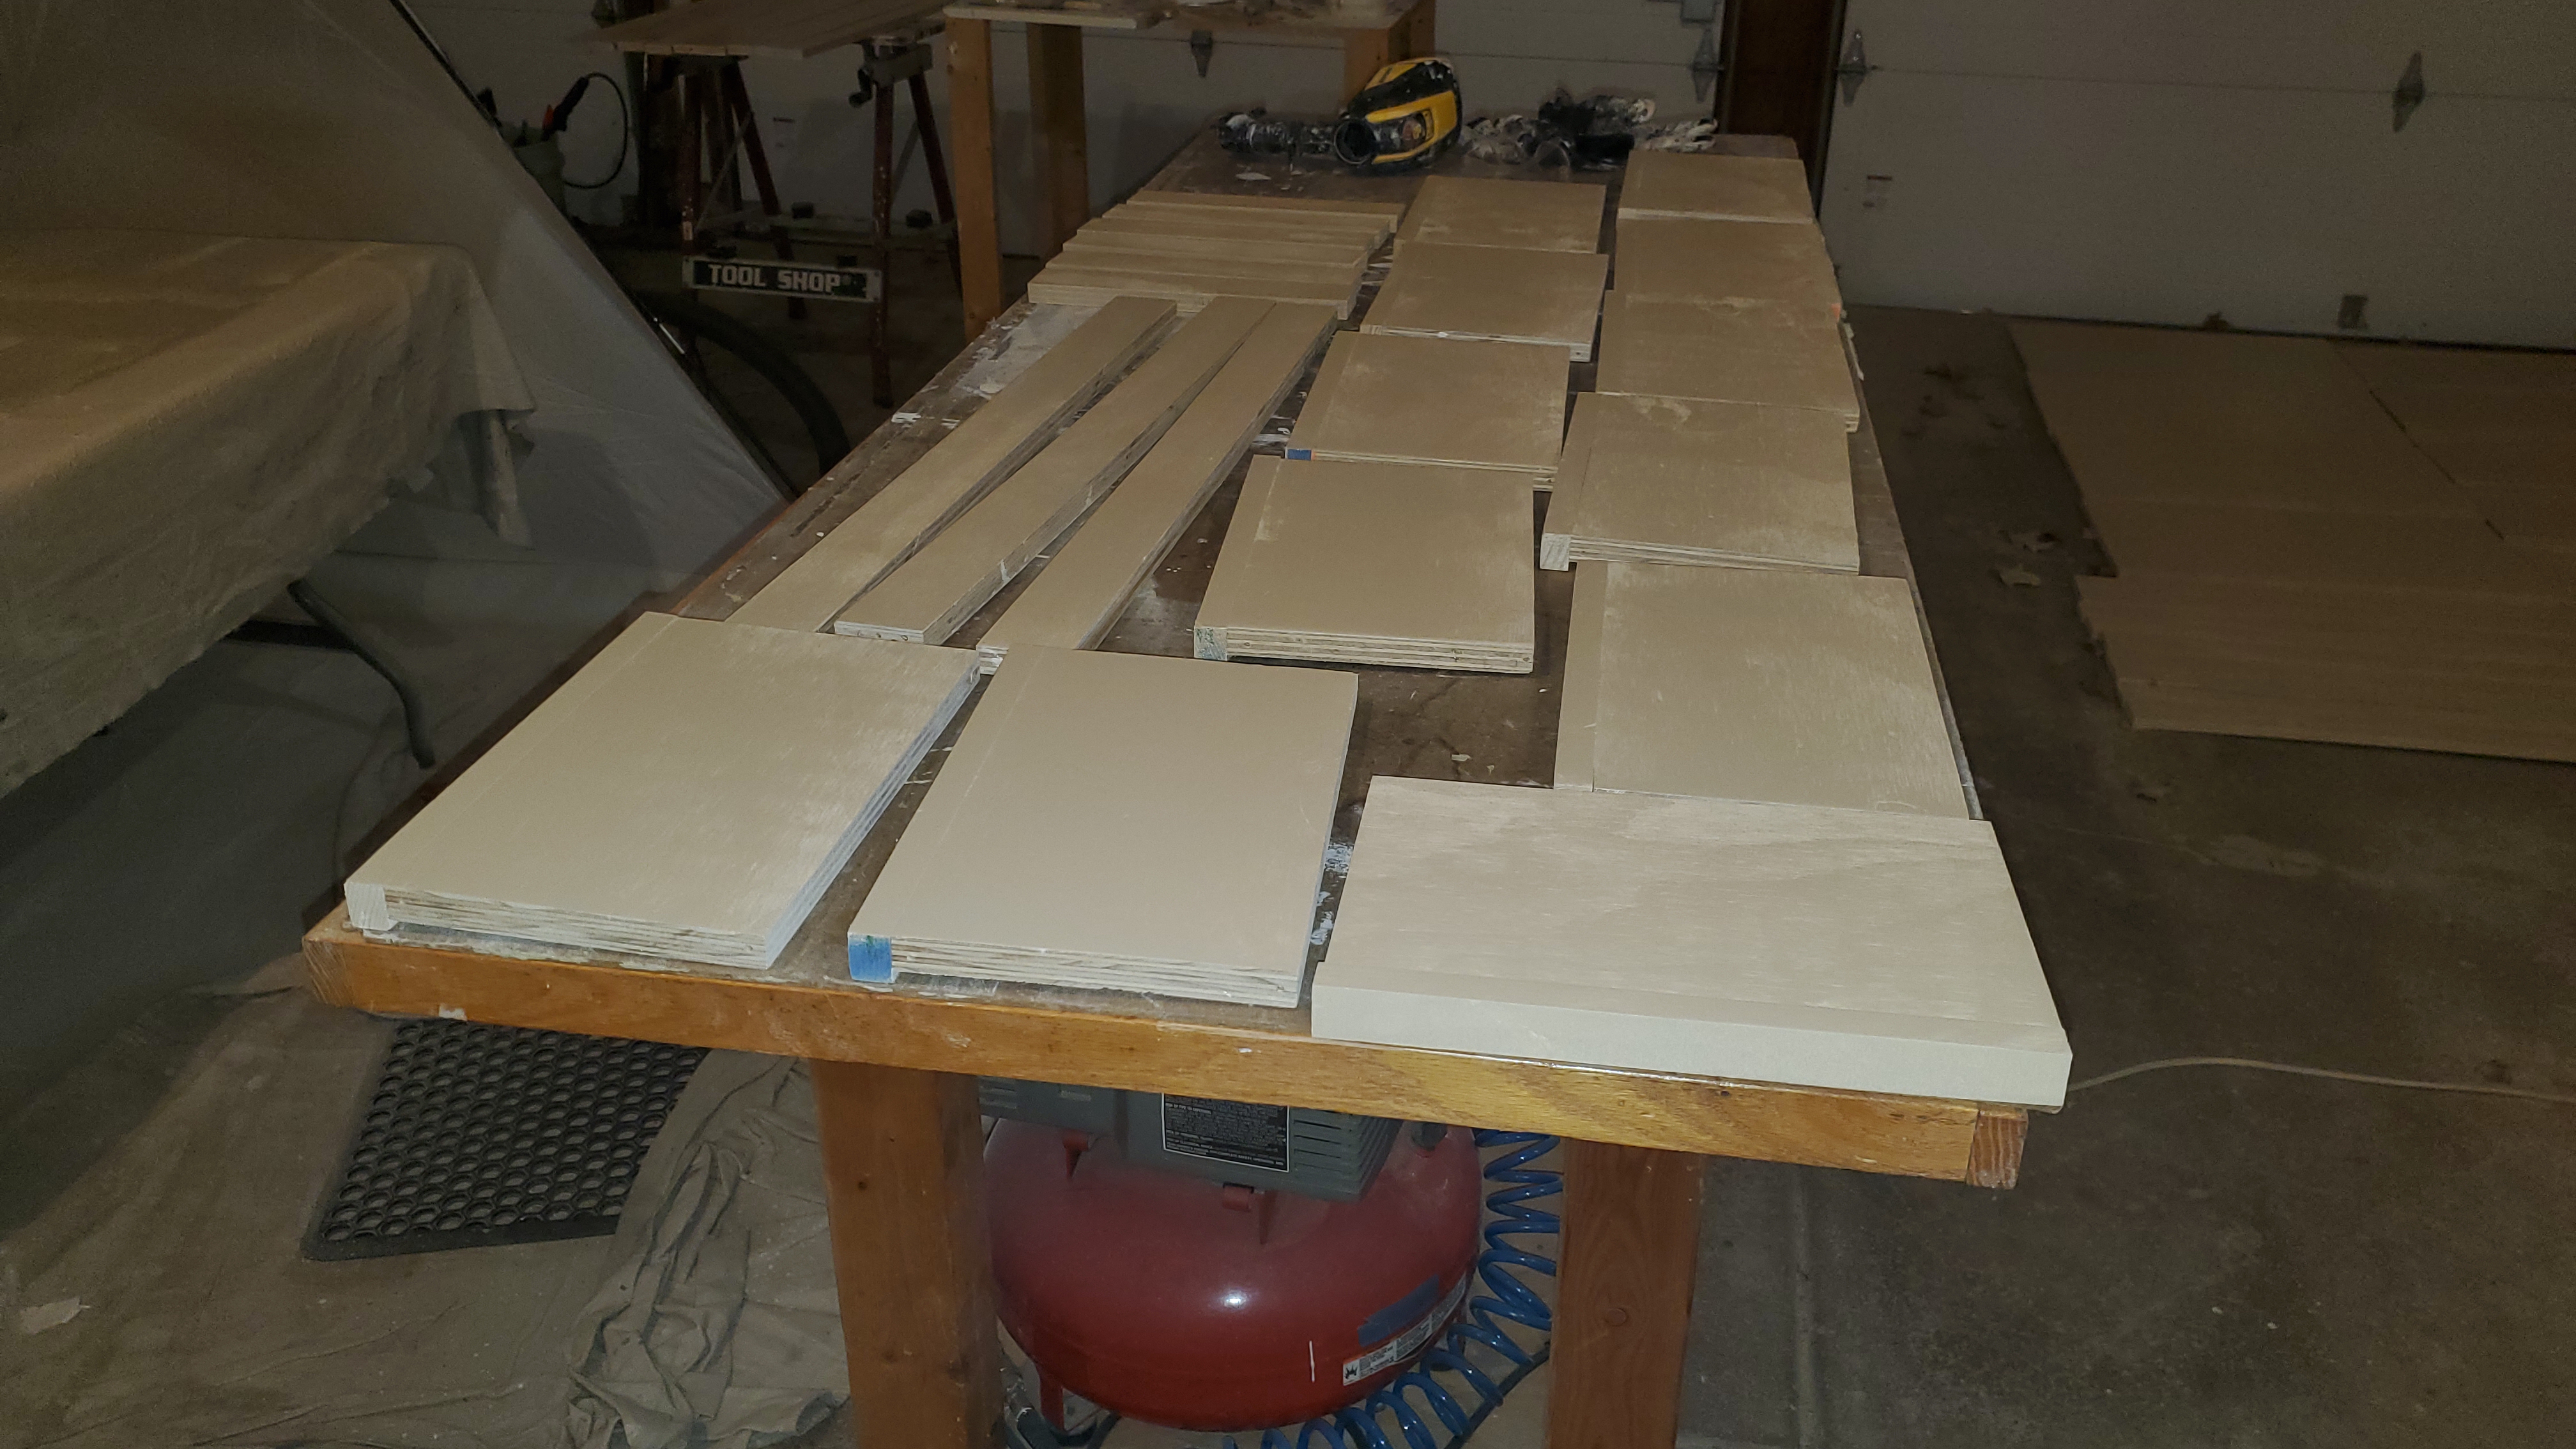
This is the fun part! I fabricated all the walls, shelves and braces to final length with a few exceptions.
Made a x-cut jig to cut the bulk of the shelves to width on my small table saw. Worked well.
18 walls, 45 shelves and 27 braces!

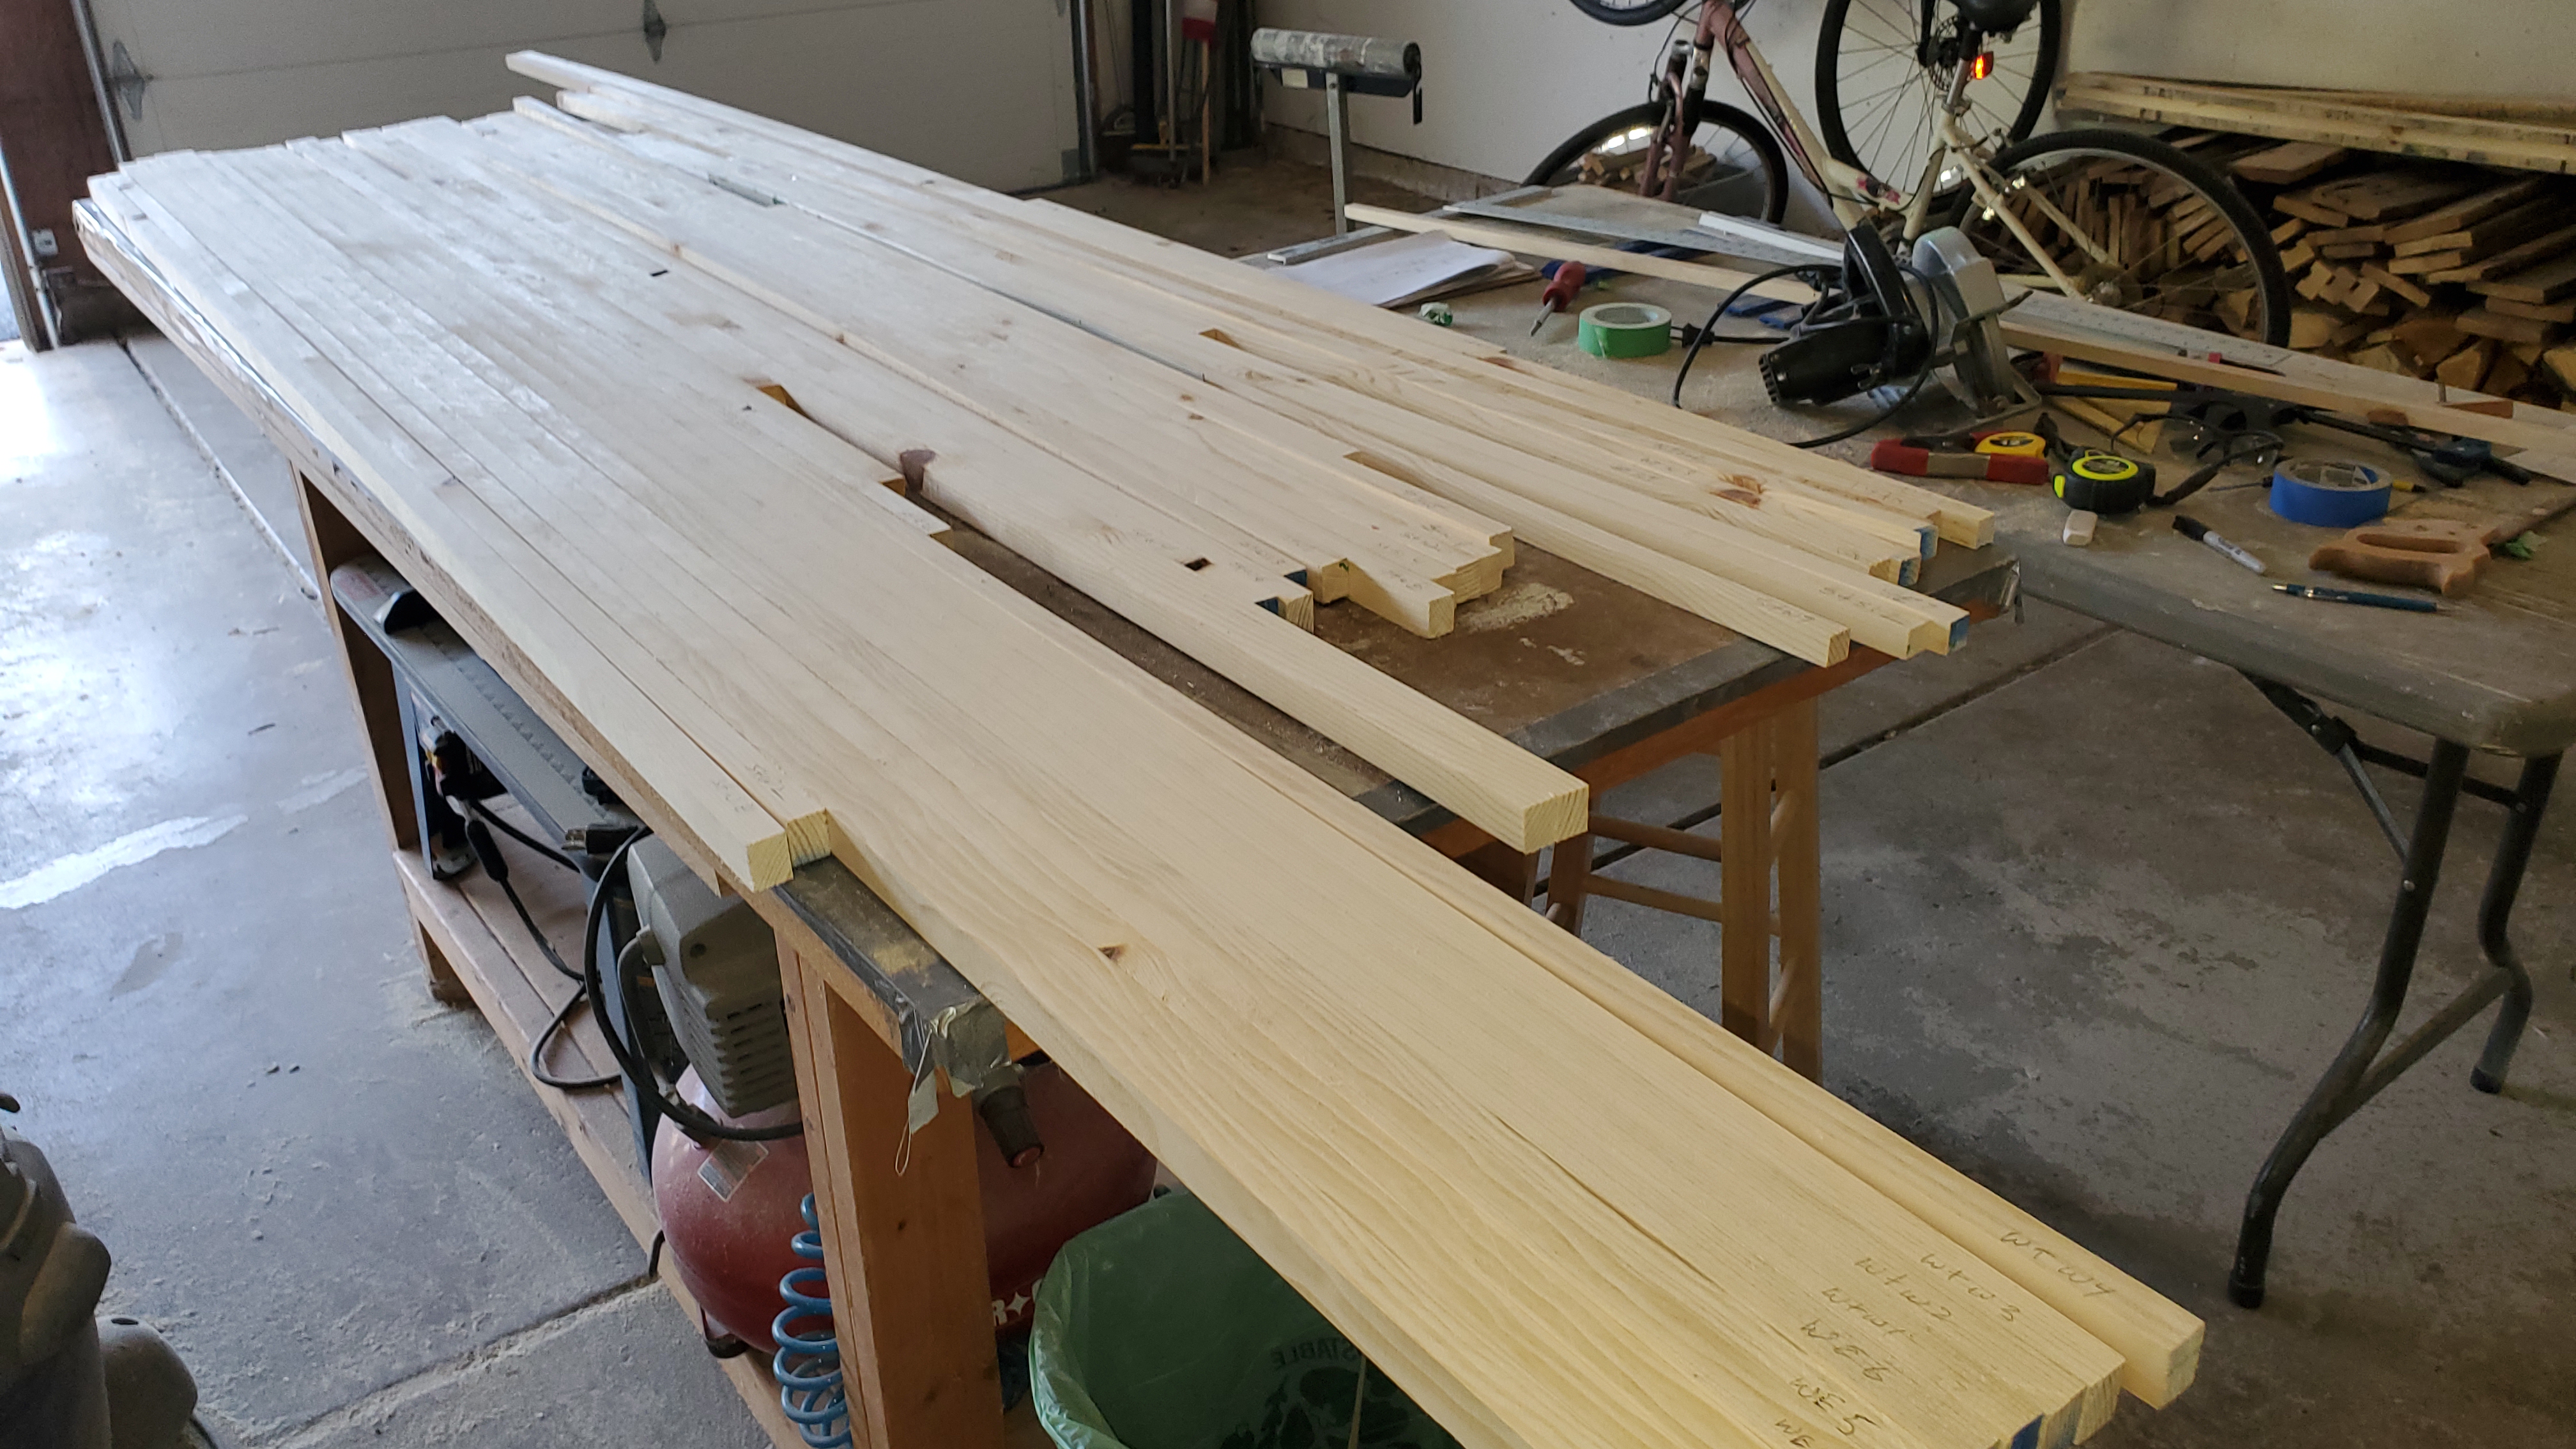
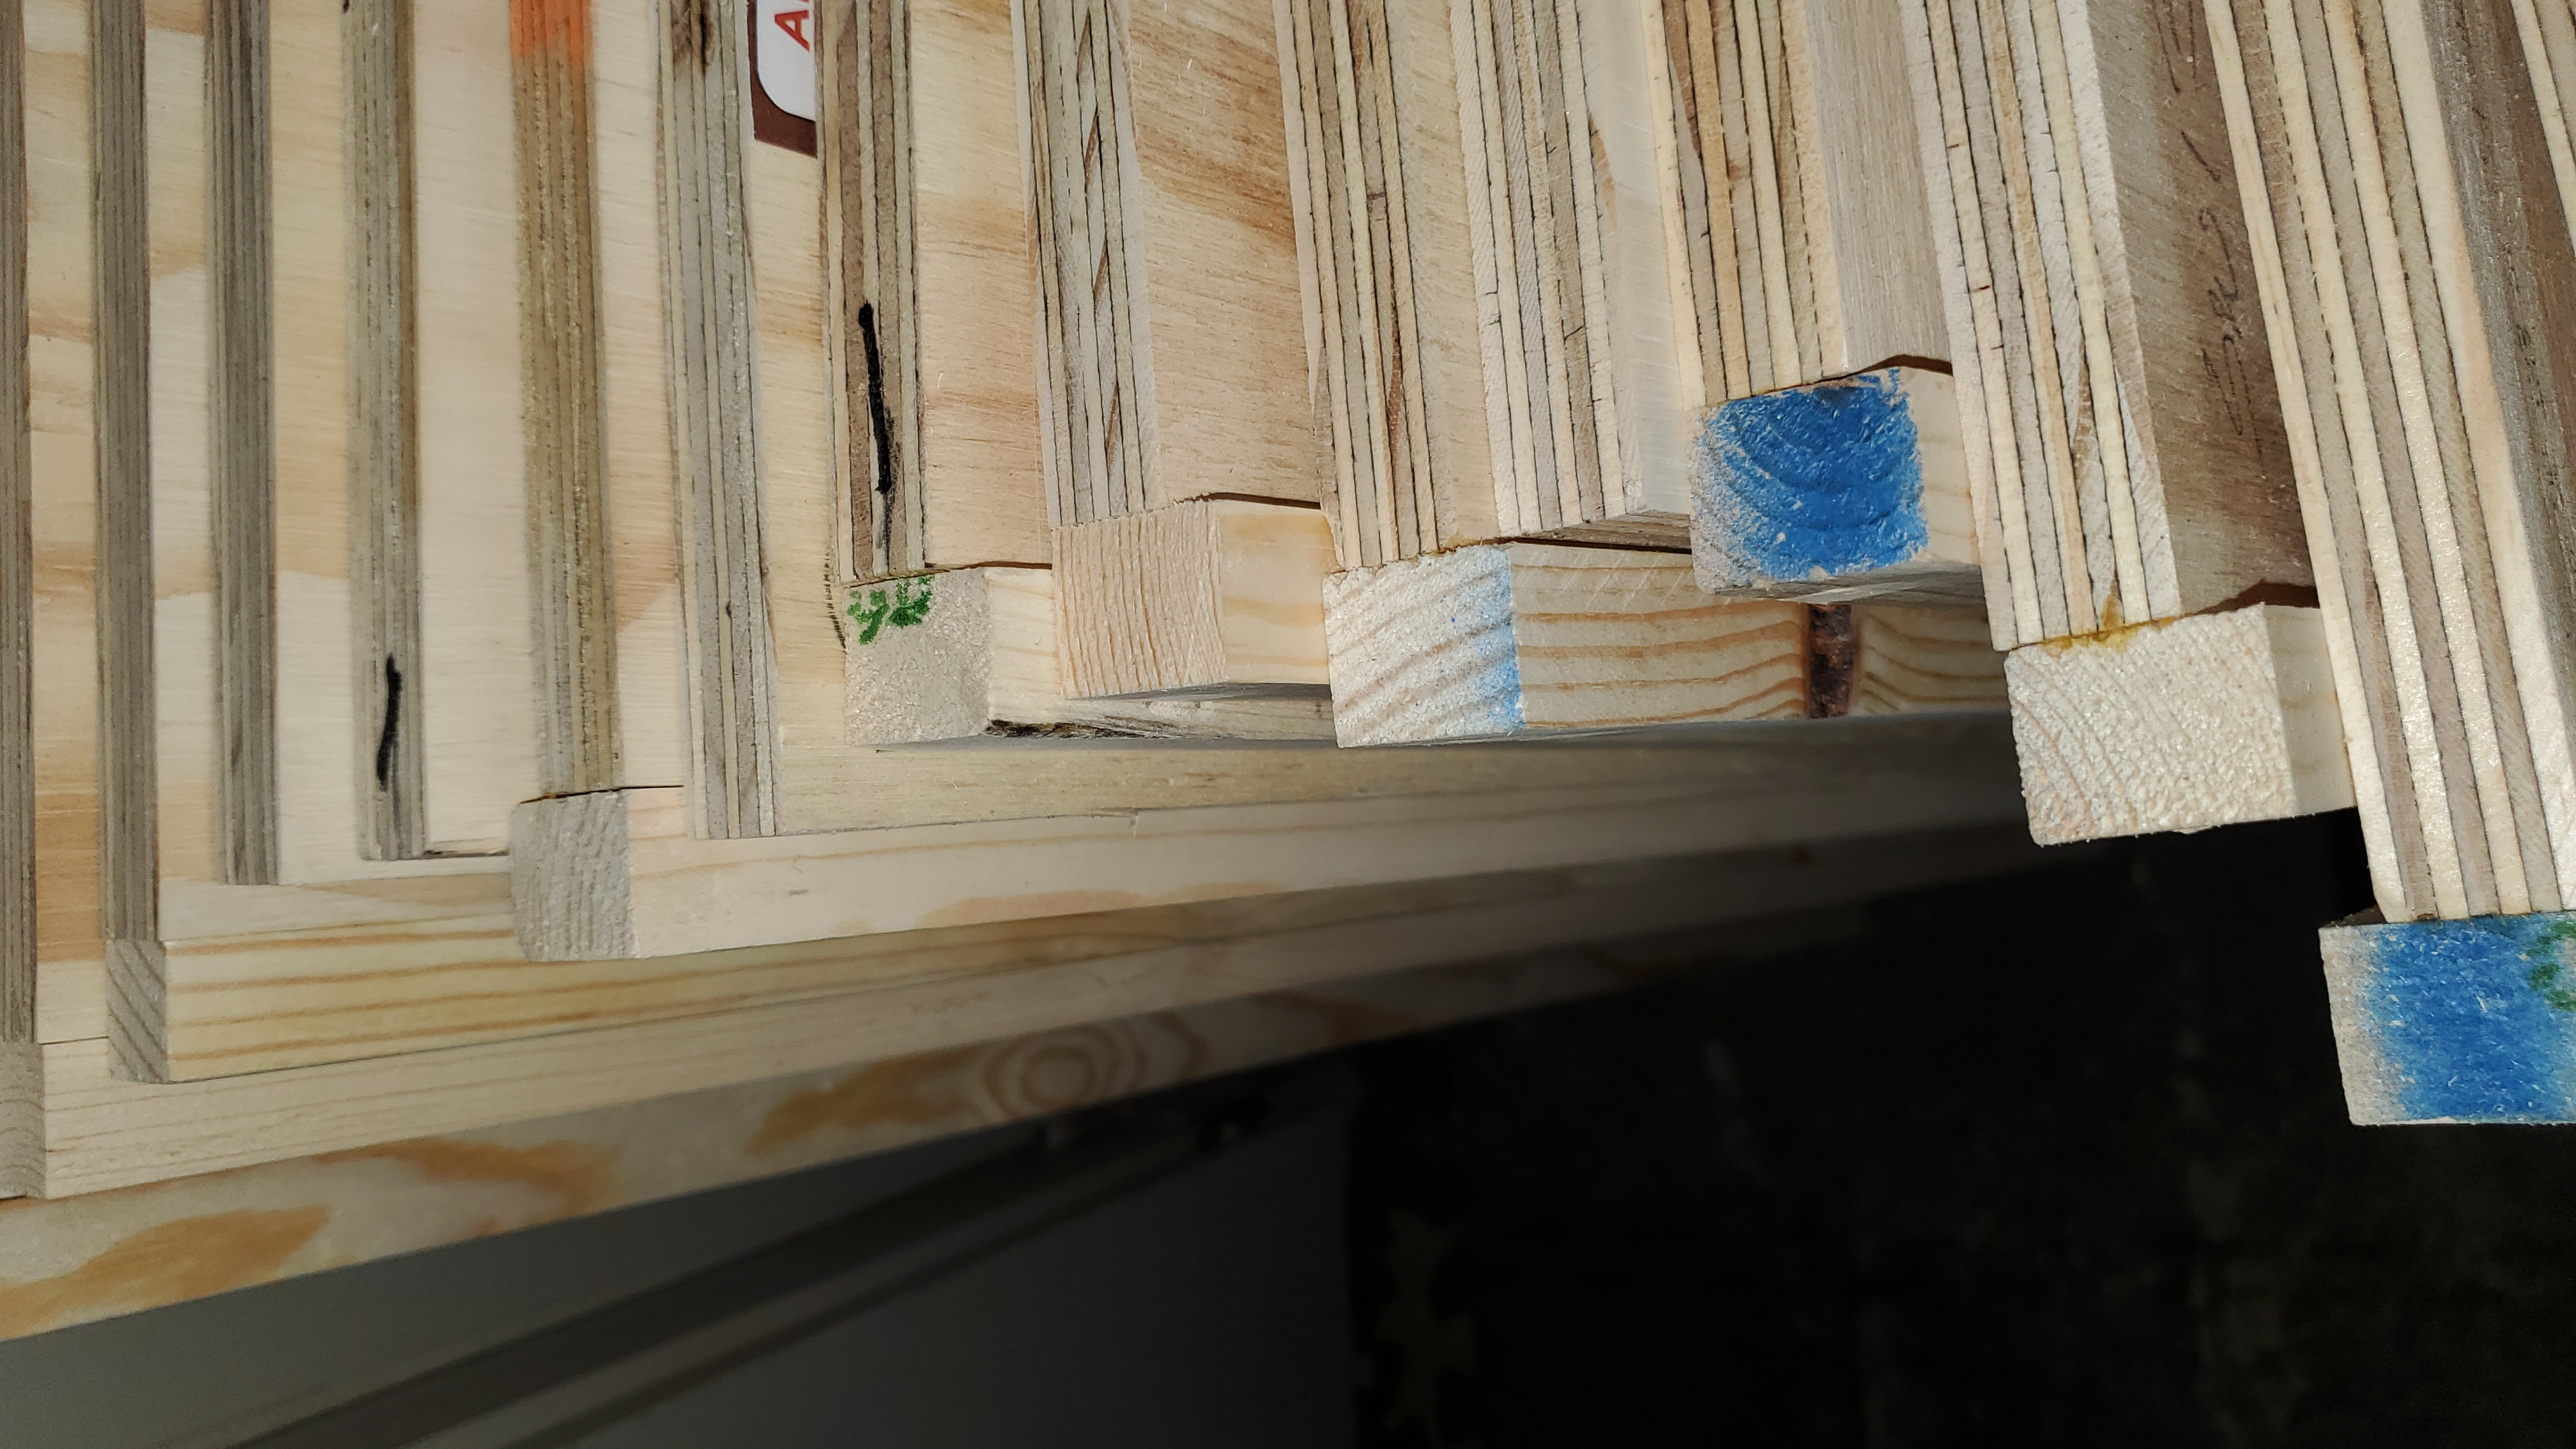
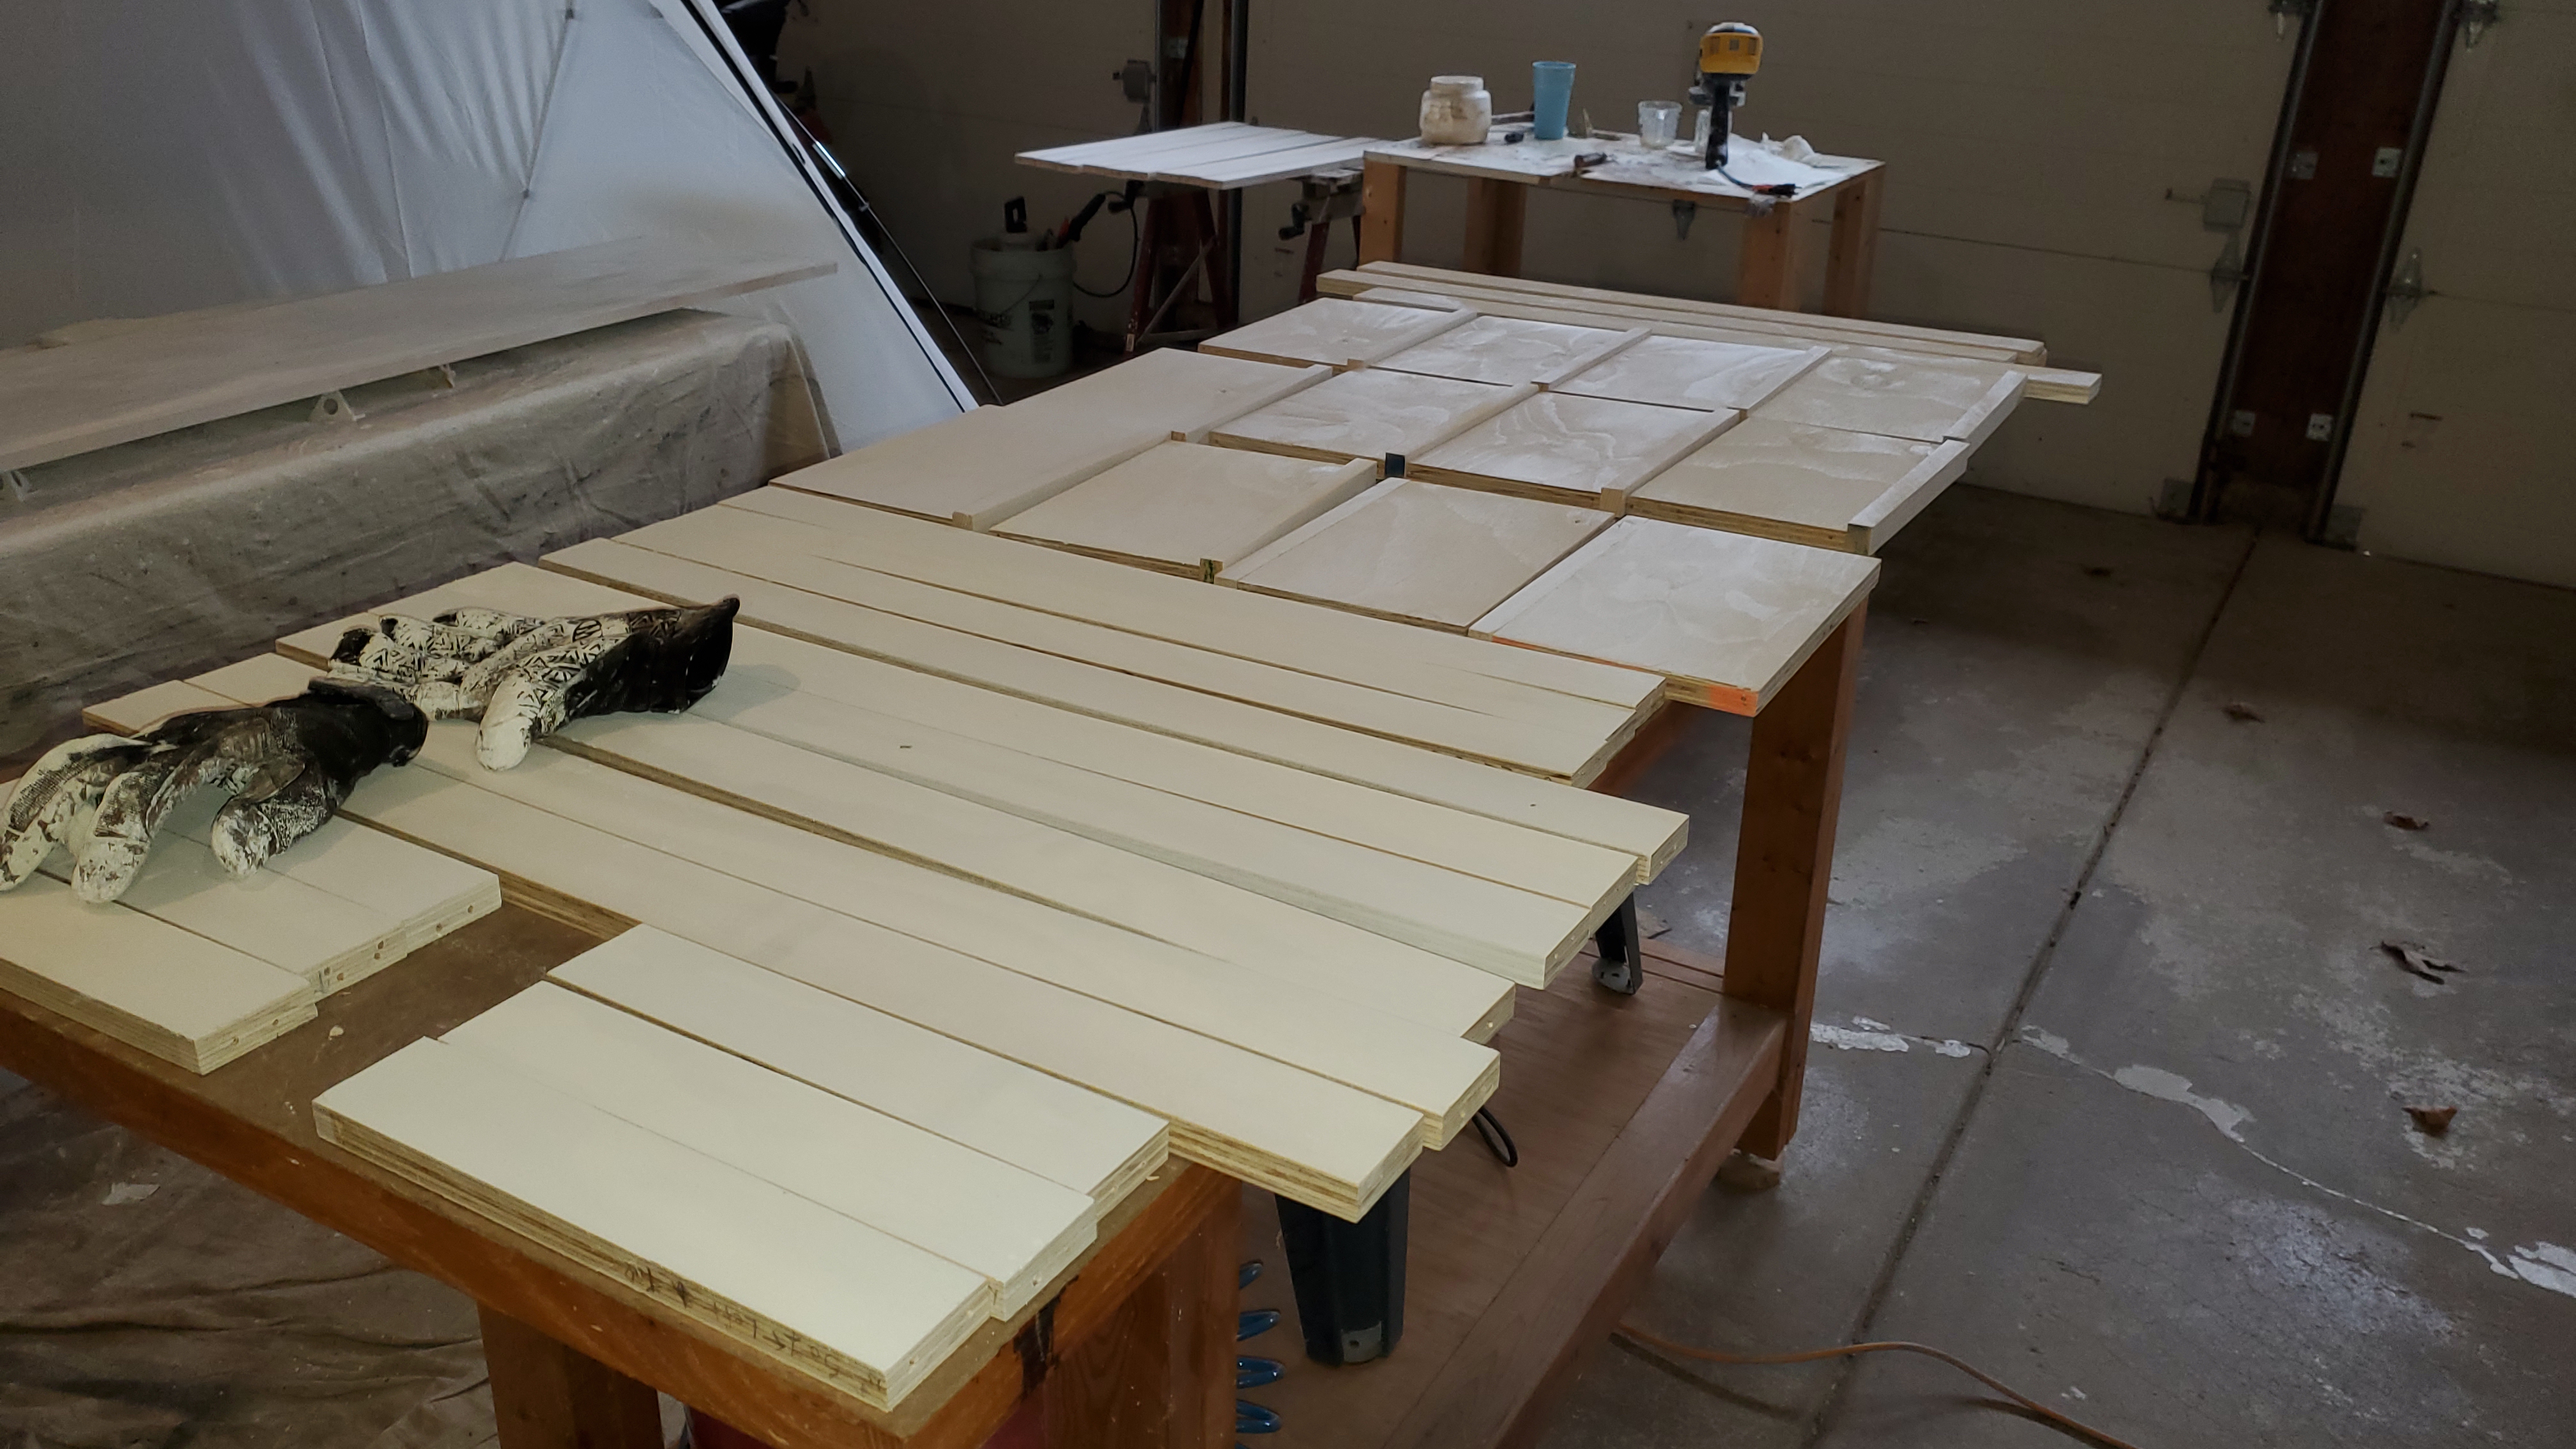
Trim
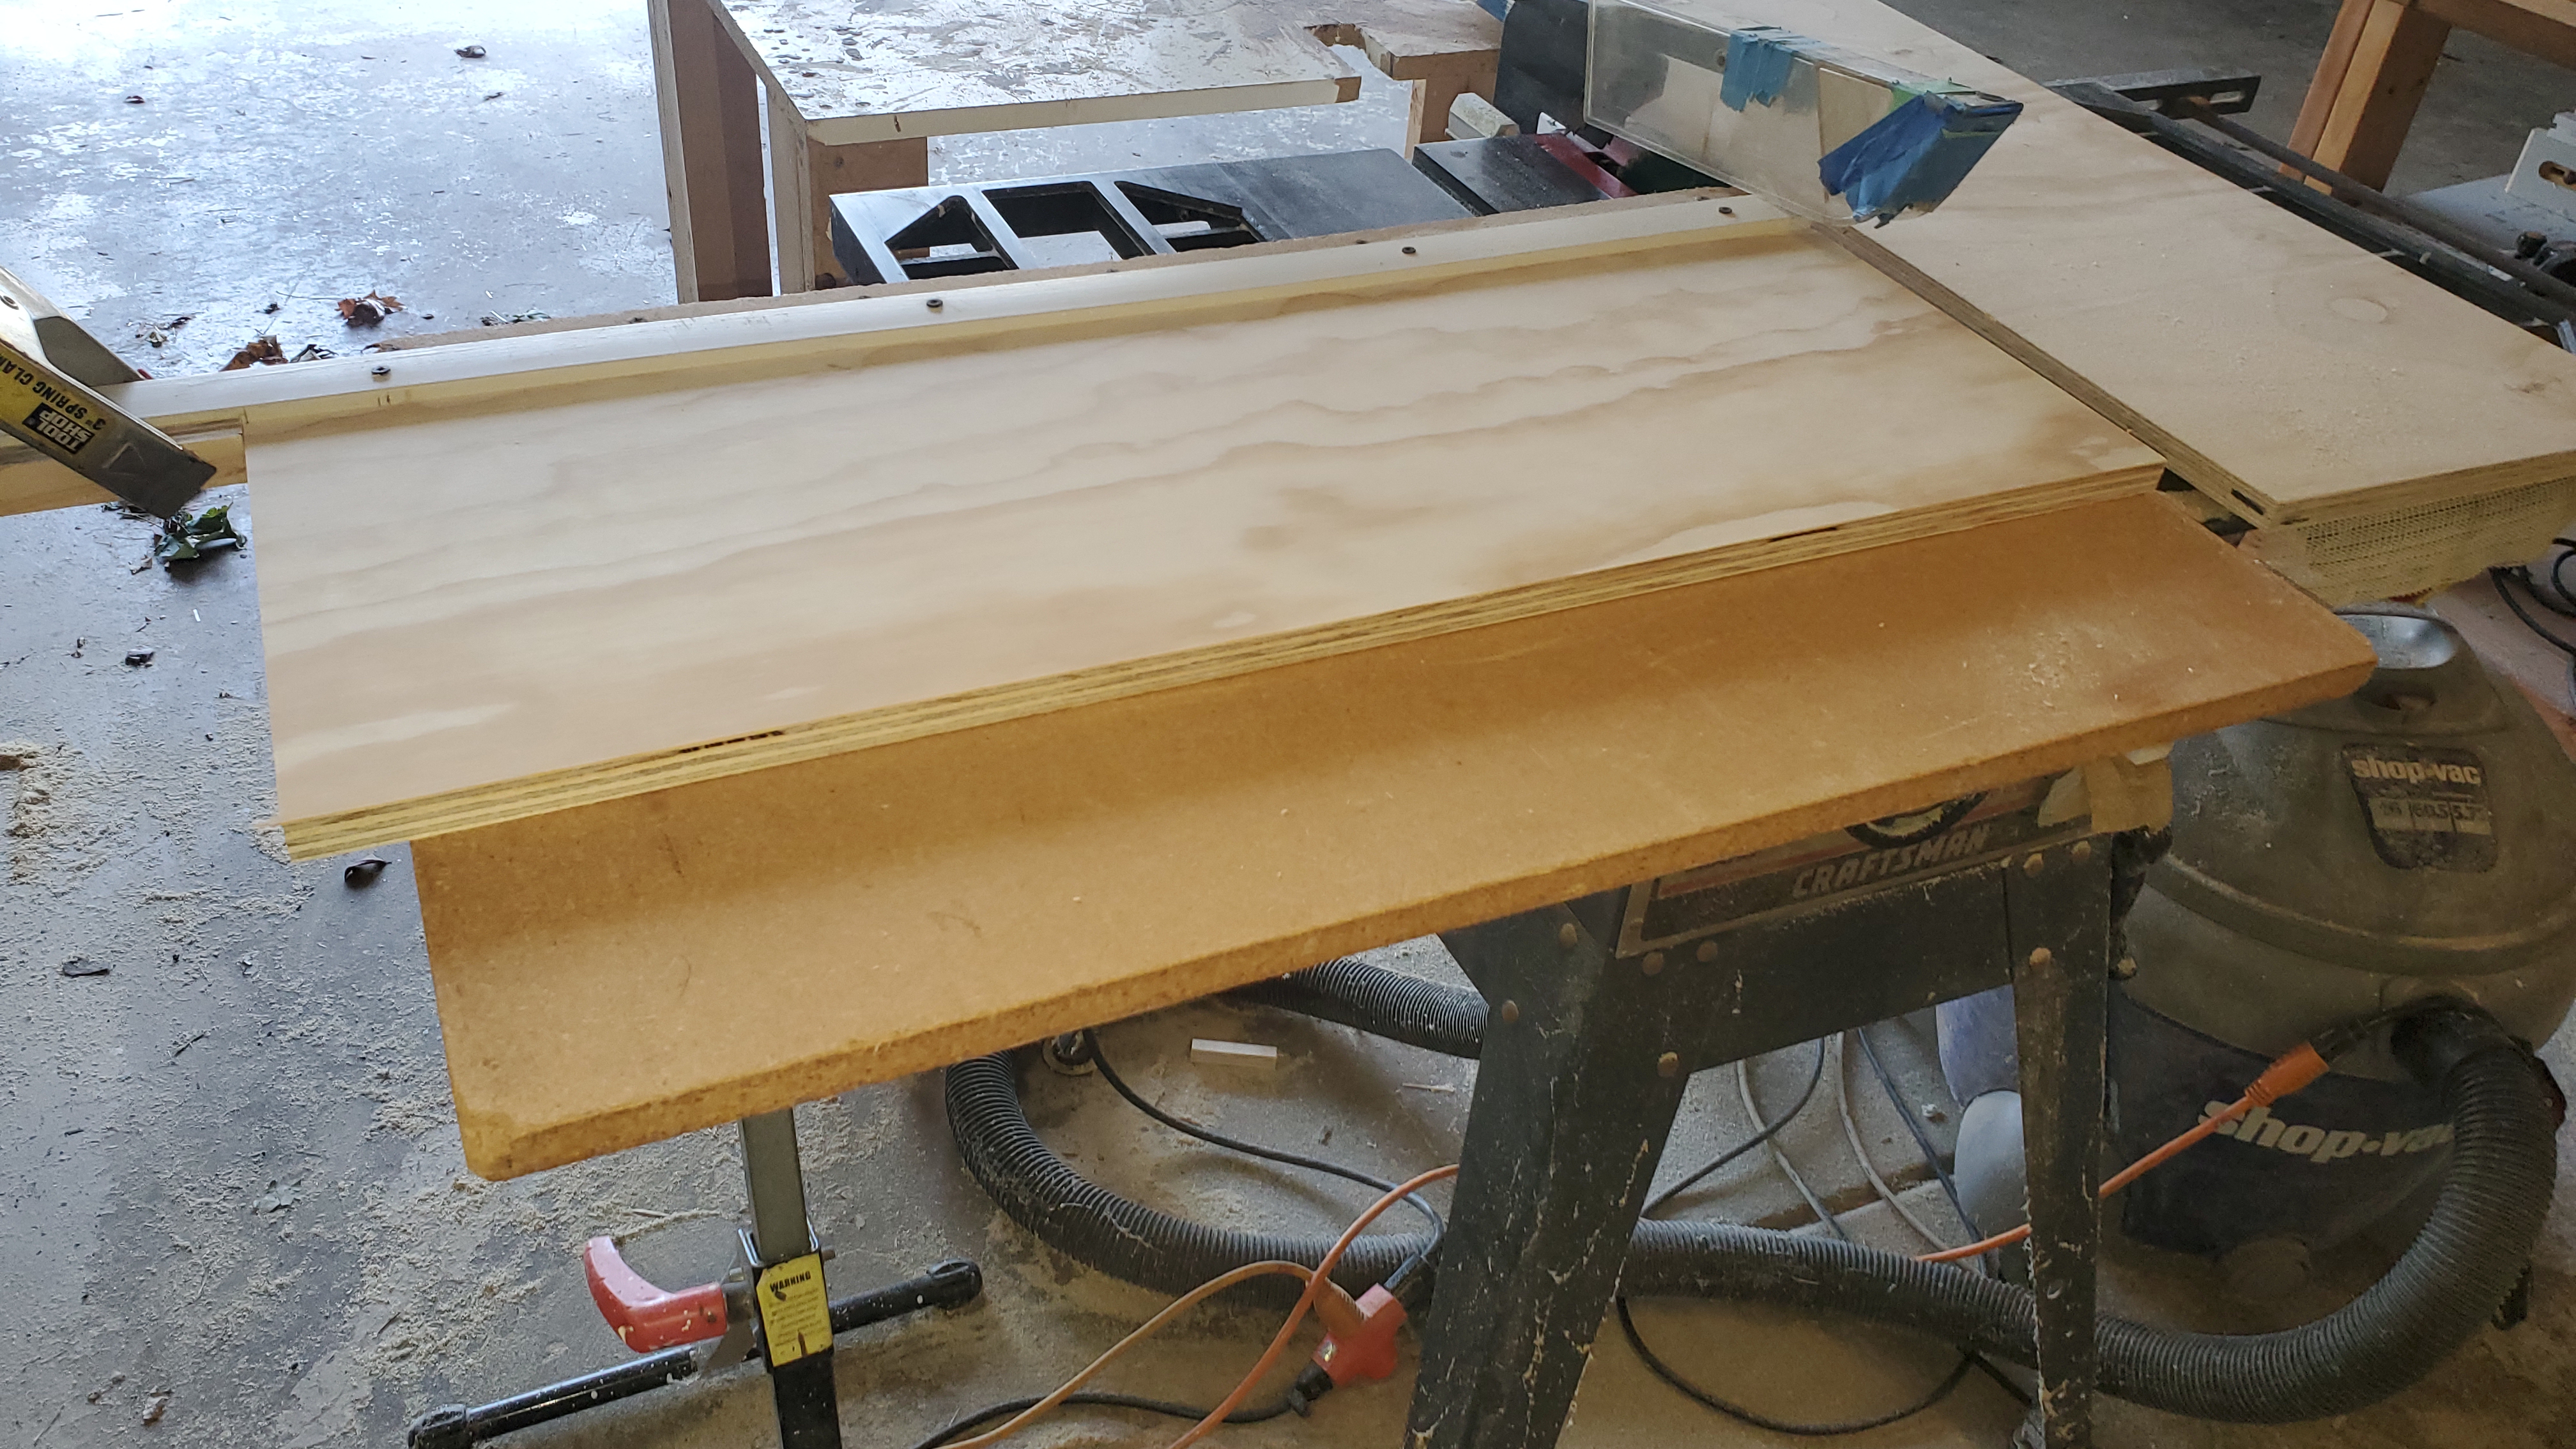
Once I had all the plywood cut, I fabricated the trim pieces to give a nice edge to any exposed plywood. Most i cut to 1" to give a 1/4" extra. For the walls this allowed easier installation and for the shelves it gave a bulkier look.
638 trim pieces!.
Fab Complete!

Pre-Drill the Walls
Next I pre-drilled all the wall to shelf holes aligning each side of the cabinet carefully for plumb shelves. The new 4' Square came in handy.

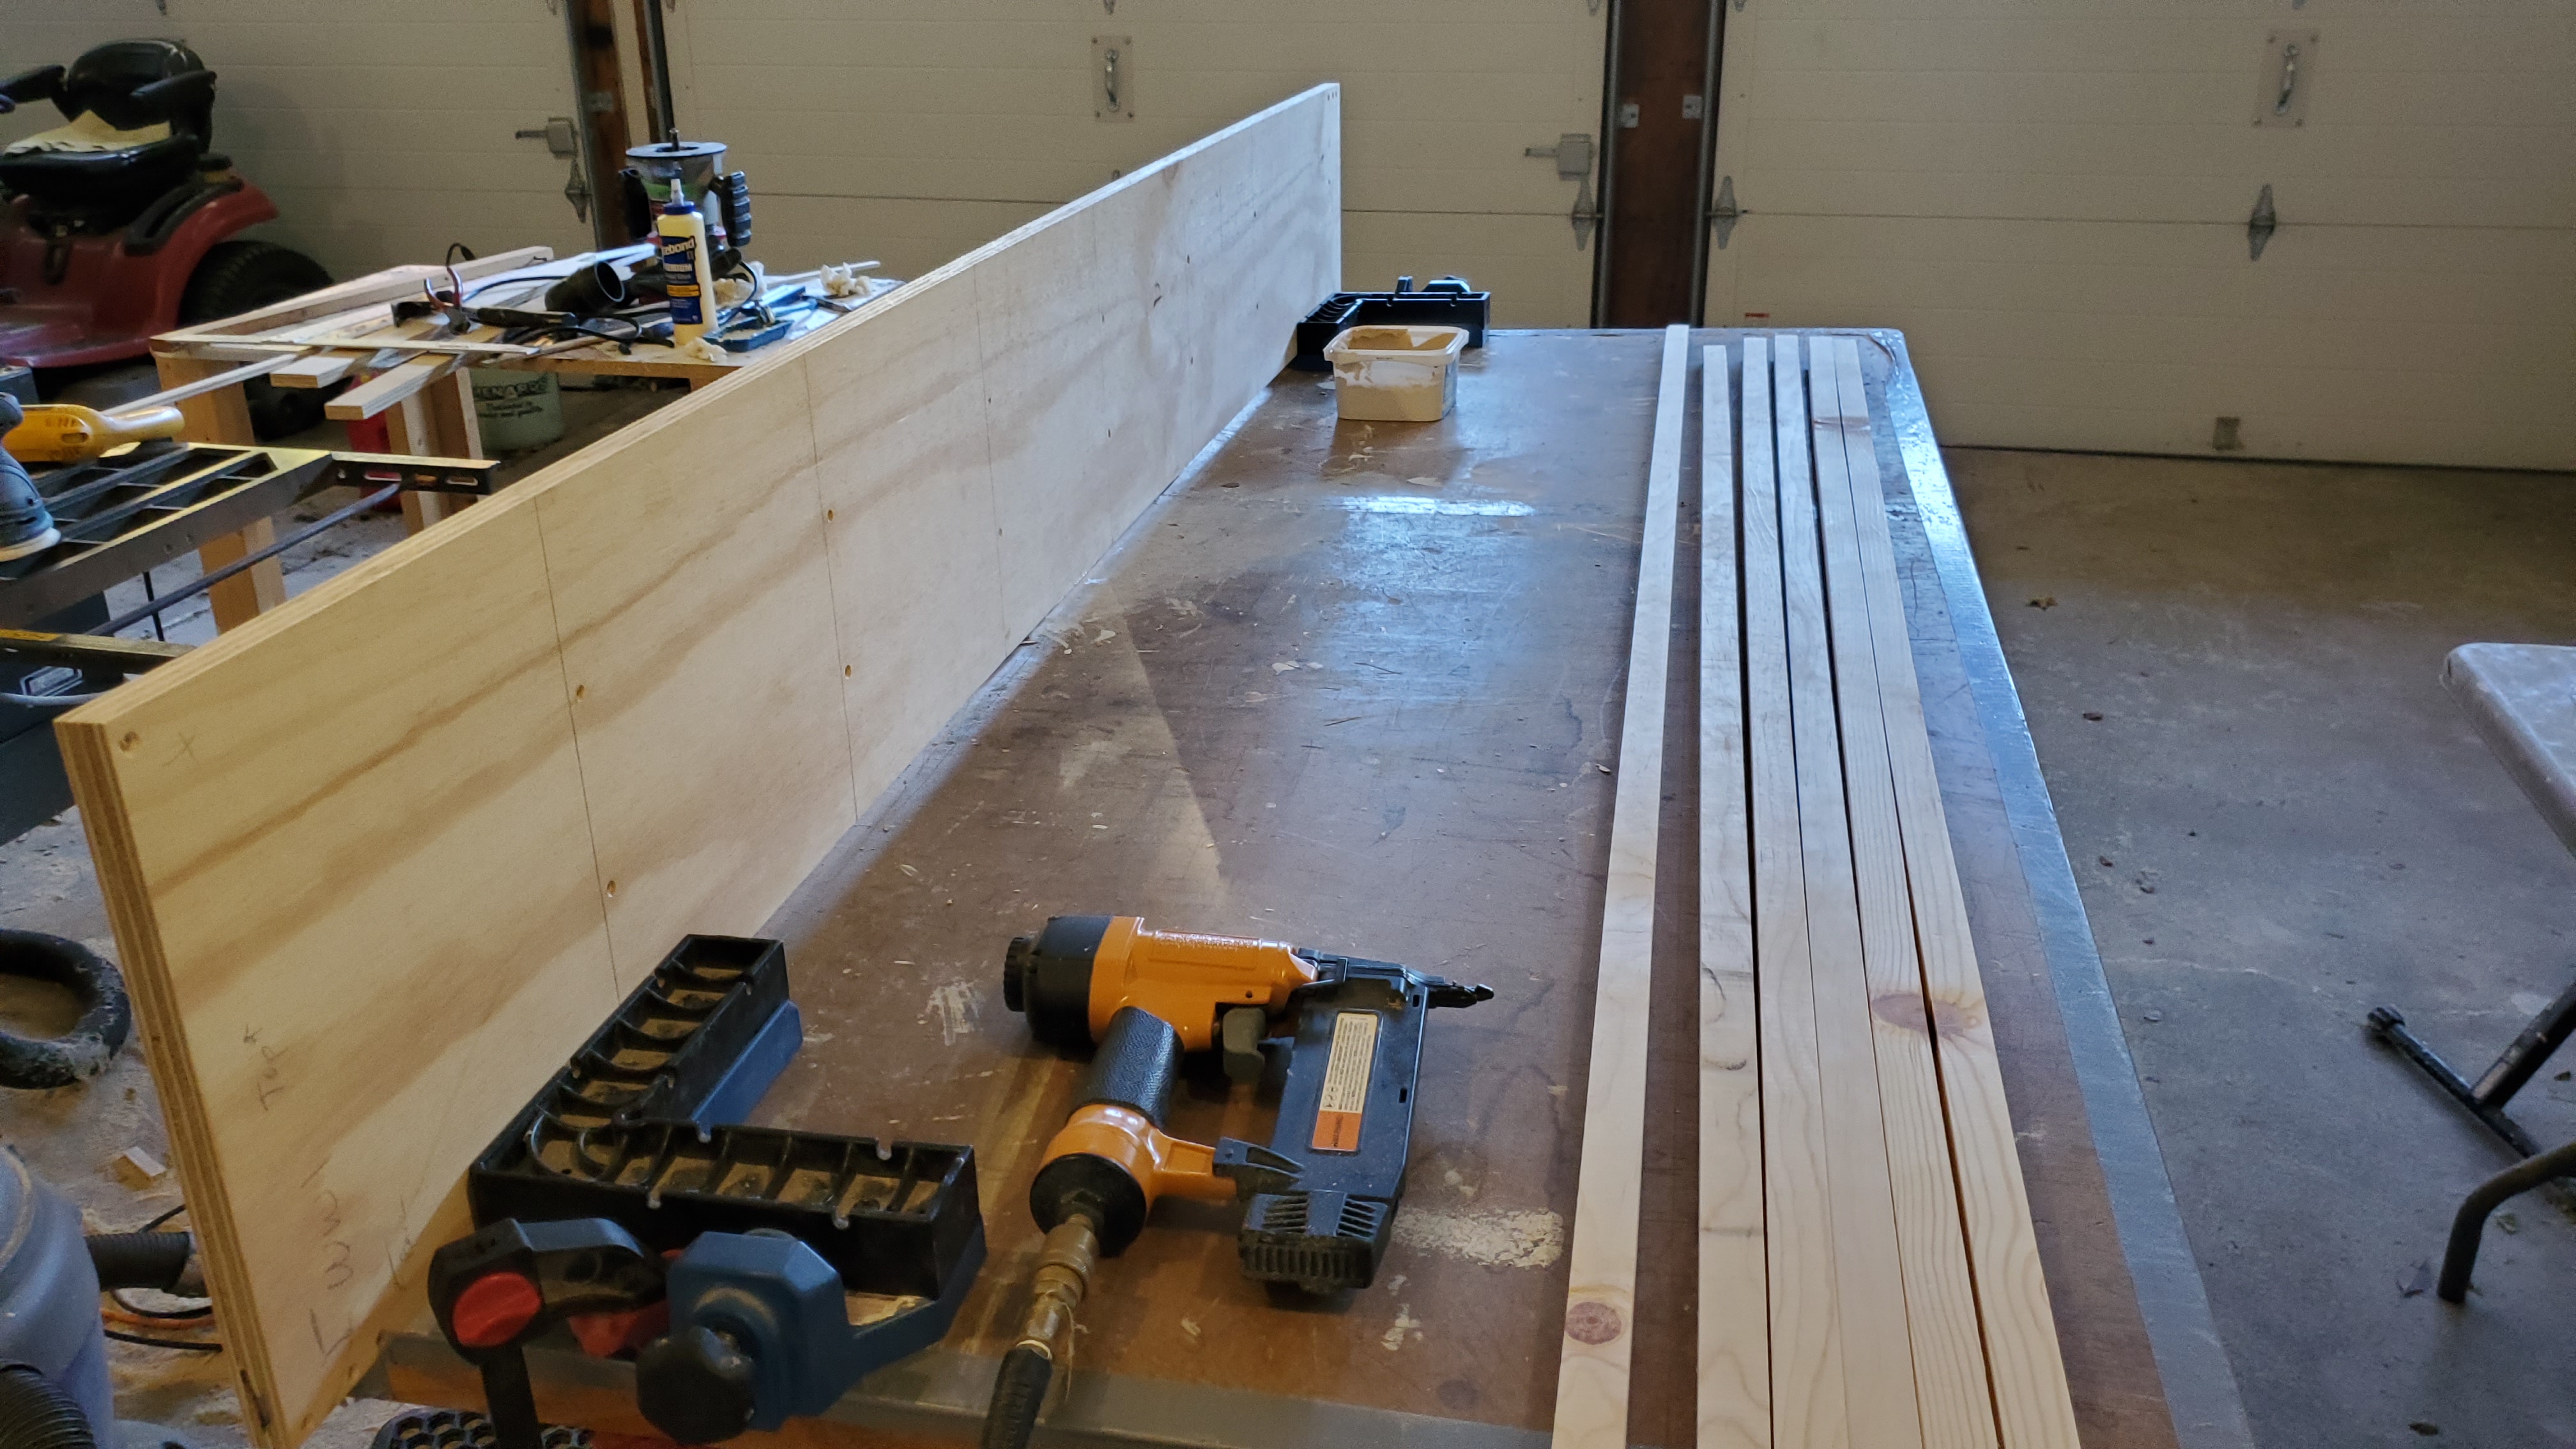
Attaching the Trim
I attached all the trim pieces to the walls and shelves using glue and brad nails (no pics).

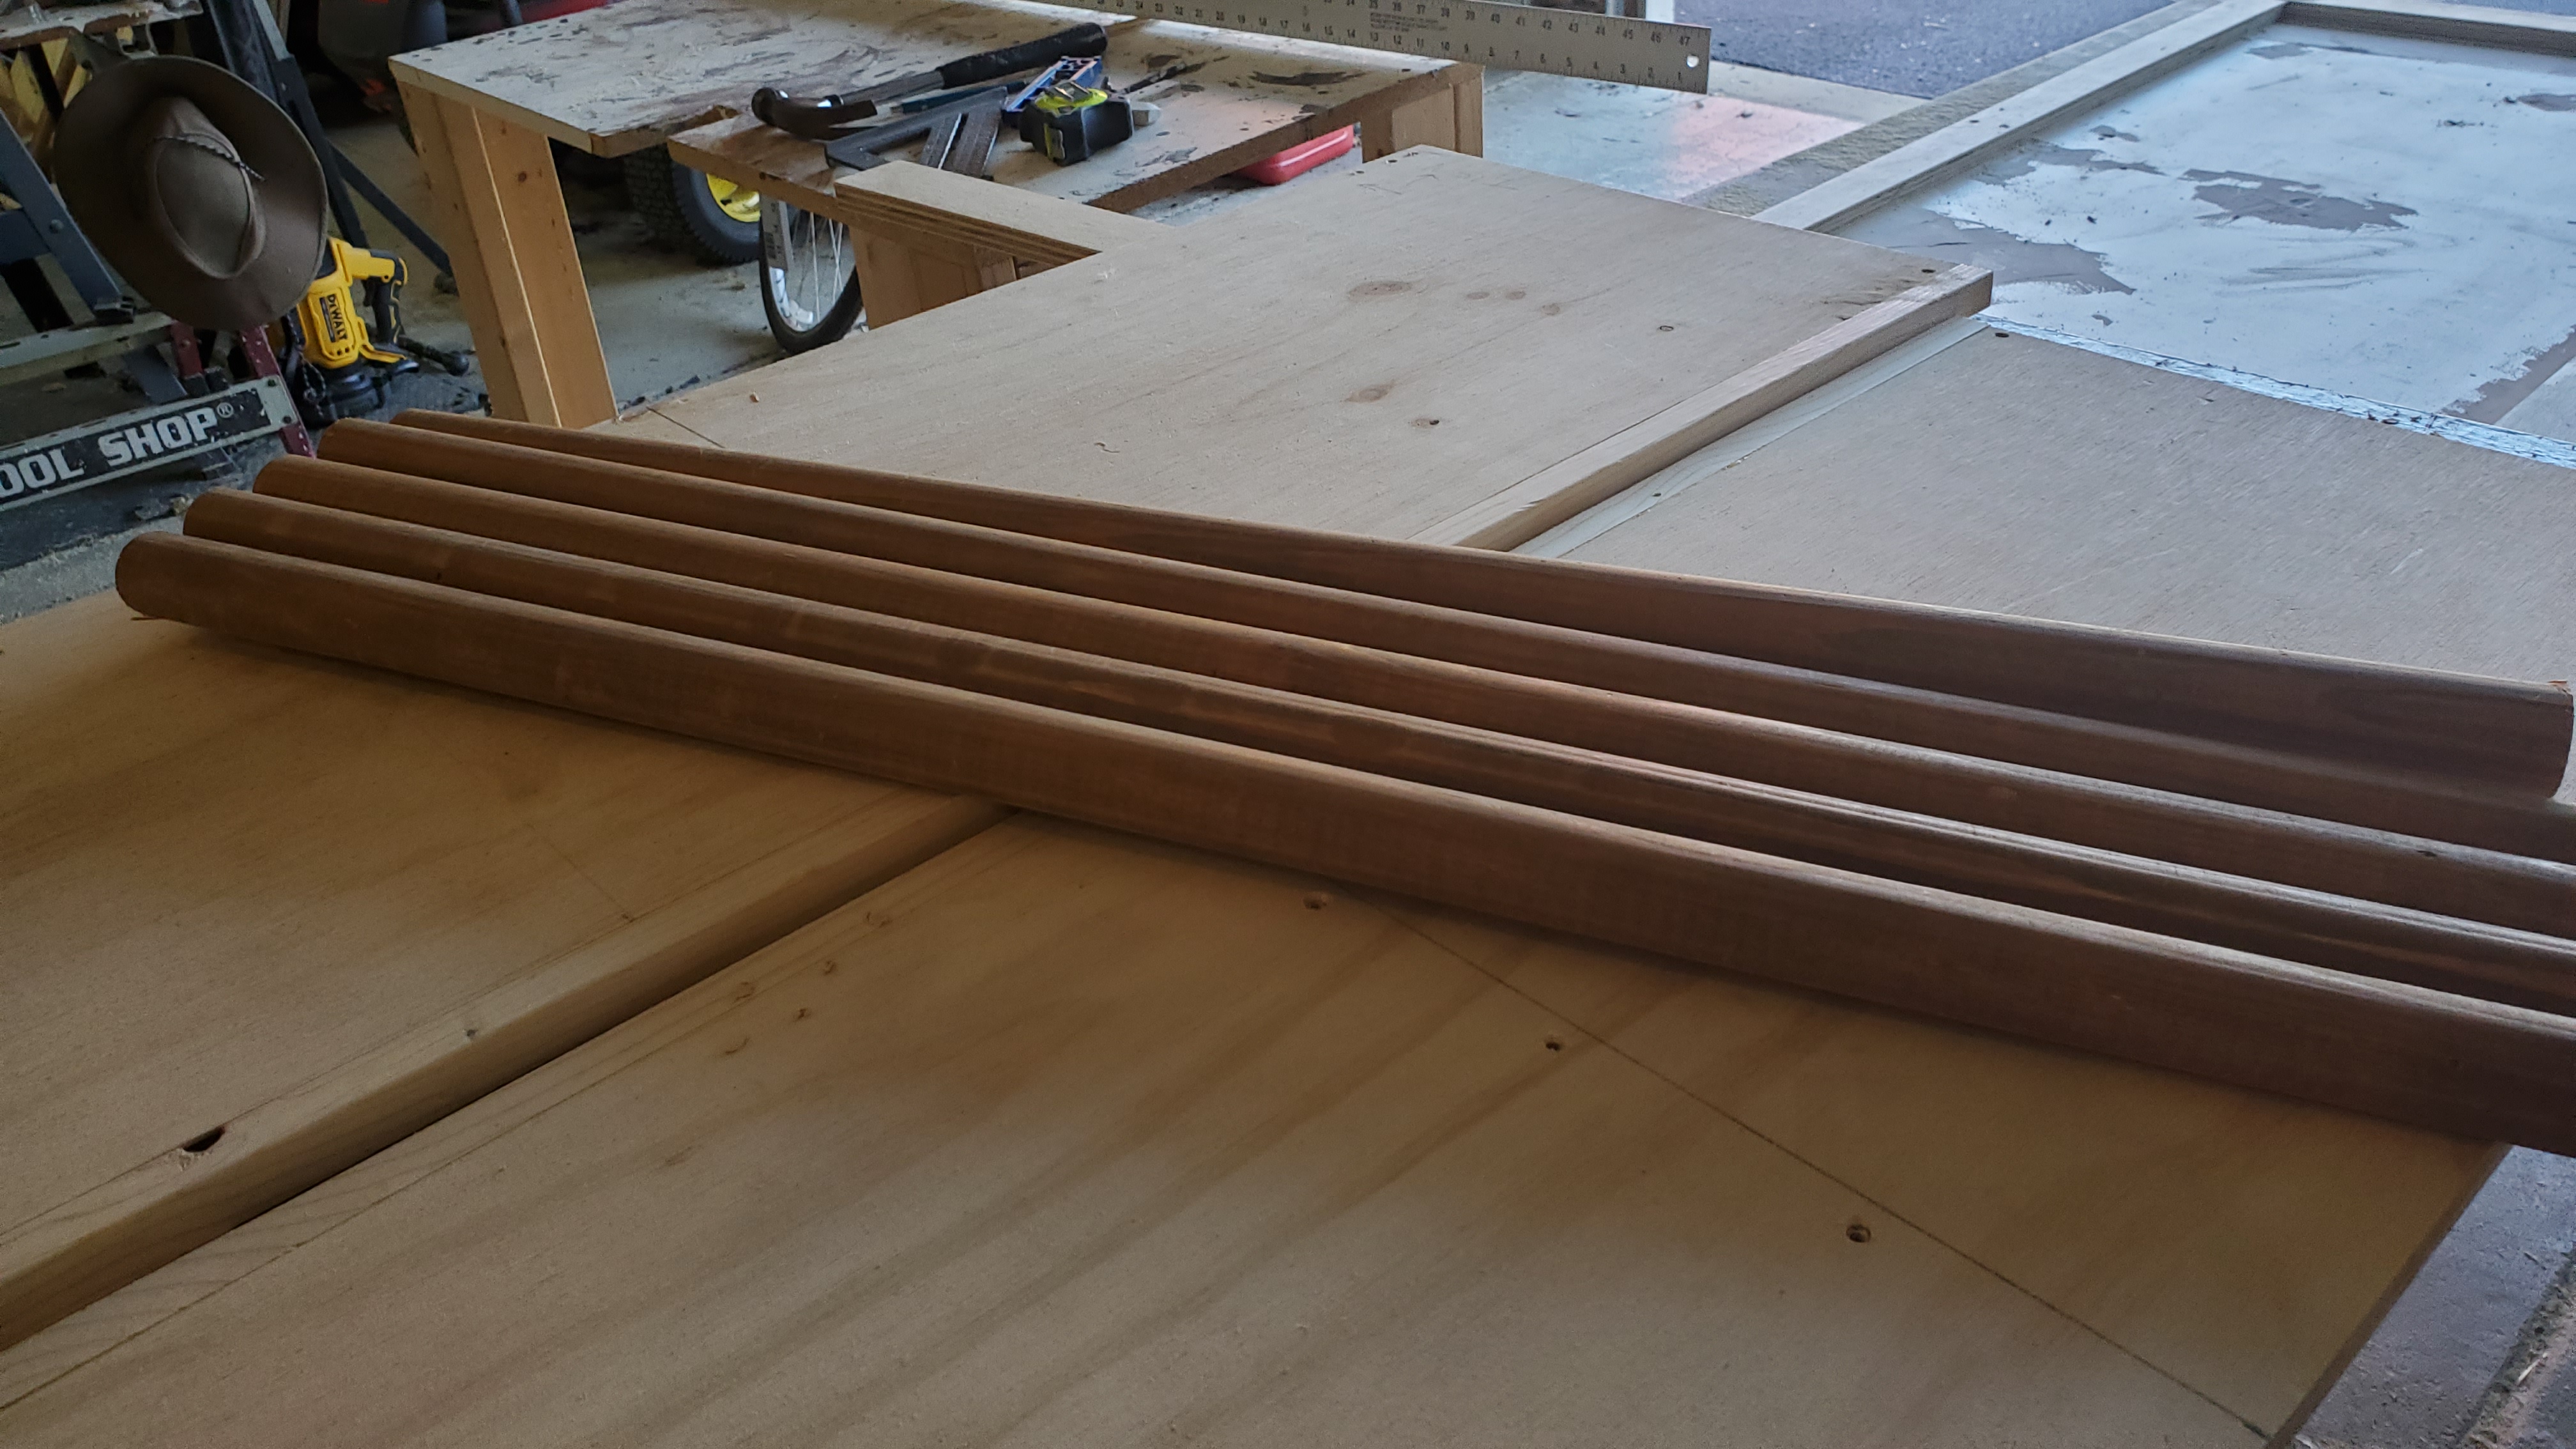
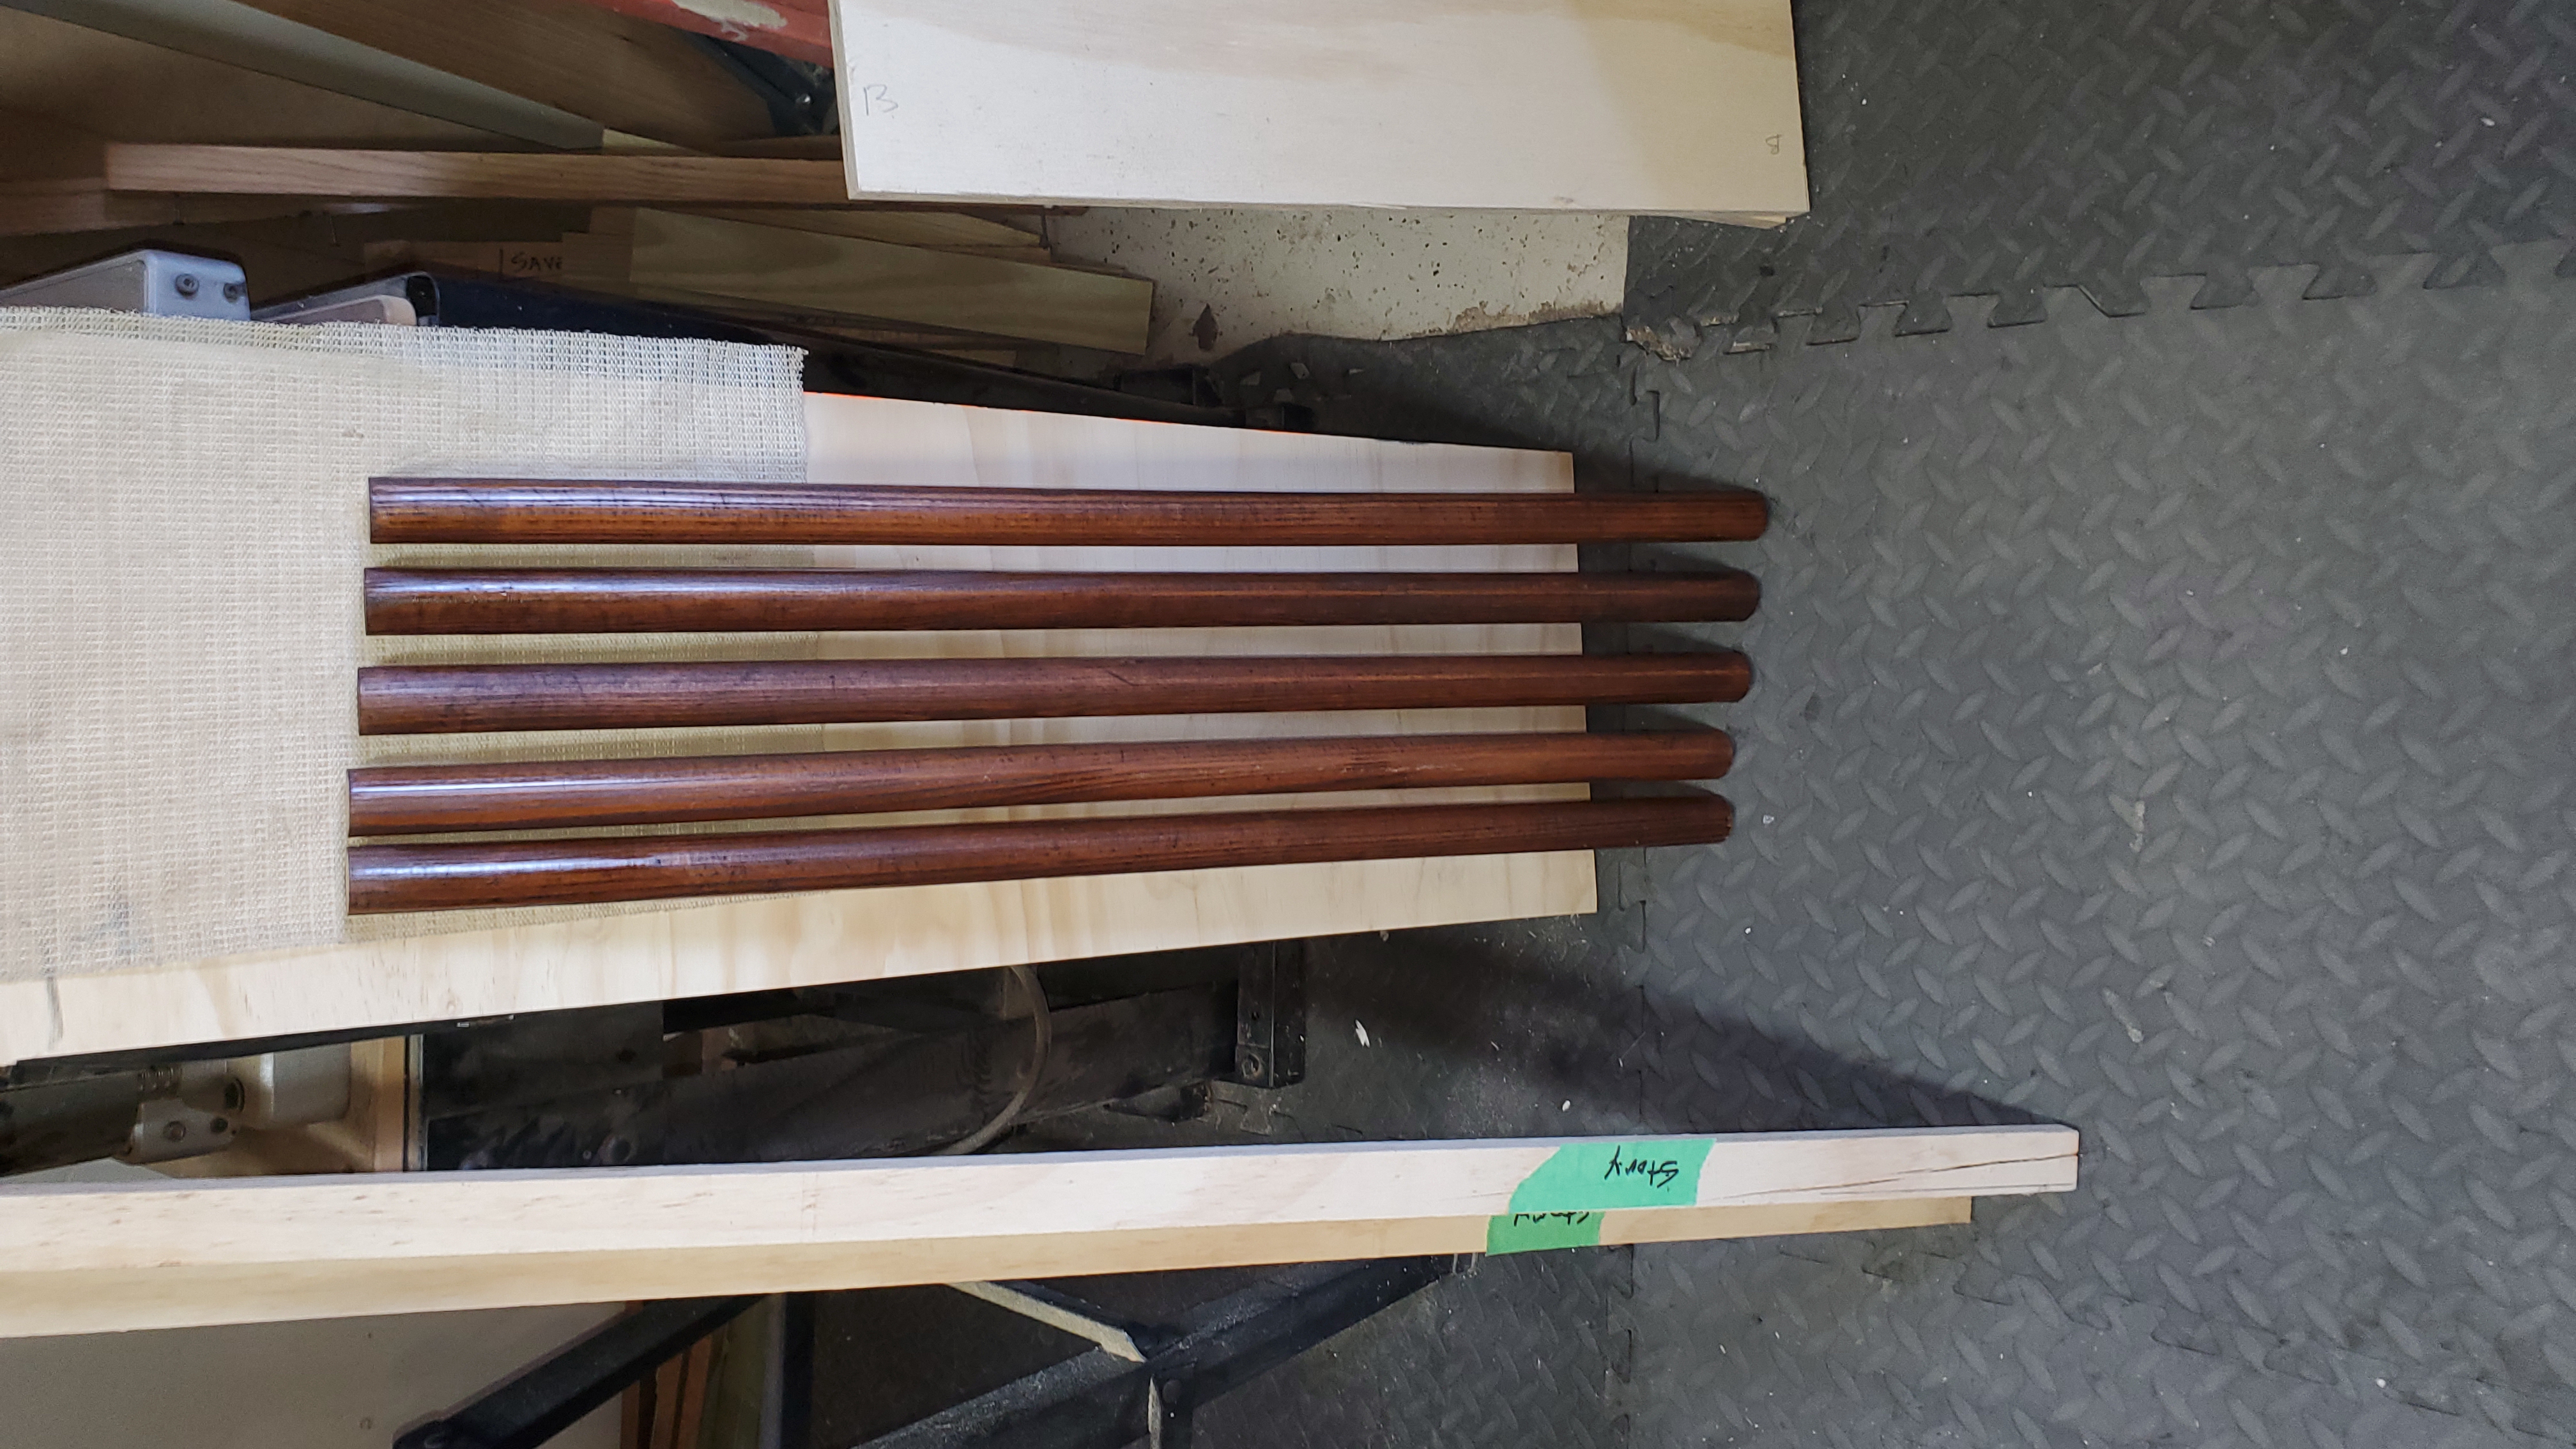
Closet Rods
I used the existing closet rods cutting them to size and refinishing them with Honey Stain and Semi-gloss wipe on poly. Good as new!
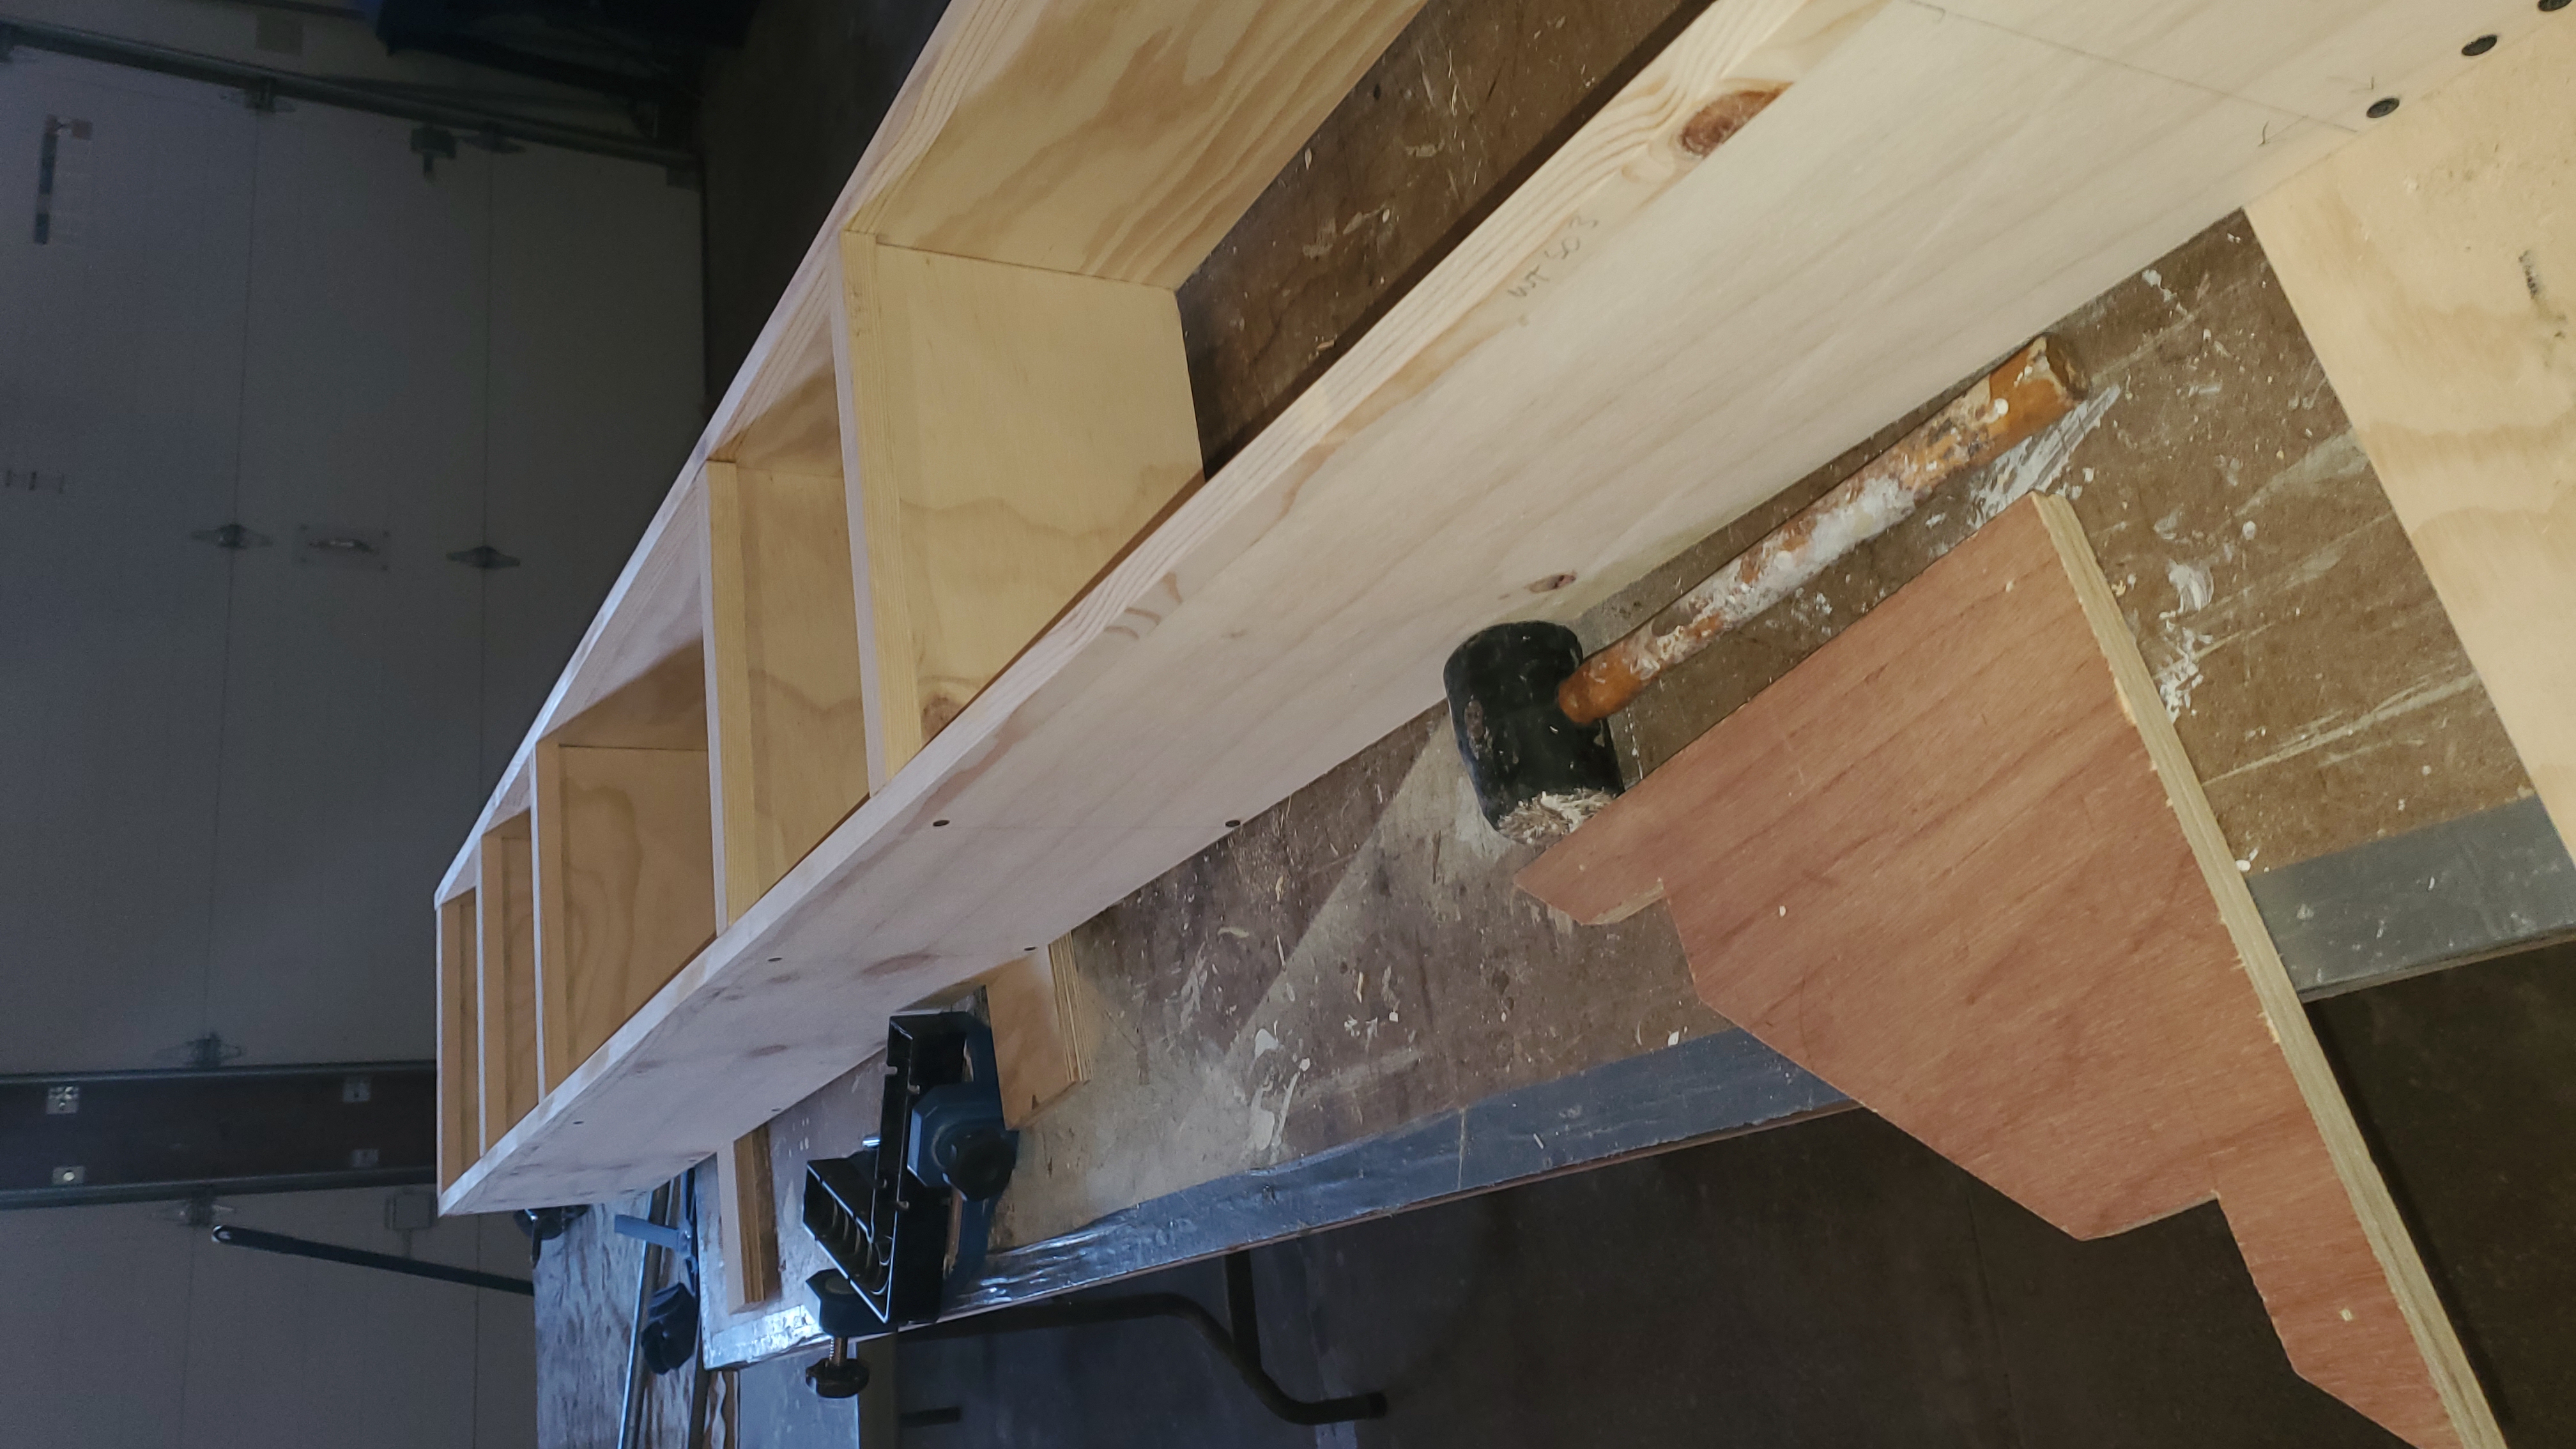
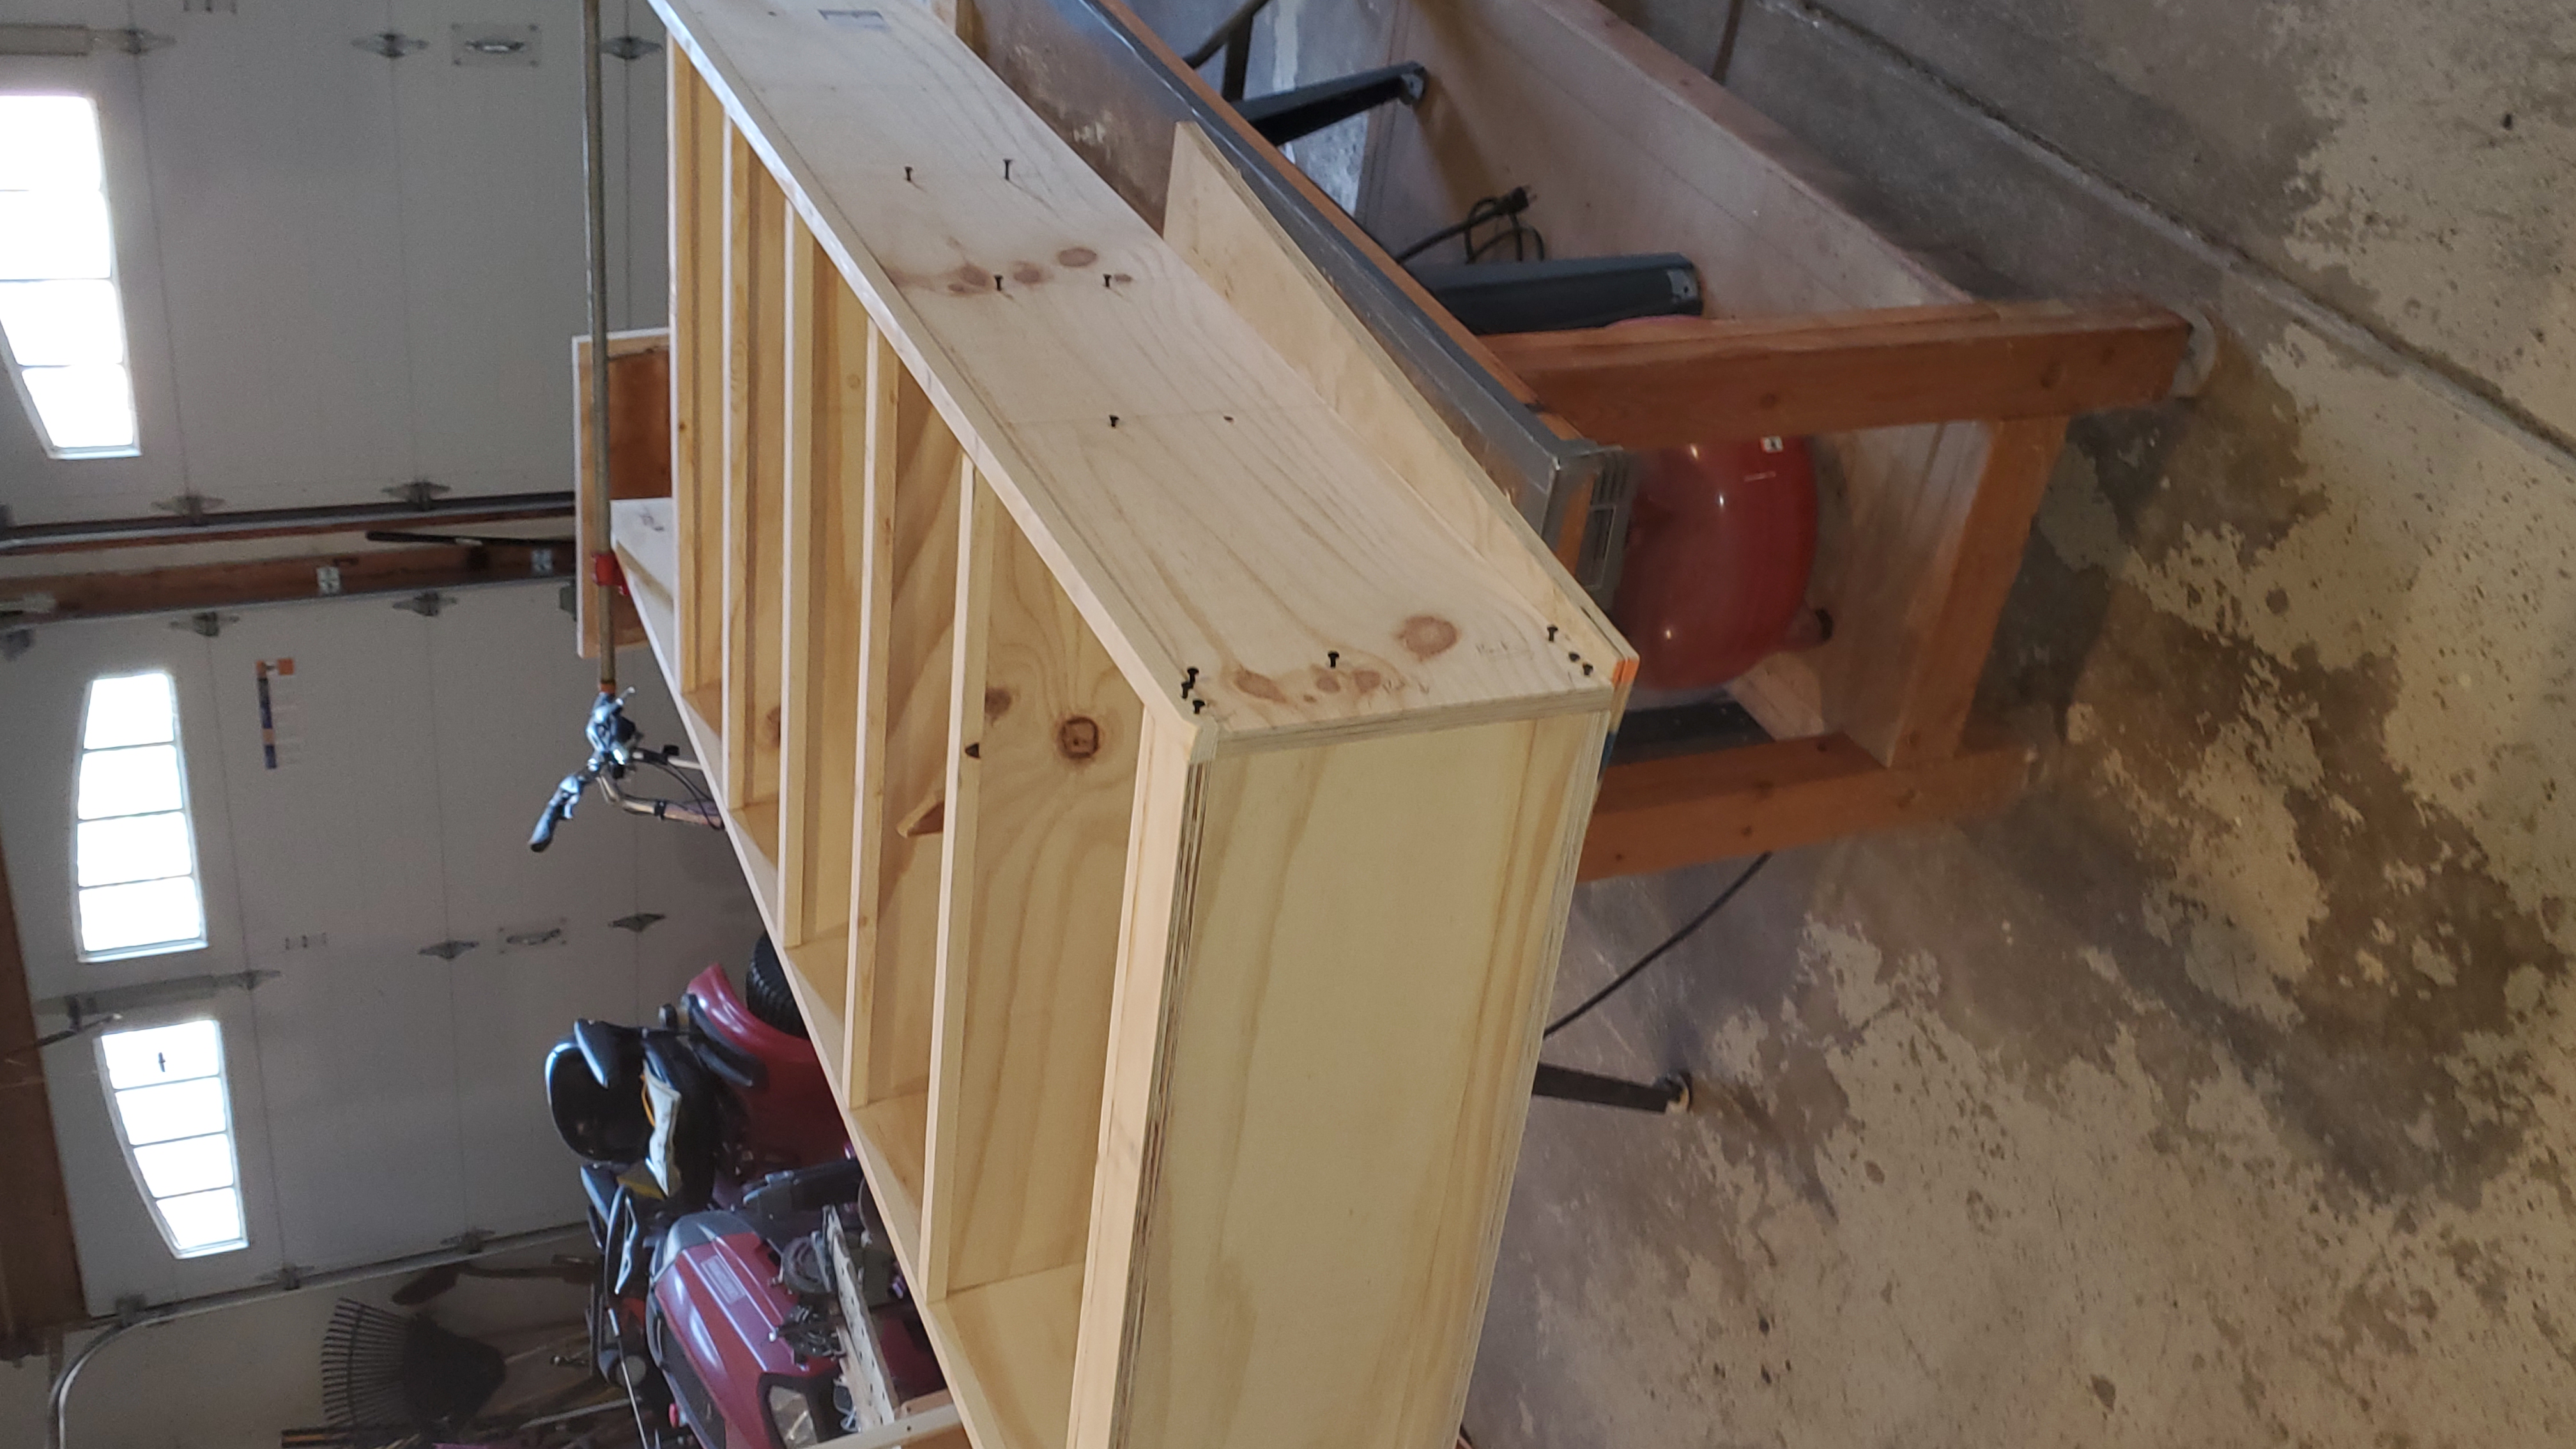
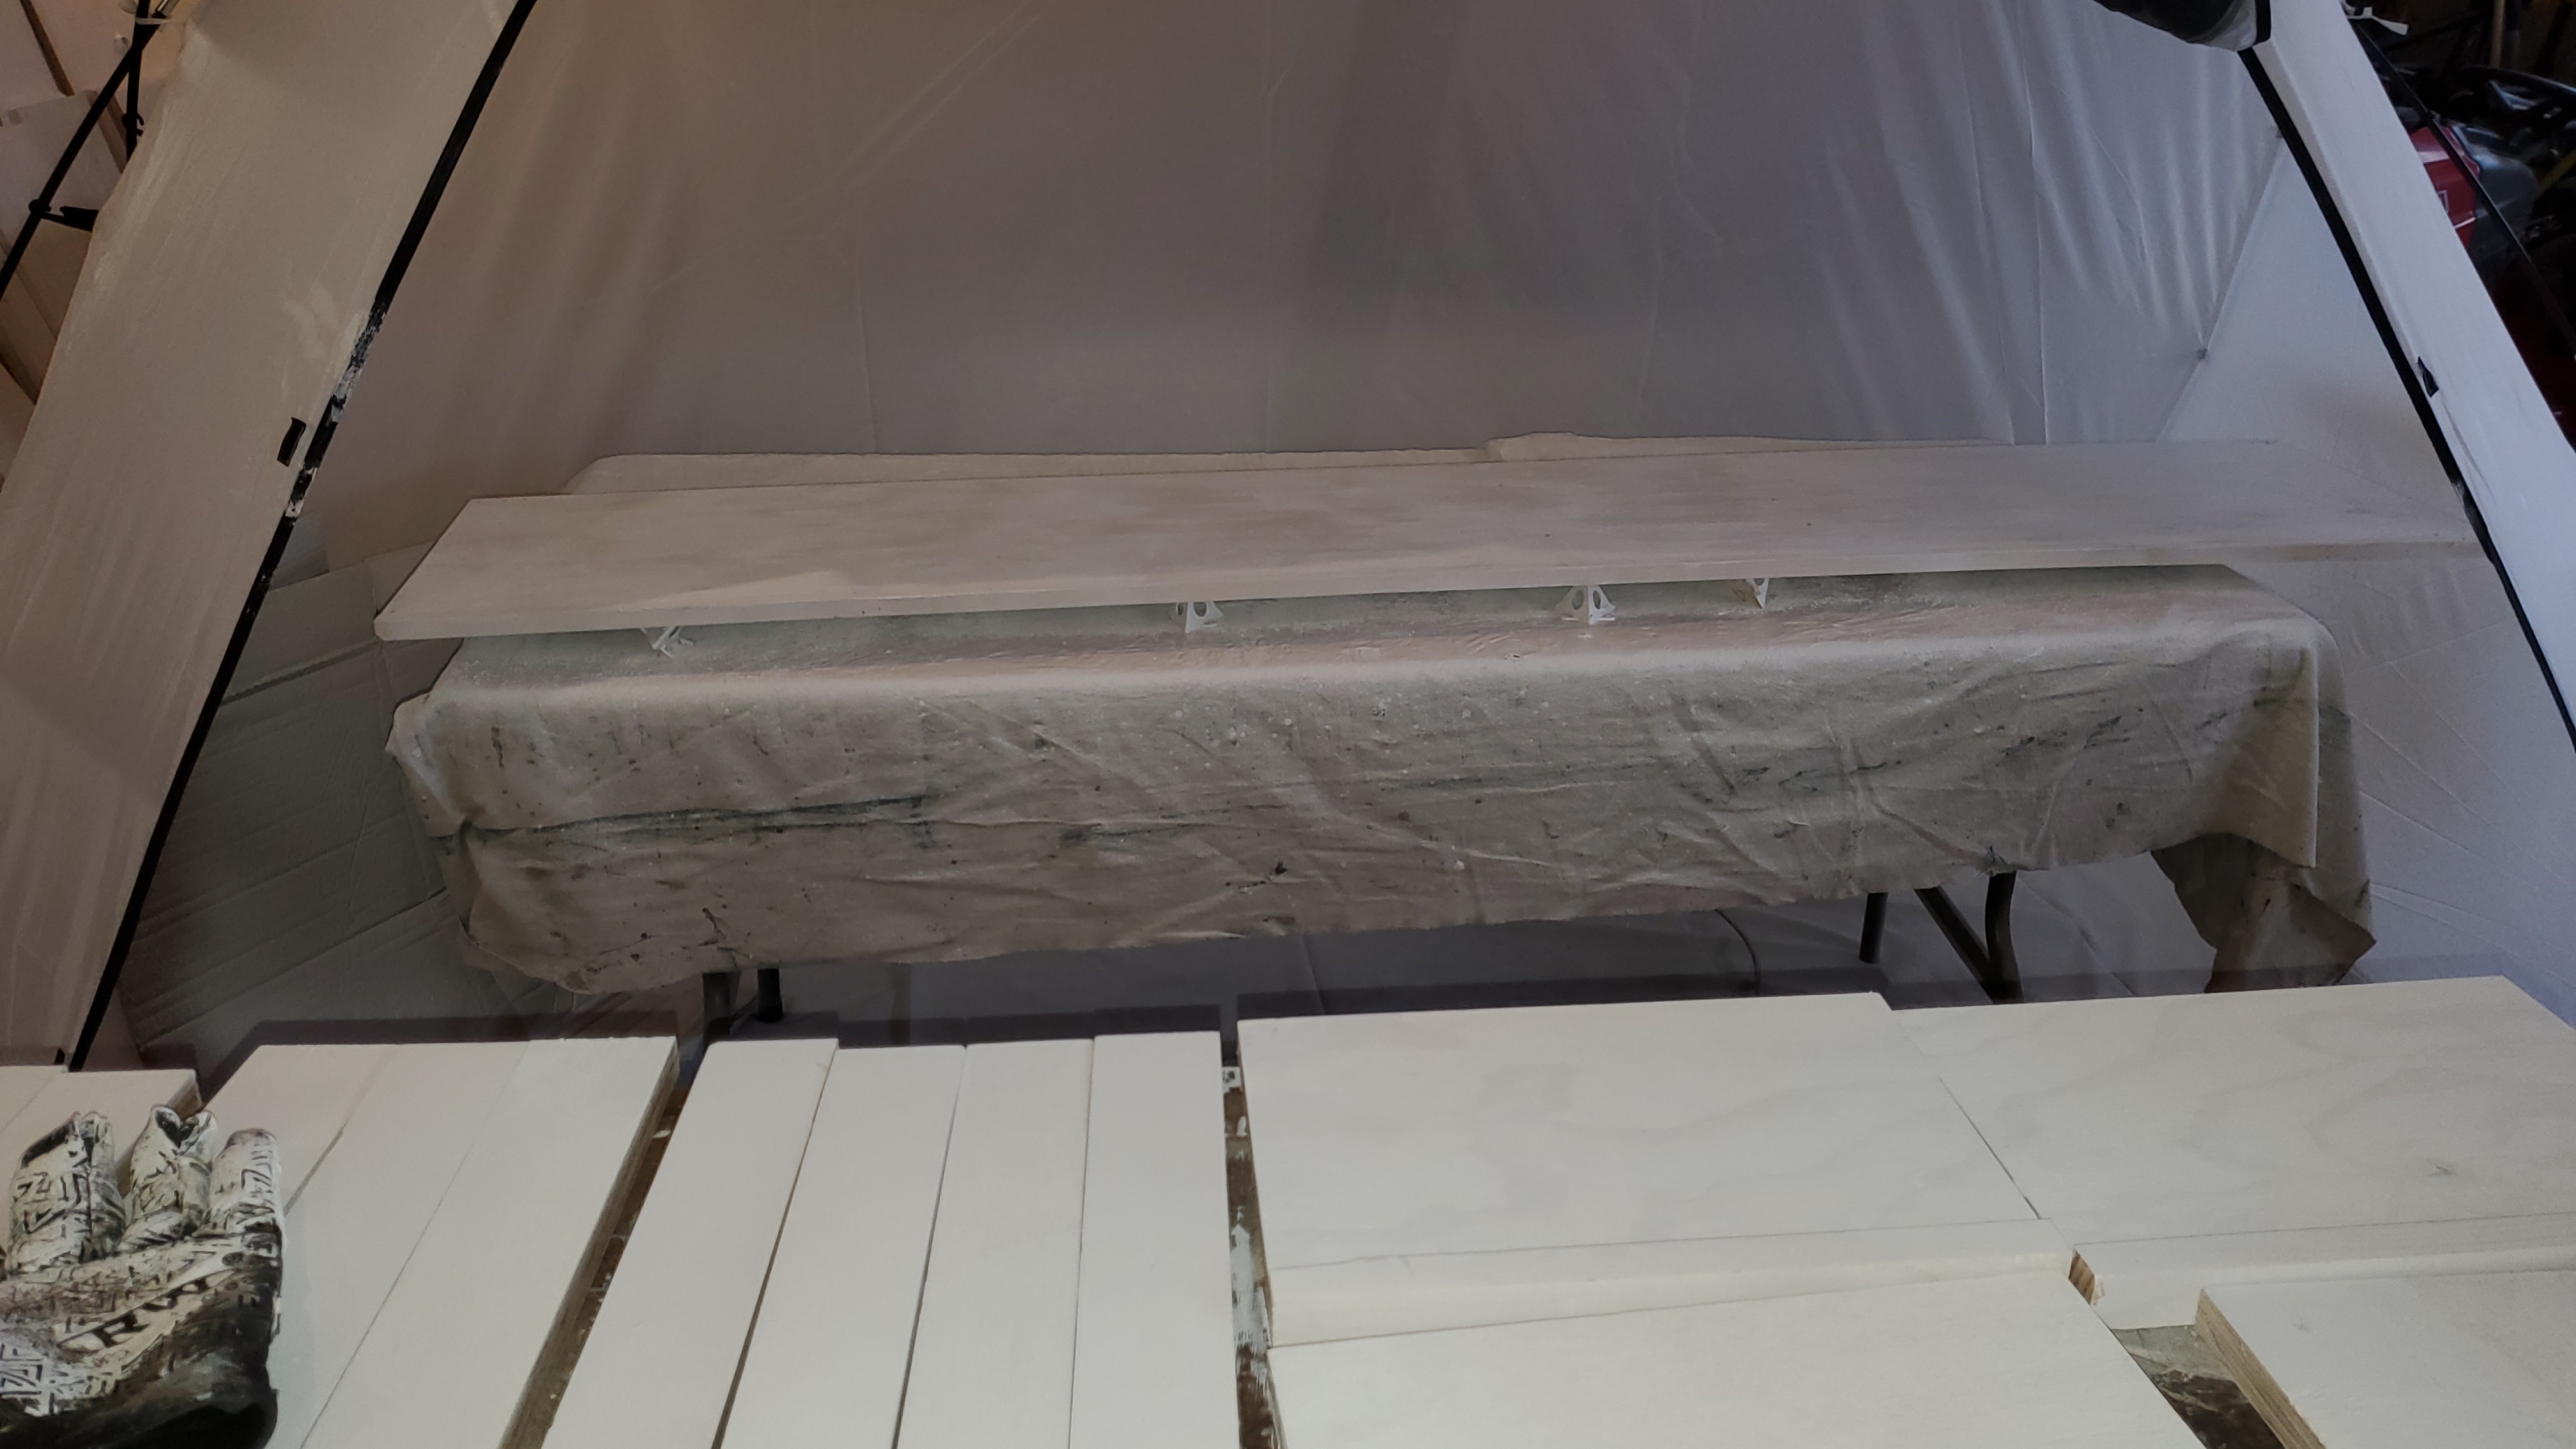
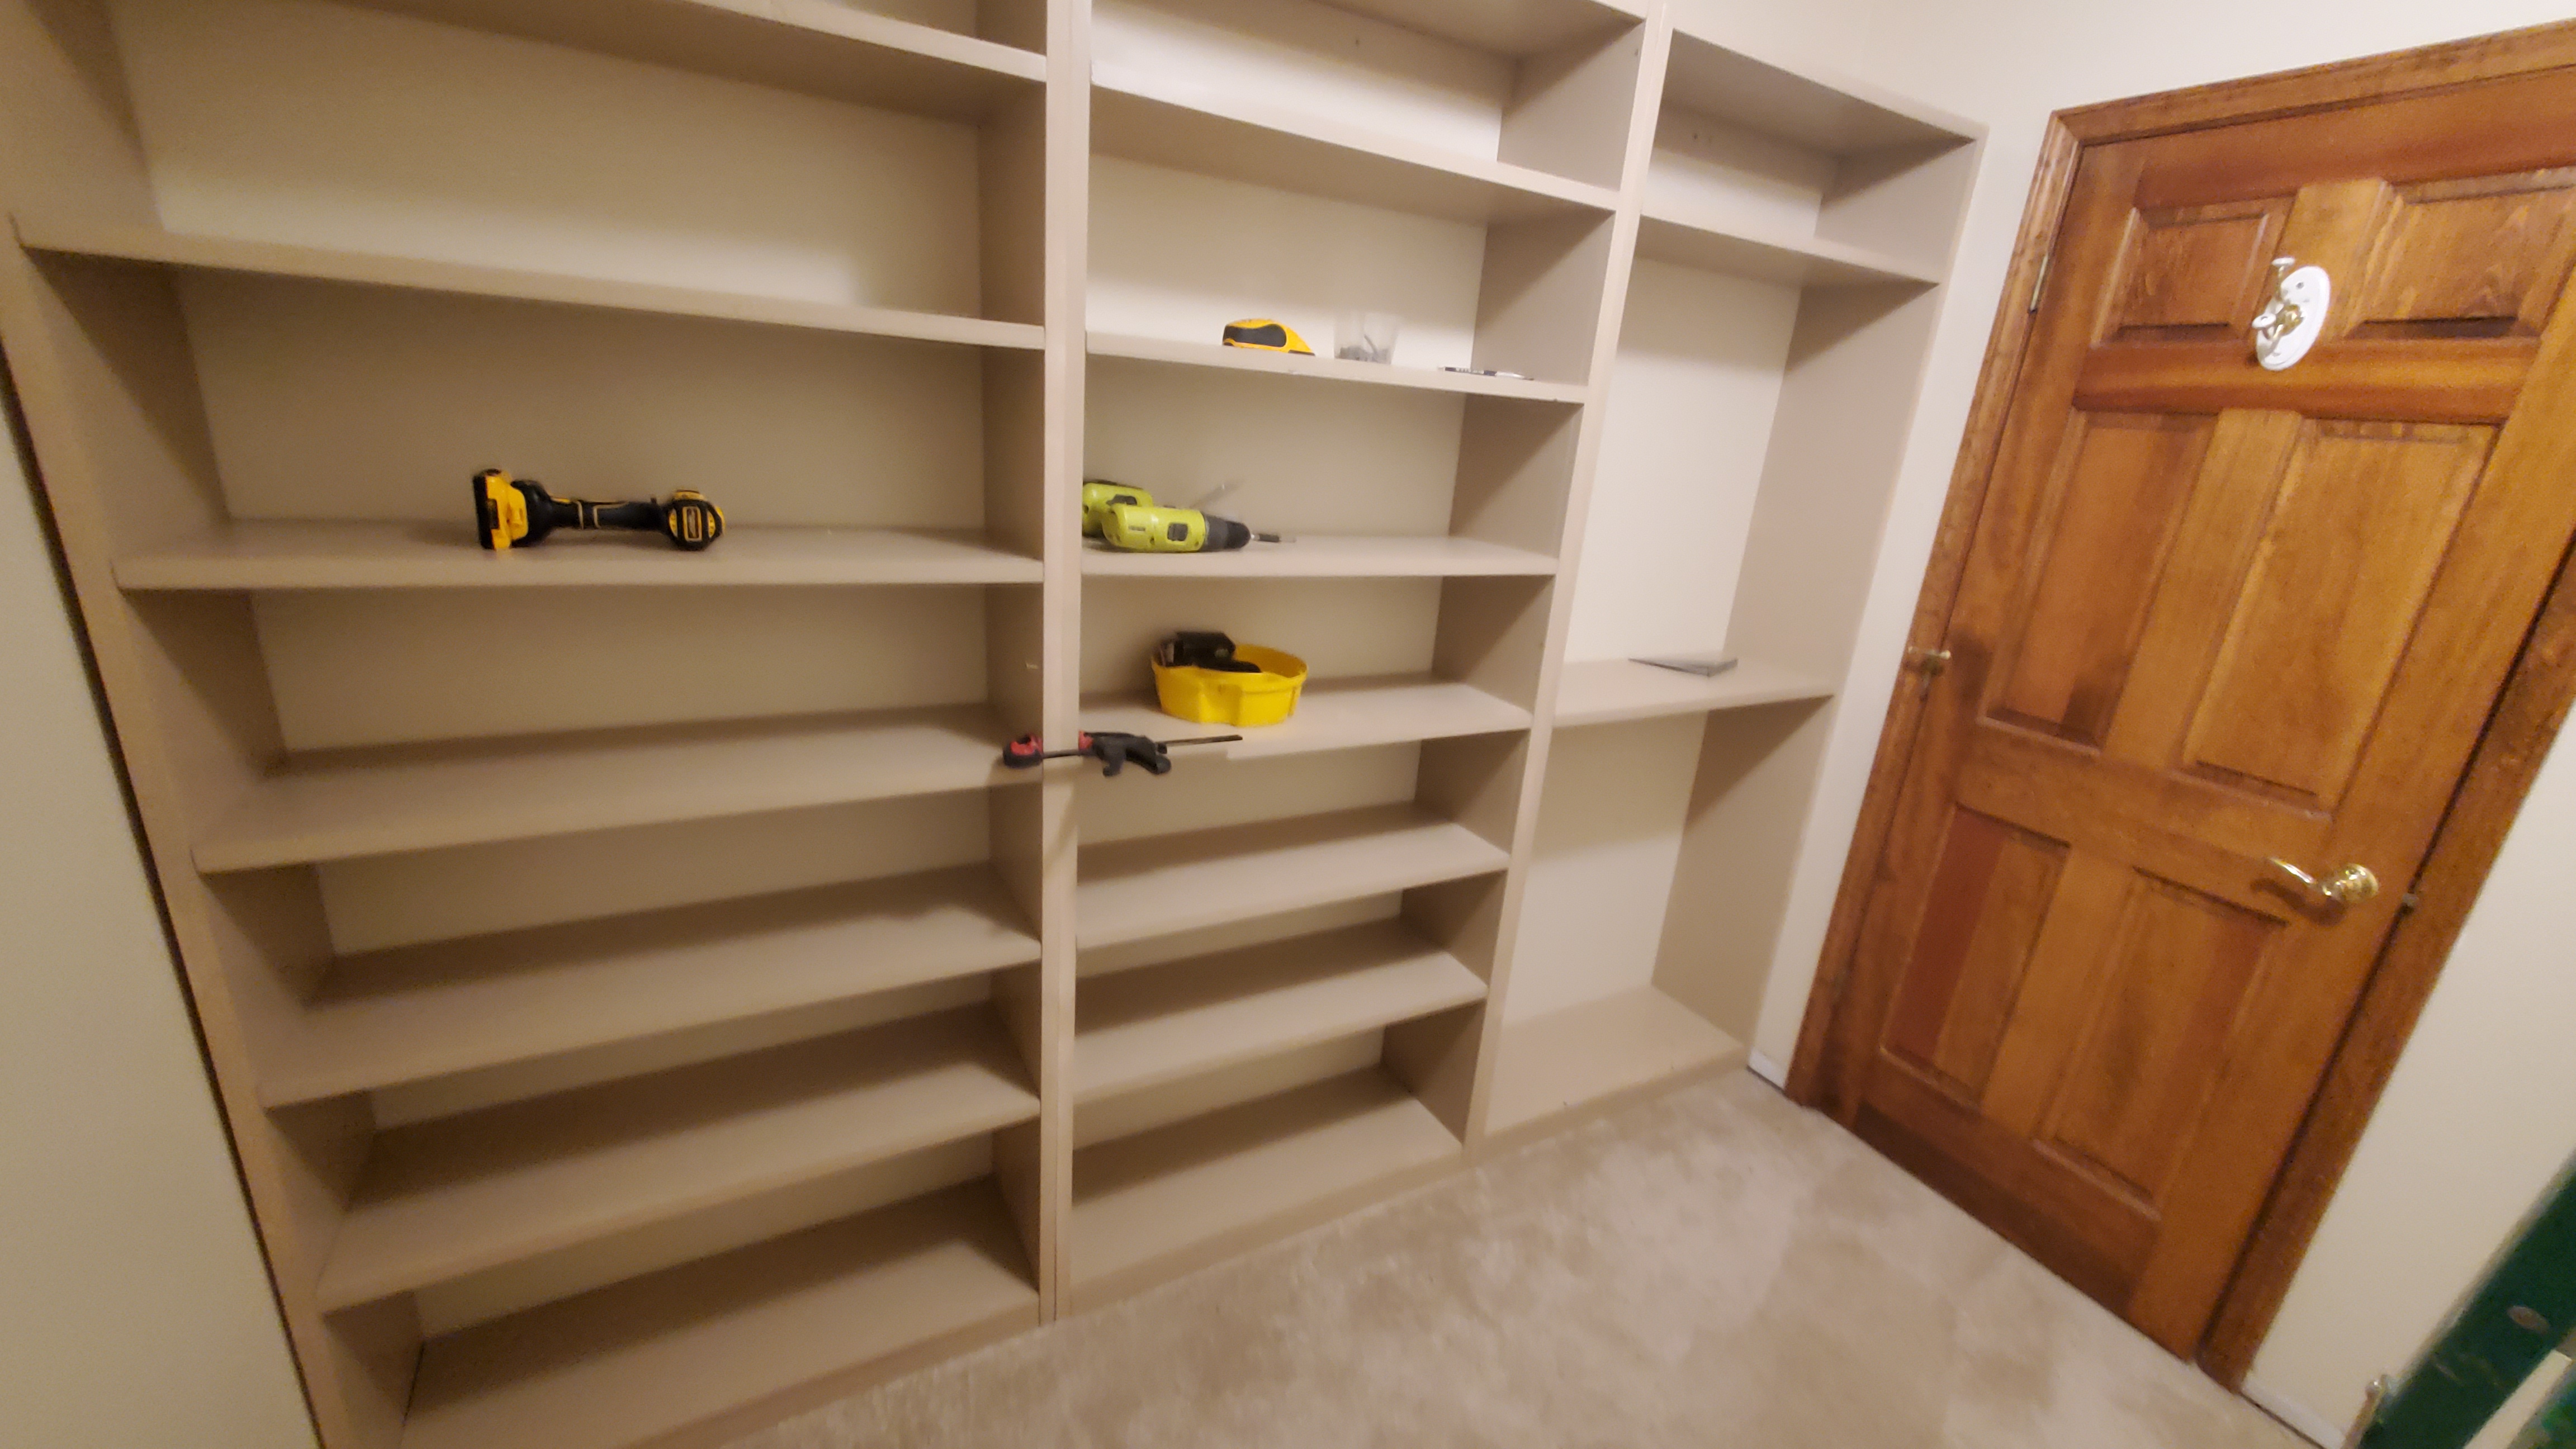
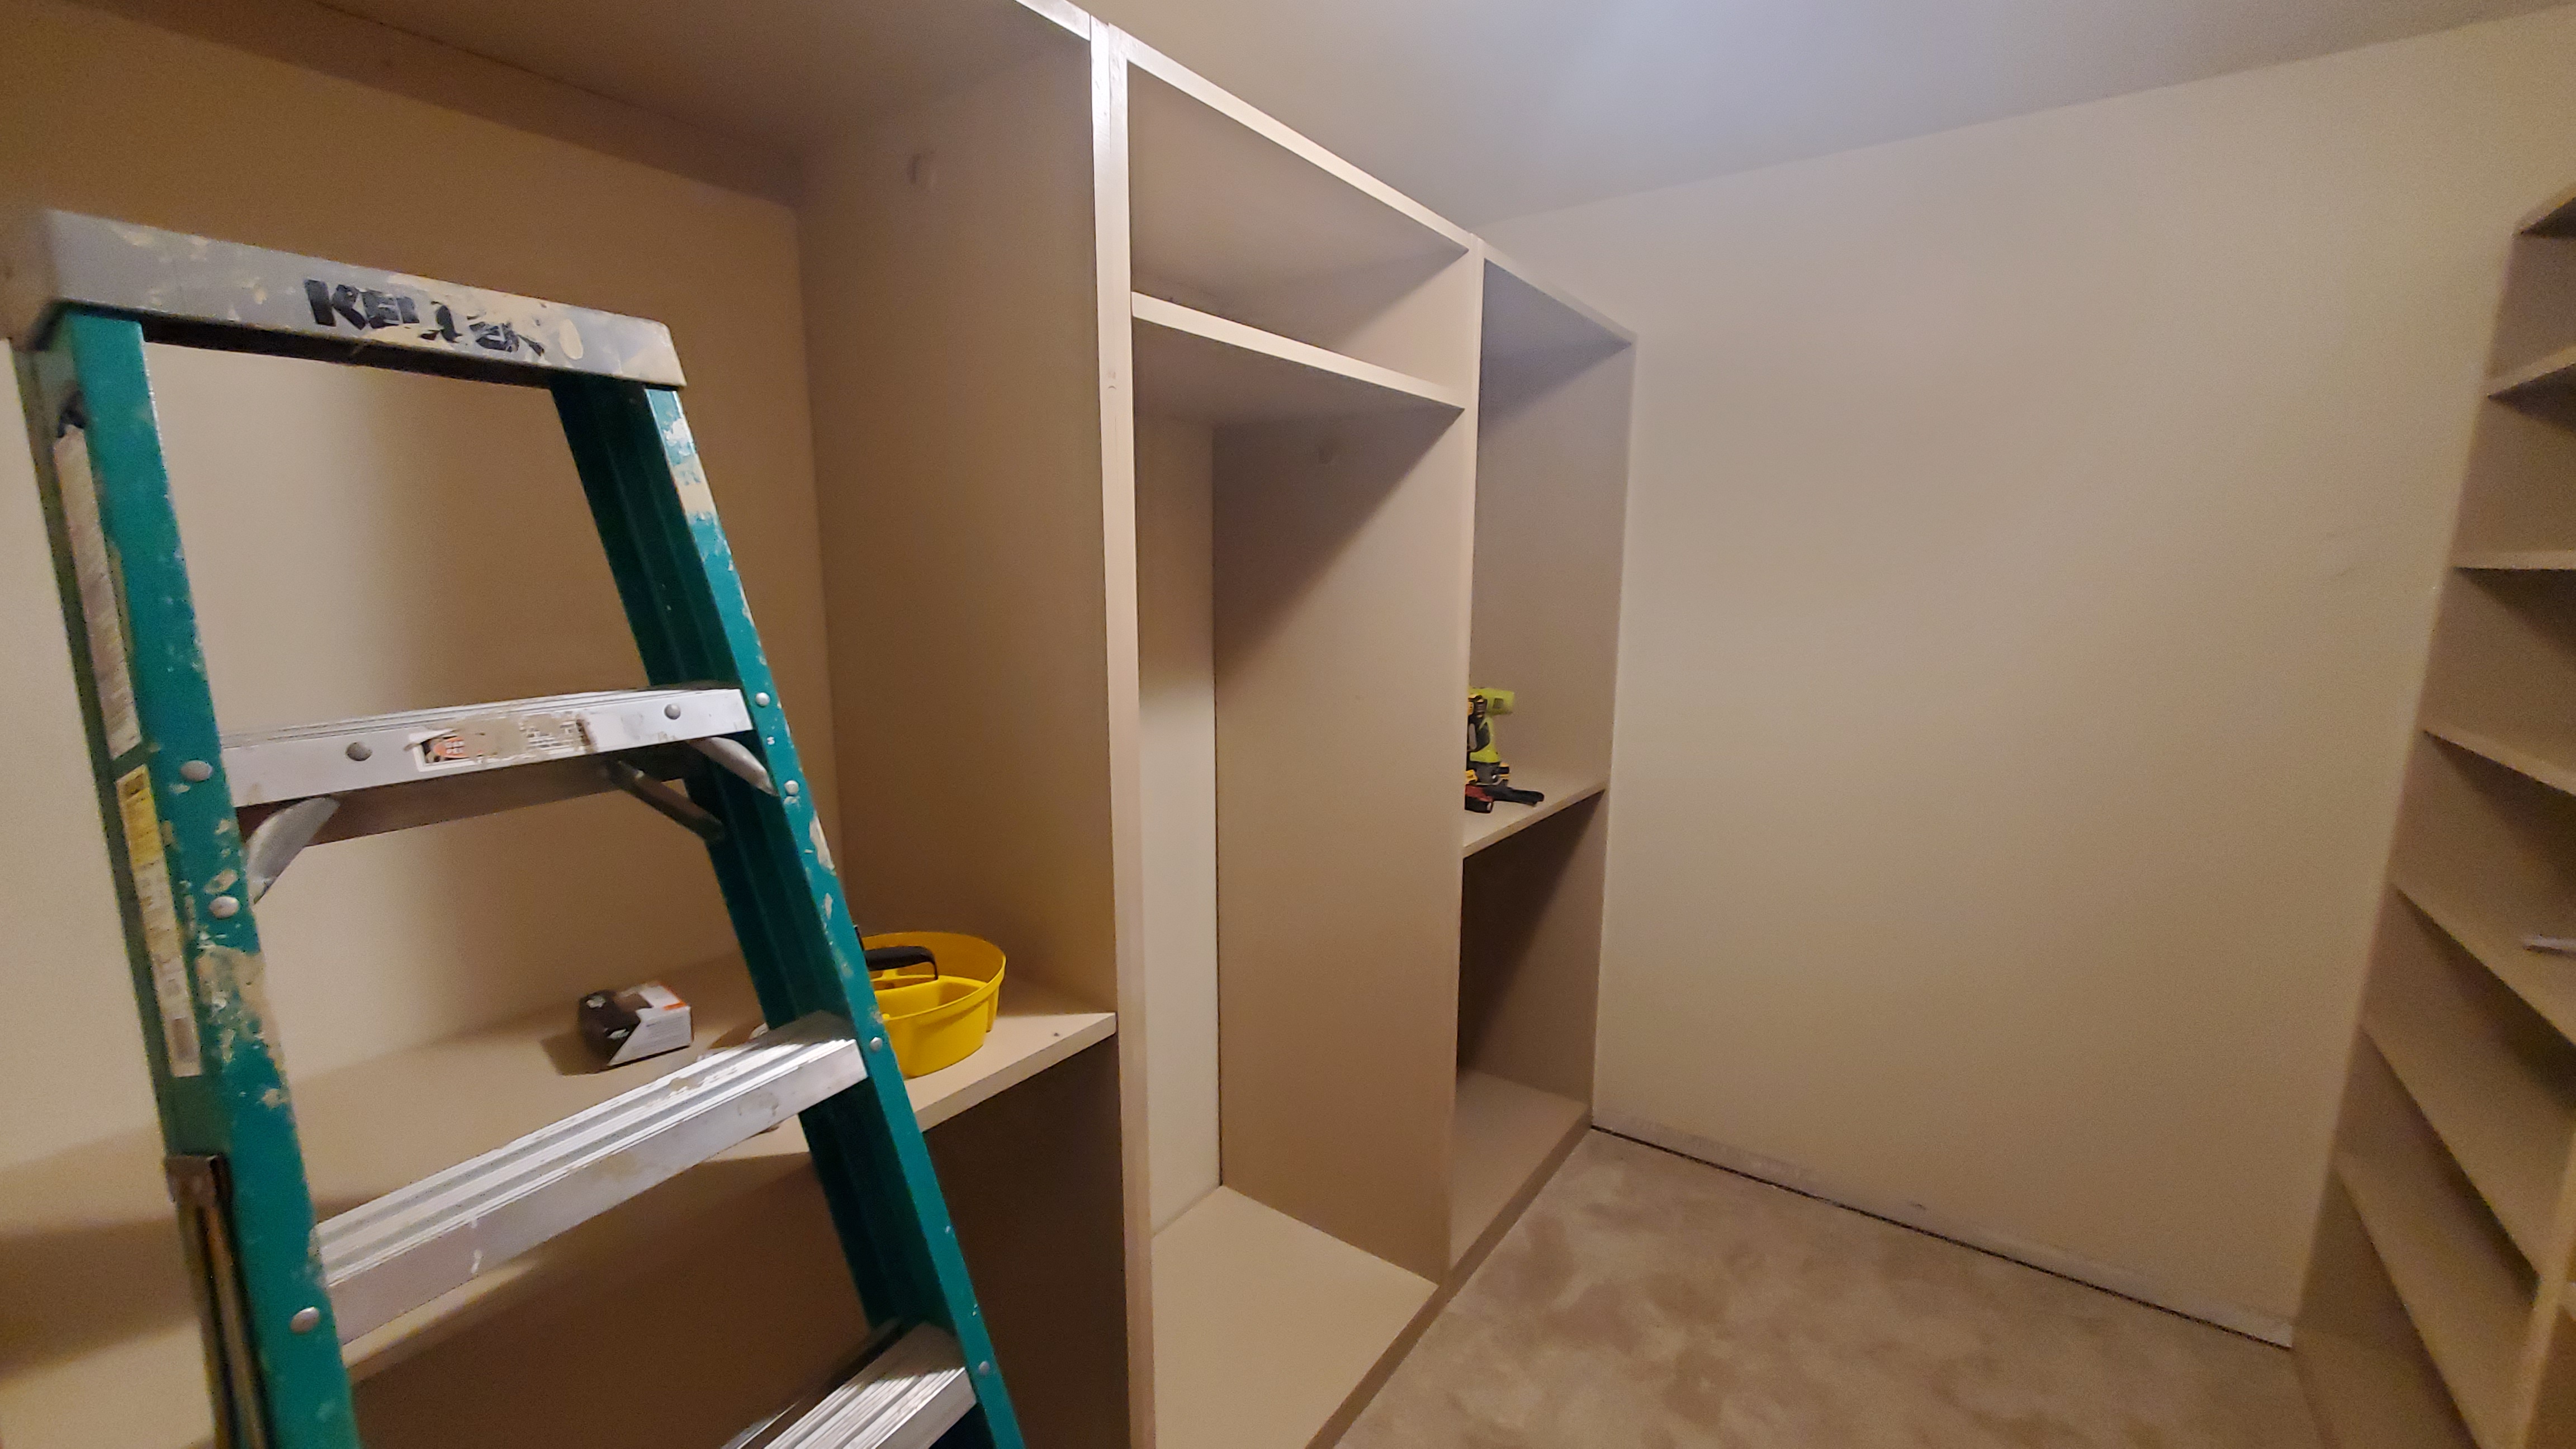
Pre-Assembly
I decided to pre-assemble everything in the garage to make it easier during installation where everything would just be on the floor. This way I (using my work bench and table saw as supports I could work at a comfortable height. I marked everything very carefully so each shelf would align the holes in the walls with the holes in the shelves. Made assembly on the floor in the sitting room much easier and everything turned out nice and plumb.

Sand-Prime-Sand-Paint-Paint
The plywood I bought is sanded on the A side which is the side I will use for the most visible surface of each piece. A side for inner walls as the outer wall are all hidden. A side up for all shelves except those above six feet as you see the bottom side of these shelves so A side down. A light sanding of everything with 180 grit sandpaper with an orbital sander.
I again used the fast HVLP sprayer with the primer thinned by 10%, max air flow and 5-6 for the flow control. It is 10 times faster than a brush and 5 times faster than a roller! After priming I did another light sanding (grit 220) before going to the finish coat.
Finish coat also 10% thinned. Two coats, no sanding between coats.
Installation
Ready for the install. Having done the pre-assembly in the garage the install did go a lot smoother than on Kathryn's closet. The fit on both the East and West walls turned out pretty tight so I am glad a designed them 1/2" short. I did have a bit of trouble with sizing the South outer cabinets and messed up a little on that but oh well. Looks good. Final operation was to touch up the paint and cut a hole in the bottom of the cabinet above the floor vent. Went back and did the same in Kathryn's closet.

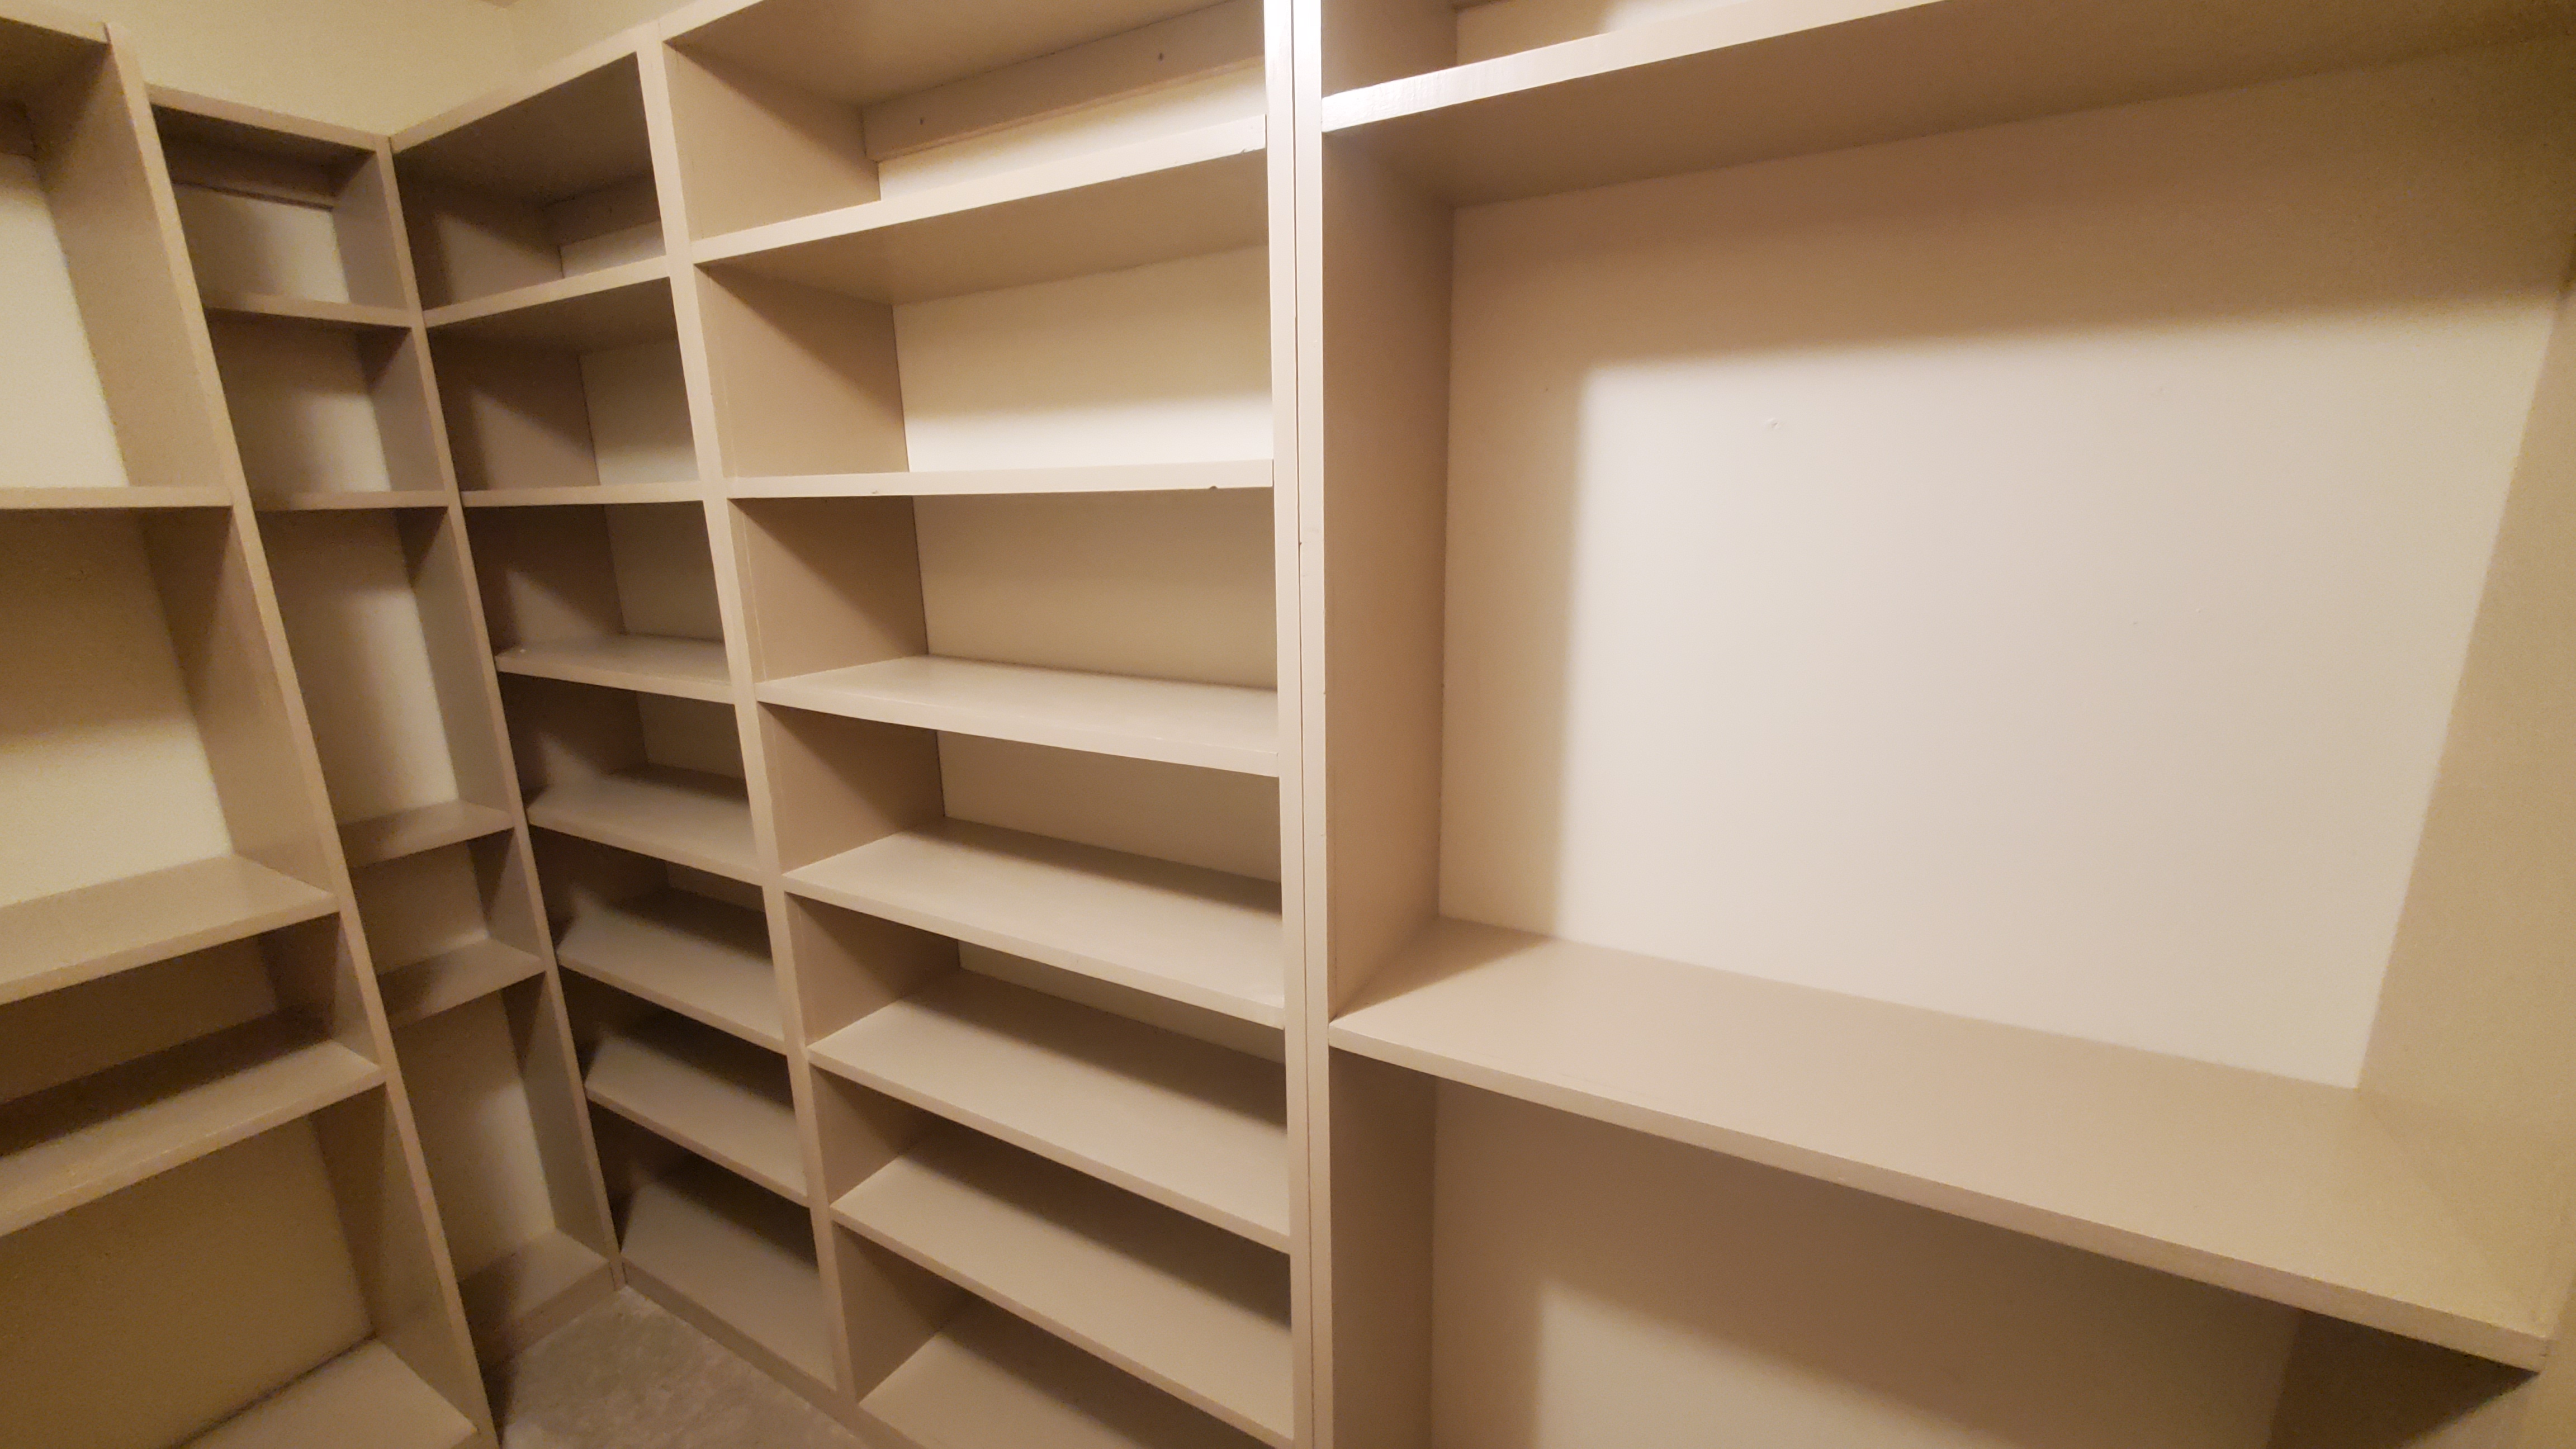
The Reveal
Done! Tada!!